Table of Contents
- My Ninja Creami Obsession Begins
- Why Cookie Monster Always Wins
- The Magic of a Simple Ninja Creami Recipe
- Perfecting Your Ice Cream Base
- Mix-In Masterclass for Ninja Creami Ice Cream
- Serving & Storage: Keeping the Fun Alive
- Frequently Asked Questions About Ninja Creami Ice Cream Recipes
- The Recipe: Easy Ninja Creami Cookie Monster Ice Cream
- Notes & Tips
Key Takeaways
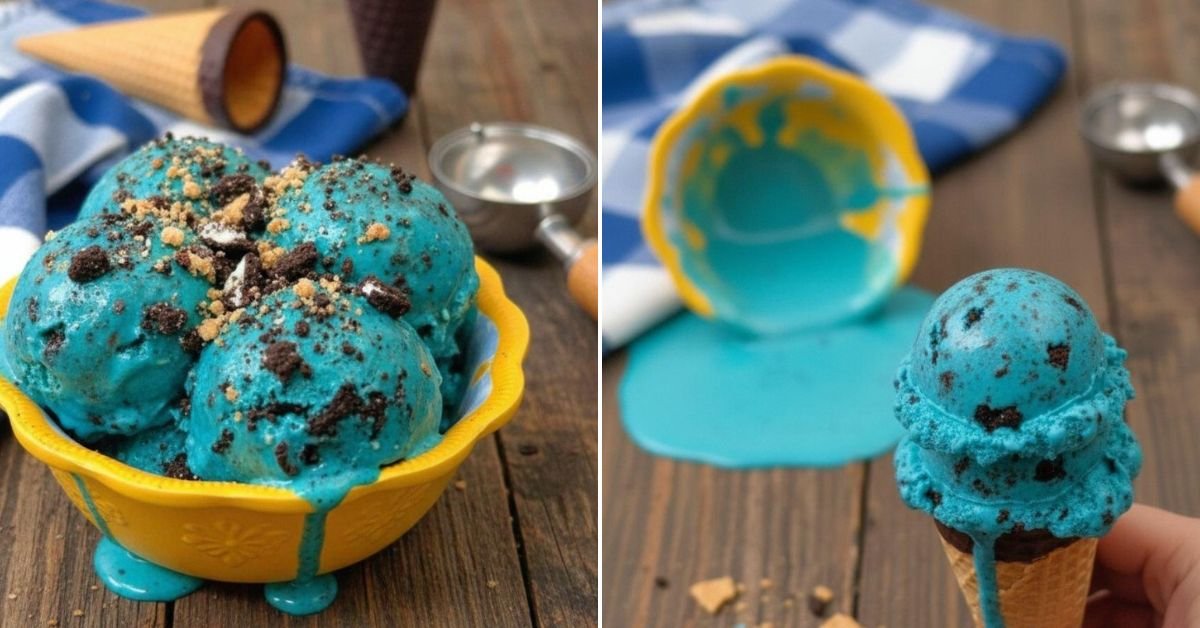
This easy Ninja Creami ice cream recipe transforms a simple vanilla base into a vibrant, cookie-packed dessert. The key is a perfectly balanced base and the fun addition of blue coloring and chocolate cookie mix-ins. It’s a fantastic starting point for anyone new to the Ninja Creami, demonstrating how simple ingredients can create incredibly creamy and customizable Ninja Creami ice cream recipes right at home.
My Ninja Creami Obsession Begins
Let me tell you, friends—the day my Ninja Creami arrived was a game-changer. As someone who loves dessert but is always looking for ways to make it at home (and honestly, have a little more control over the ingredients), it felt like unlocking a new superpower. I’m Patricia from Patricia Universe, and I’ve spent countless hours since then testing, tasting, and perfecting all sorts of frozen treats. My mission? To create Ninja Creami ice cream recipes that are not only delicious but also incredibly approachable. This Cookie Monster creation is one of my absolute favorites because it proves you don’t need to be a pastry chef to make magic happen. It’s the perfect example of how a few good easy ninja creami recipes can bring so much joy to your kitchen.

Why Cookie Monster Always Wins
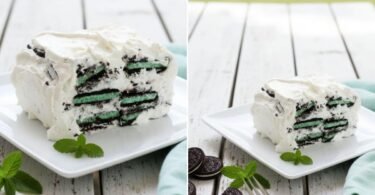
There’s something universally delightful about combining creamy ice cream with crunchy cookies. This recipe takes that classic pairing and turns the fun factor up to eleven with its iconic blue hue. It’s a dessert that makes everyone smile—kids go wild for the color and cookies, while adults appreciate the nostalgic, homemade creaminess. It’s a guaranteed crowd-pleaser for birthday parties, movie nights, or just beating the summer heat with a smile. If you’re looking for more easy ninja creami recipes with pudding or other fun flavors, this is a fantastic foundation to build upon.
The Magic of a Simple Ninja Creami Recipe
The true beauty of the Ninja Creami lies in its simplicity. Unlike traditional ice cream makers, it starts with a completely frozen solid block. The machine’s powerful blade then shaves, aerates, and blends it into an unbelievably smooth and creamy texture. This method means your base doesn’t need complicated custards or endless churning. For a simple Ninja Creami recipe like this one, you just whisk, freeze, and spin. The result? A perfectly creamy dessert that rivals any premium shop-bought pint, but made with your own two hands (and a very helpful appliance). This process is what makes exploring different Ninja Creami ice cream recipes so exciting and accessible.
Perfecting Your Ice Cream Base
The foundation of any great ice cream is its base. For this recipe, we use a classic blend of whole milk and heavy cream. The milk provides flavor and structure, while the heavy cream is responsible for that rich, luxurious mouthfeel. The sugar is essential not just for sweetness, but for ensuring a scoopable texture by lowering the freezing point. A touch of salt and high-quality vanilla extract round out the flavor profile, making it anything but plain. Getting this base right is the first step to mastering any easy ninja creami recipes healthy or indulgent variation you want to try next.
Mix-In Masterclass for Ninja Creami Ice Cream
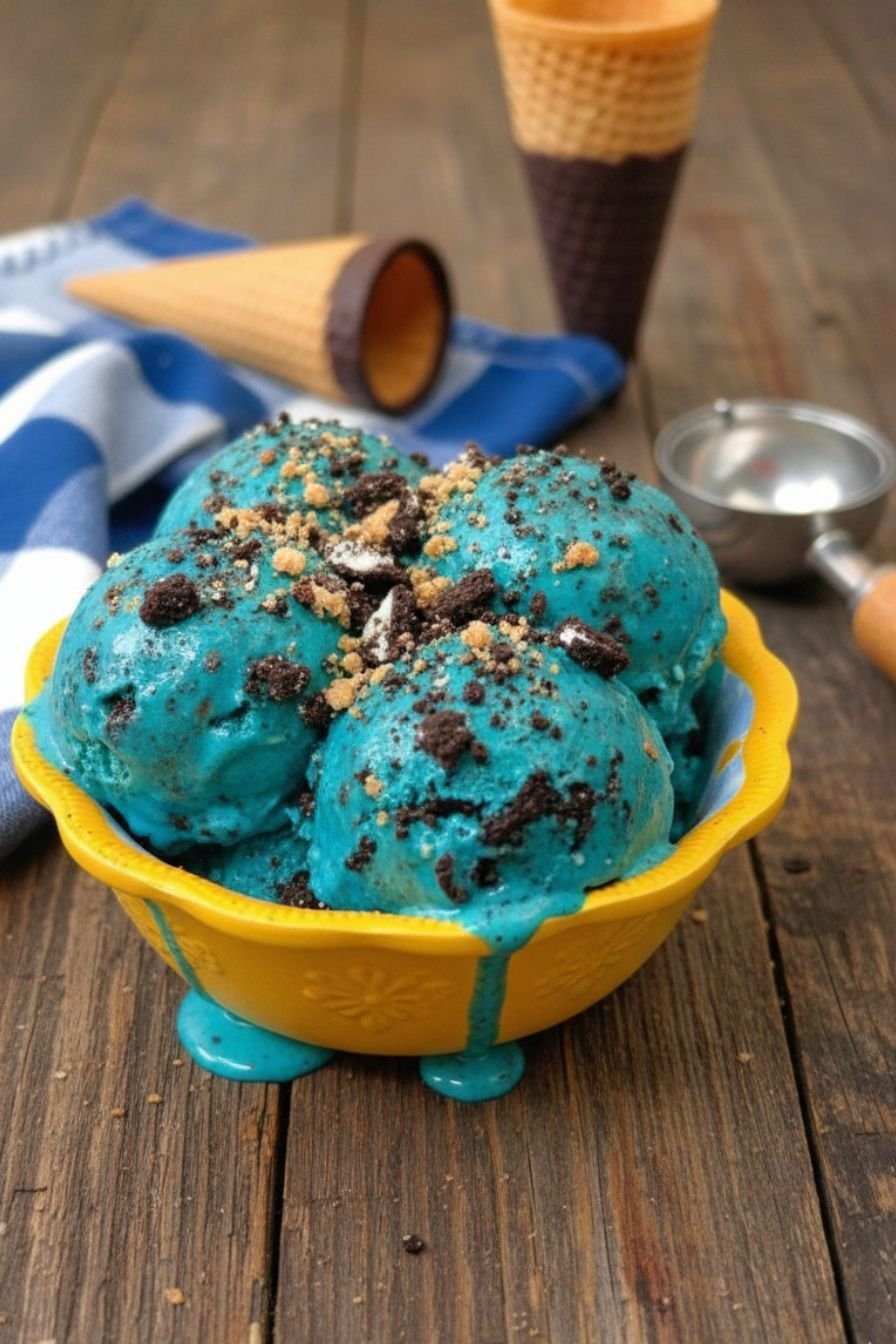
This is where your Ninja Creami ice cream recipes really become your own. The mix-in function is a stroke of genius. For our Cookie Monster version, we add crushed chocolate sandwich cookies and mini chocolate chips during a second spin. The key is to create a well in the center of the just-spun ice cream to hold them, so the paddle distributes them evenly without overworking the mixture. This technique prevents the cookies from turning into dust and ensures you get delightful pockets of crunch and chocolate in every bite. Feel free to experiment with other candies, nuts, or fruit swirls!
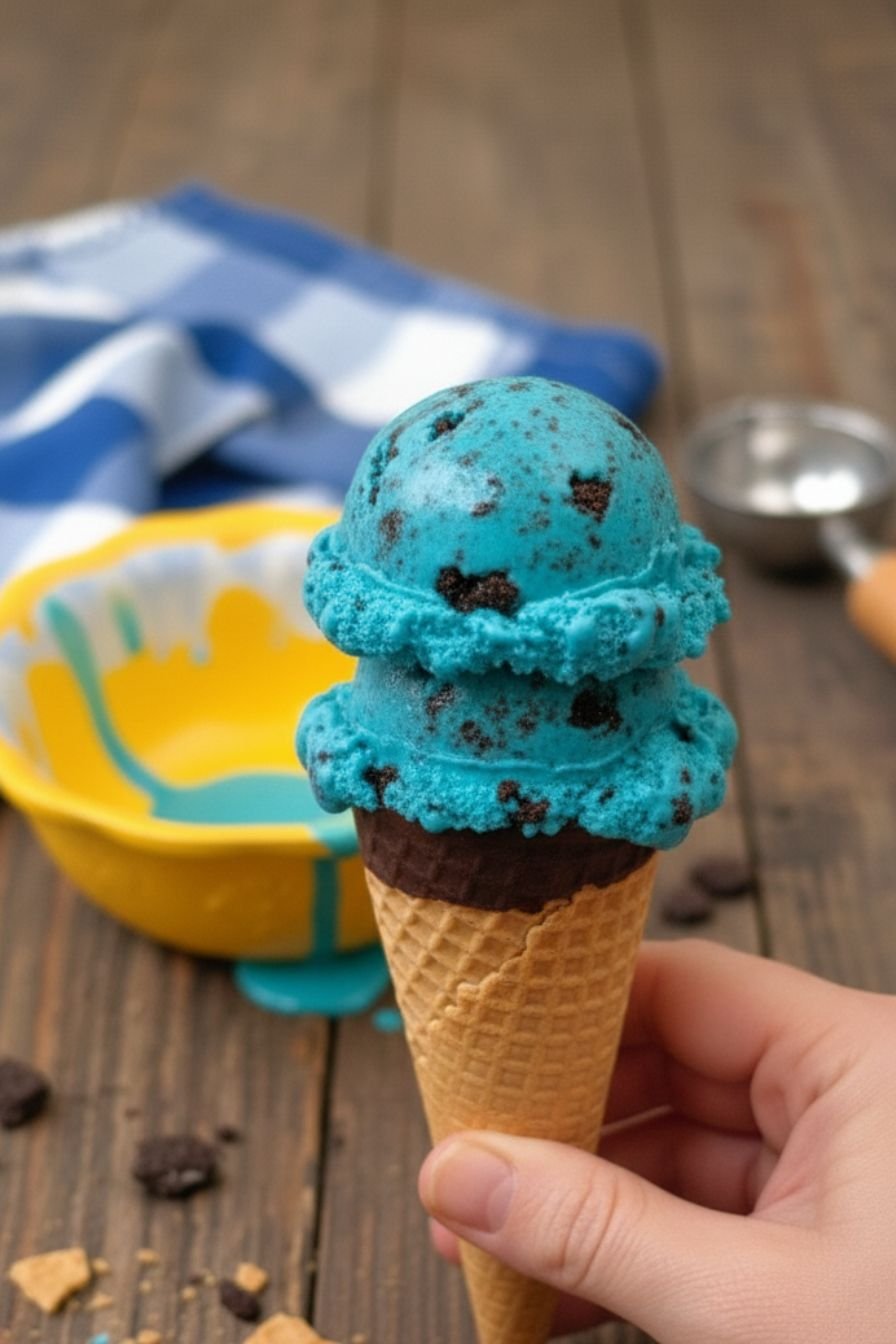
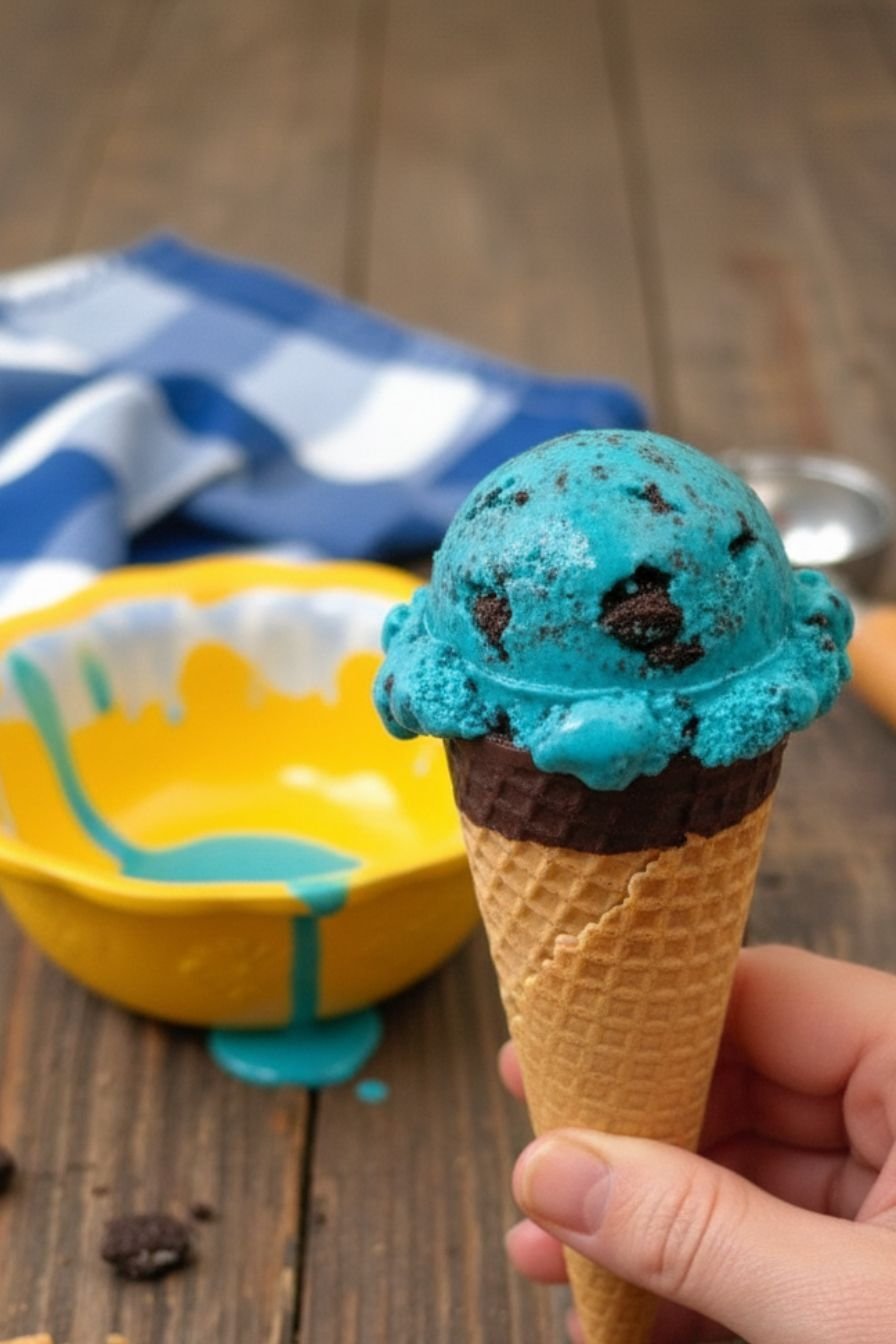
Serving & Storage: Keeping the Fun Alive
One of the best parts of this simple Ninja Creami recipe is its versatility right out of the machine. For a soft-serve style treat, scoop and enjoy immediately. If you prefer a firmer, more traditional scoop, just pop the pint back in the freezer for 15-30 minutes. Any leftovers store beautifully in the sealed pint container for up to two weeks. When you’re ready for more, simply run a “Re-spin” cycle for about 60 seconds to restore its creamy texture perfectly. It’s this convenience that makes creating various easy ninja creami recipes a practical part of your weekly routine.
Frequently Asked Questions About Ninja Creami Ice Cream Recipes
Can I make this recipe dairy-free?
Absolutely! For a great dairy-free version, use full-fat canned coconut milk in place of the milk and cream. The results are wonderfully rich and creamy, perfect for exploring easy ninja creami recipes healthy alternatives.
My ice cream is too hard after the first freeze. What did I do wrong?
Nothing! It’s supposed to be rock solid. The Ninja Creami is specifically designed to process fully frozen bases. That solid block is what gets transformed into creamy perfection.
Can I skip the blue food coloring?
Of course! The color is purely for fun. Your ice cream will be a lovely creamy vanilla color and taste just as delicious. For a natural blue tint, you can experiment with a tiny bit of butterfly pea flower powder or blue spirulina.
The Recipe: Easy Ninja Creami Cookie Monster Ice Cream
(The full recipe with ingredients and instructions is included in the main recipe card on Patricia Universe).
Notes & Tips
Freezing is Key: Patience is your friend. A full 24-hour freeze ensures the base is completely solid, which is crucial for the Ninja Creami to create the best texture.
Customize Your Mix-Ins: Don’t stop at cookies! Try brownie bits, pretzel pieces, or a peanut butter swirl. This recipe is a canvas for your favorite Ninja Creami ice cream recipes creations.
Leftover Logic: Store leftovers in the original pint container with the lid tightly sealed. A quick “Re-spin” will bring back the fresh, creamy consistency when you’re ready for another serving.


Easy Ninja Creami Ice Cream Recipes: Cookie Monster Edition
Ingredients
Main Ice Cream Base
- 2 cups whole milk
- 1 cup heavy cream
- 3/4 cup granulated sugar
- 1 tablespoon pure vanilla extract
- Blue gel food coloring (as needed for desired color)
- 1/8 teaspoon salt
Mix-ins
- 1 cup crushed chocolate sandwich cookies (like Oreos®), divided
- 1/4 cup mini chocolate chips
Instructions
Prepare the Base
- In a large mixing bowl, whisk together the whole milk, heavy cream, granulated sugar, vanilla extract, and salt until the sugar is completely dissolved.
- Add blue gel food coloring a few drops at a time, whisking after each addition, until you achieve a vibrant Cookie Monster blue color.
- Pour the mixture into a Ninja Creami pint container, leaving about 1/2 inch of space at the top for expansion. Secure the lid.
Freeze
- Place the lidded pint container on a level surface in your freezer. Freeze for 24 hours, or until the mixture is completely solid.
Process in Ninja Creami
- Remove the pint from the freezer. Take off the lid and place the pint into the outer bowl of the Ninja Creami. Install the processing paddle.
- Select the ICE CREAM function and run the cycle.
- Once the cycle is complete, remove the pint. Use a spoon to create a well down the middle of the ice cream.
Add Mix-Ins & Re-spin
- Sprinkle 3/4 cup of the crushed cookies and all of the mini chocolate chips into the well.
- Reinstall the processing paddle. Select the MIX-IN function and run the cycle.
- Once finished, scoop the ice cream into bowls. Sprinkle the remaining 1/4 cup of crushed cookies on top for extra crunch and visual appeal. Serve immediately for soft-serve consistency, or place back in the freezer for 15-30 minutes for a firmer scoop.


Leave a Comment