Table of Contents
- A Sweet Tradition Reimagined
- Why This is the Easiest Candy Recipe You’ll Try
- Get Creative with Colors and Flavors
- Serving Your Stained Glass Candy
- Pro Tips for Perfect Candy Every Time
- Make Memories in the Kitchen
- The Recipe: Easy Stained Glass Candy
- Recipe Notes & Tips
Key Takeaways
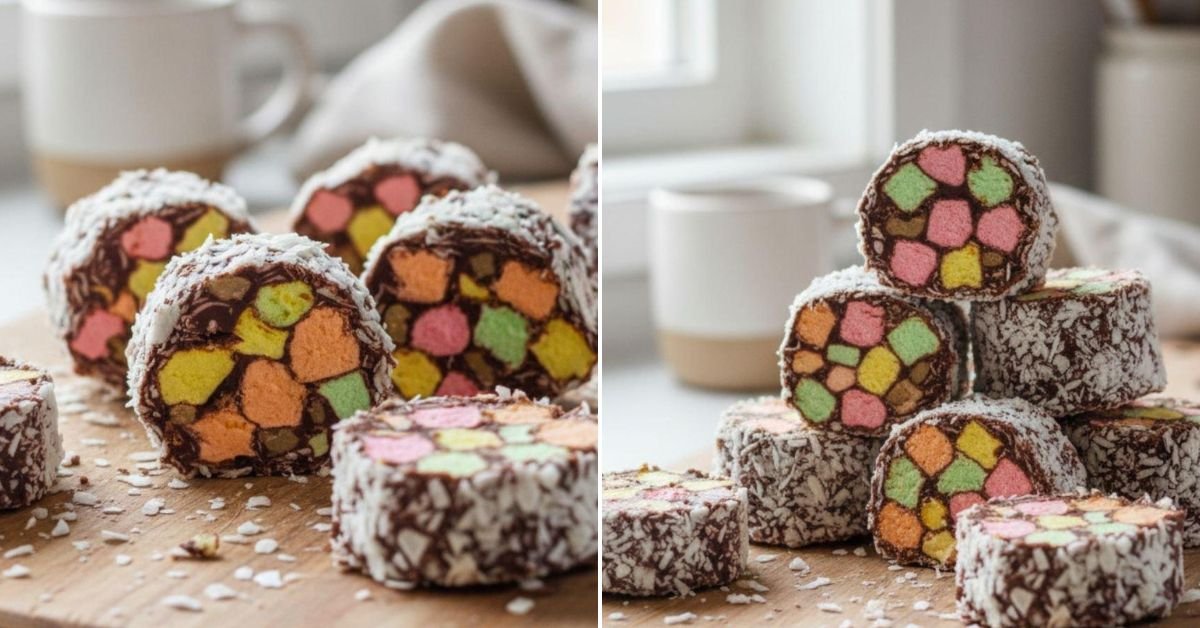
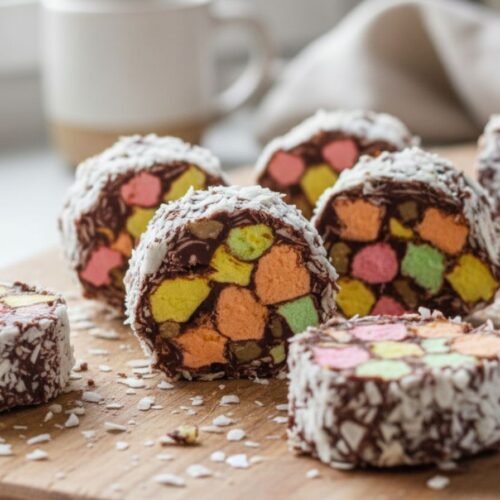
This Easy Stained Glass Candy recipe is a vibrant, no-bake treat that comes together with just a handful of ingredients. It’s a fantastic beginner-friendly project perfect for holiday gifting, party favors, or a fun kitchen activity with kids. The recipe offers endless creative possibilities with colors and flavors, allowing you to craft beautiful, edible art that’s sure to impress. With our clear instructions and pro tips, you’ll master this simple candy-making process in no time.
A Sweet Tradition Reimagined
Hello, sweet friends! Patricia here from Patricia Universe. Today, I’m thrilled to share a recipe that’s pure magic in the kitchen. This Easy Stained Glass Candy isn’t just a treat; it’s an experience. Inspired by the sunbeams streaming through colorful church windows, this homemade candy is one of the most visually stunning and simple recipes you can make. It requires no fancy equipment or advanced skills—just a little patience and a lot of creativity.
If you’ve ever wanted to make beautiful, homemade candy but felt intimidated, this is the perfect starting point. We’re taking a classic confectionery technique and making it accessible with clear, step-by-step guidance. This easy recipe is all about bringing joy, color, and a touch of edible artistry into your home.
Why This is the Easiest Candy Recipe You’ll Try
You might look at the finished candy and think, “That’s too complex for me.” I’m here to tell you it’s not! The beauty of this recipe lies in its simplicity. There’s no tempering chocolate or intricate sugar work. The process is wonderfully straightforward, making it a fantastic first candy-making project. You’ll be amazed at how a pot of bubbling sugar transforms into glossy, translucent sheets of delicious color.
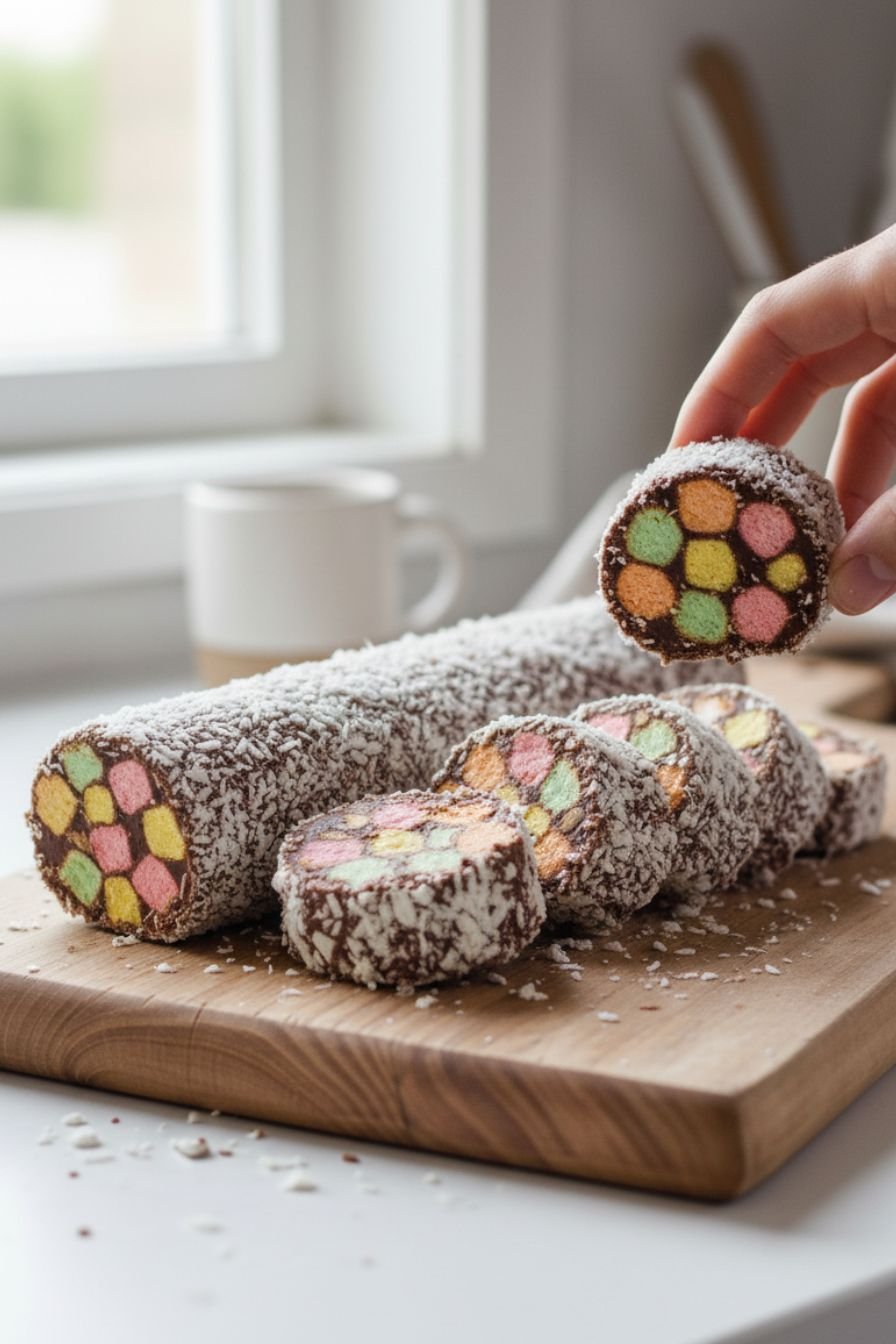
Get Creative with Colors and Flavors
This is where you get to be the artist. Don’t be afraid to experiment! For a classic “stained glass” look, I love using ruby red, emerald green, royal blue, and sunshine yellow. You can coordinate with holiday themes—red and green for Christmas, pastels for Easter, or your favorite team’s colors for game day.
Pair your colors with complementary sweet easy recipes for flavoring. Peppermint extract with red coloring is a timeless winter favorite. Try cherry with red, orange with orange, or even butter rum flavoring with gold. For a truly special easy no bake dessert, consider using a combination of flavors across your different colors to create a sensory surprise with every piece.
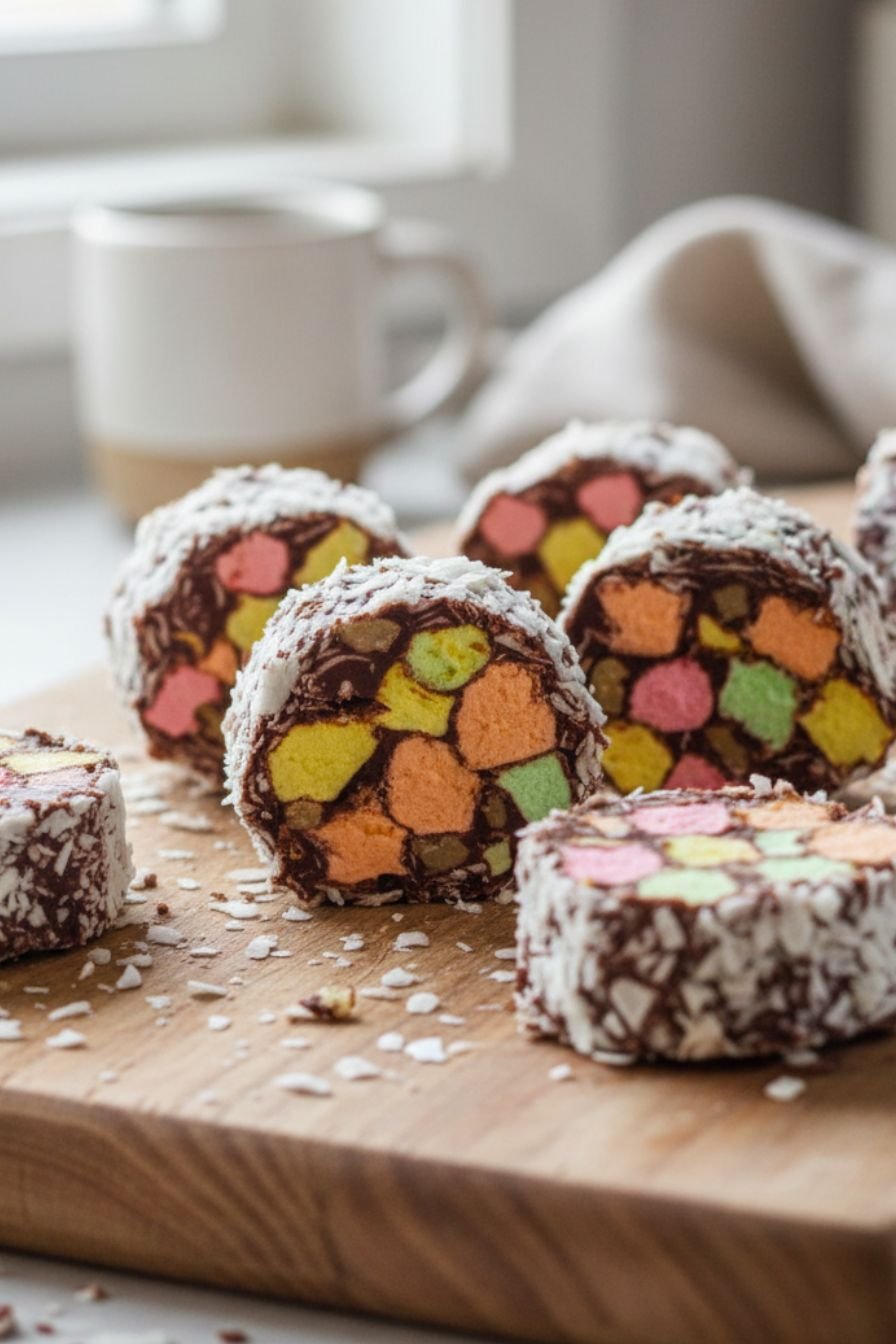
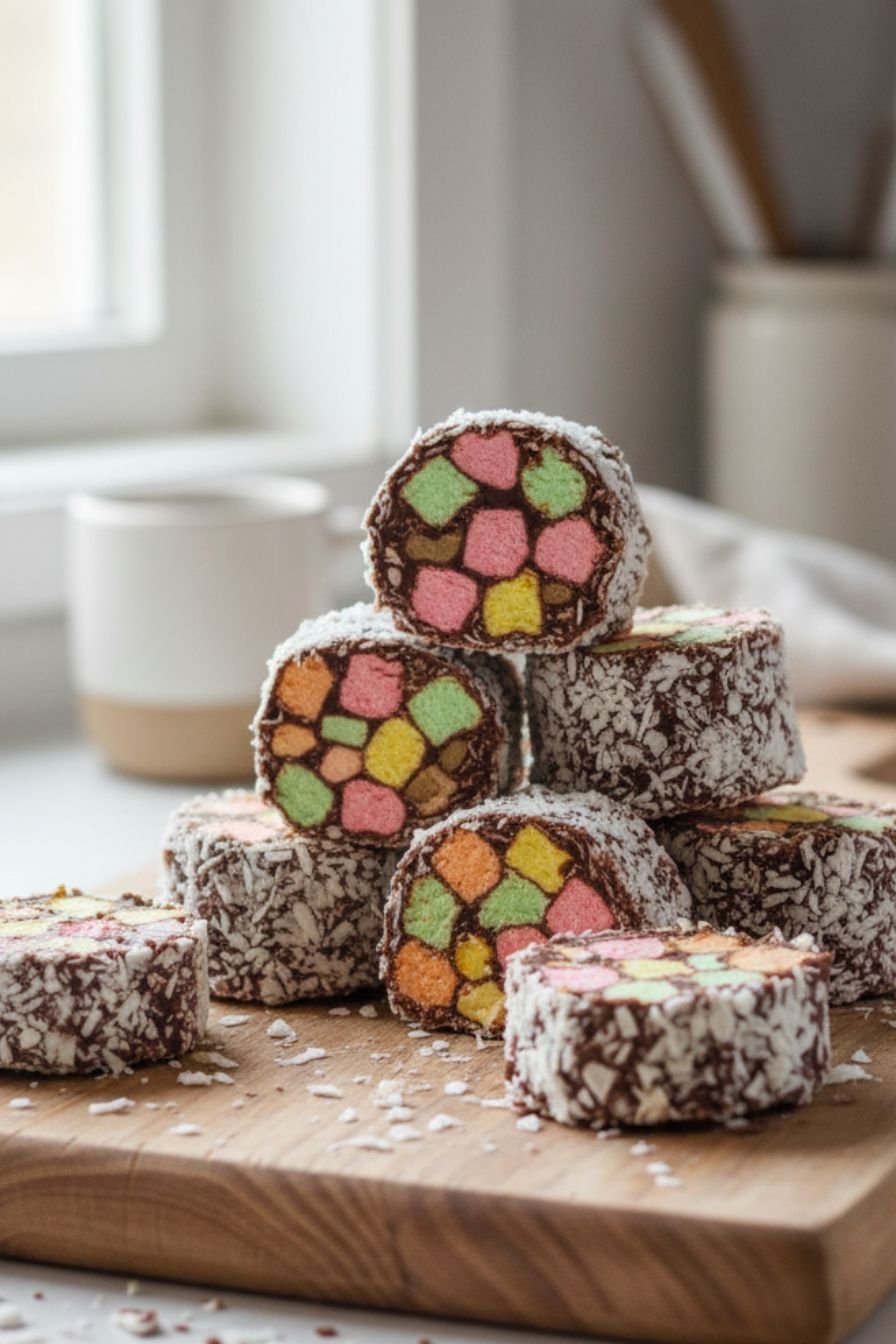
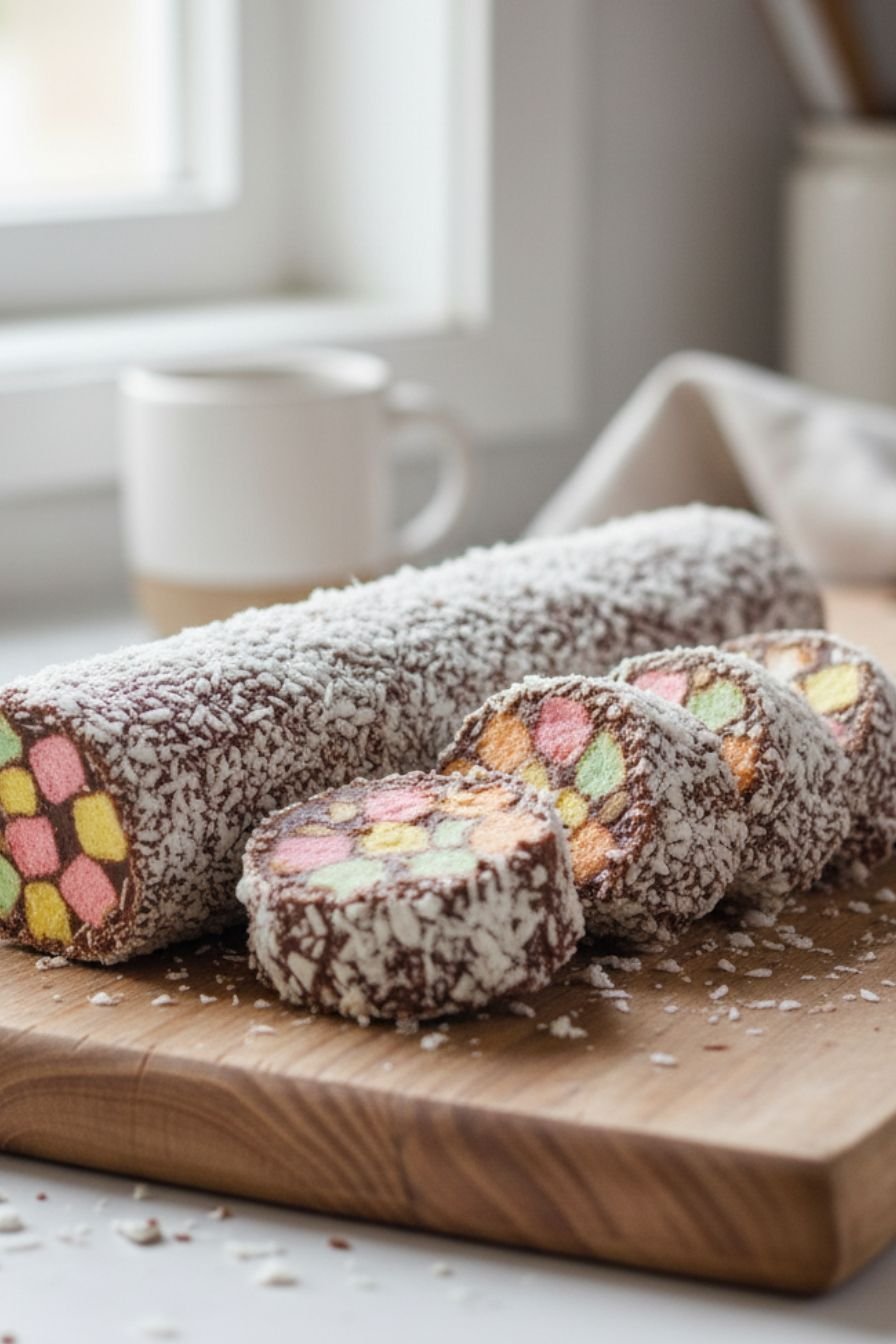
Serving Your Stained Glass Candy
The presentation is half the fun! Pile the broken candy pieces in a clear glass jar tied with a ribbon for a gorgeous hostess gift. Scatter them on a dessert table for a stunning visual pop. They make unforgettable additions to cookie platters or cupcake toppers. Because this is an easy sweet recipe, you can make multiple batches in different color schemes without spending your whole day in the kitchen.
Pro Tips for Perfect Candy Every Time
A good candy thermometer is your best friend here. Don’t skip it! Cooking the syrup to exactly 300°F (the hard crack stage) is what gives the candy its signature snap and clarity. If you’re looking for more classic, homemade pretzels soft easy recipes to pair with your candy, you’ll find plenty of inspiration on my site. Always remember to work carefully but confidently with the hot syrup—it’s the key to a successful batch of this delightful treat.
Make Memories in the Kitchen
Beyond being a delicious treat, making this candy is a wonderful way to connect. Invite your kids or grandkids to help choose the colors. The “oohs” and “ahhs” when you pour the hot, colored syrup are priceless. It’s a fantastic project for a rainy afternoon or a pre-holiday tradition. The process of creating something beautiful and tasty together is a memory you’ll all cherish, much like the quick and easy recipes that become family favorites.
The Recipe: Easy Stained Glass Candy
Ready to create your own edible masterpiece? Head over to the full, detailed recipe card for all the ingredients and step-by-step instructions to make this stunning easy recipes classic. You’ll find everything you need to know right there.
Recipe Notes & Tips
For storing your beautiful creation, keep the candy in an airtight container at room temperature, with layers separated by parchment paper. Humidity is its enemy! If you want to gift it, small cellophane bags work perfectly. And remember, while the recipe is simple, the result is spectacular—a true testament to the joy of homemade treats.
I hope you love making (and eating!) this Easy Stained Glass Candy as much as I do. It’s proof that the most impressive desserts often come from the simplest easy recipes. Happy crafting from my kitchen to yours!

Easy Stained Glass Candy Recipe: Colorful Homemade Treats
Ingredients
- 3 cups (600g) granulated sugar
- 1 cup (240ml) light corn syrup
- 1 cup (240ml) water
- 1 teaspoon (5ml) flavored extract (e.g., peppermint, vanilla, or cherry)
- 1/2 teaspoon (2.5g) salt
- 1 teaspoon (5ml) food coloring (various colors for a stained glass effect)
- Butter or cooking spray, for greasing
Instructions
Prepare the Pan
- Line a large baking sheet (approximately 10×15 inches) with parchment paper or a silicone mat. Grease it lightly with butter or cooking spray.
Make the Candy Base
- In a large, heavy-bottomed saucepan, combine the sugar, corn syrup, and water. Stir gently over medium heat until the sugar dissolves.
- Once dissolved, stop stirring and bring the mixture to a boil. Attach a candy thermometer to the side of the pan, ensuring it doesn’t touch the bottom.
- Boil the syrup until it reaches the hard crack stage (300°F / 149°C). This is crucial for the candy to set properly. Do not stir during this stage.
Color and Flavor
- Once the syrup reaches 300°F (149°C), immediately remove the pan from the heat.
- Working quickly but carefully, stir in the salt and your chosen flavored extract.
- Pour the hot syrup into small, heatproof bowls (one for each color you plan to make).
- Stir a few drops of different food colorings into each bowl of syrup until the color is uniform. You can also leave one bowl uncolored for a clear ‘glass’ effect.
Create the Stained Glass Effect
- Working with one color at a time, drizzle the hot, colored syrup onto the prepared baking sheet in random patterns.
- Immediately swirl the colors together slightly with the tip of a toothpick or a skewer to create a marbled, stained-glass look. Work quickly before the candy sets.
- Let the candy cool completely and harden at room temperature. This will take about 30-45 minutes.
Break and Serve
- Once the candy is completely hard, lift it from the pan and place it on a cutting board.
- Use the tip of a knife or your hands to crack it into large, irregular pieces resembling broken glass.


Leave a Comment