
Table of Contents
- Why You’ll Love This Air Fryer Cherry Pie
- The Secret to a Perfect Flaky Crust
- Choosing the Right Cherry Filling
- How to Make Air Fryer Cherry Pie – Step by Step
- Serving Suggestions for the Ultimate Dessert
- Expert Tips for the Best Air Fryer Pie
Key Takeaways
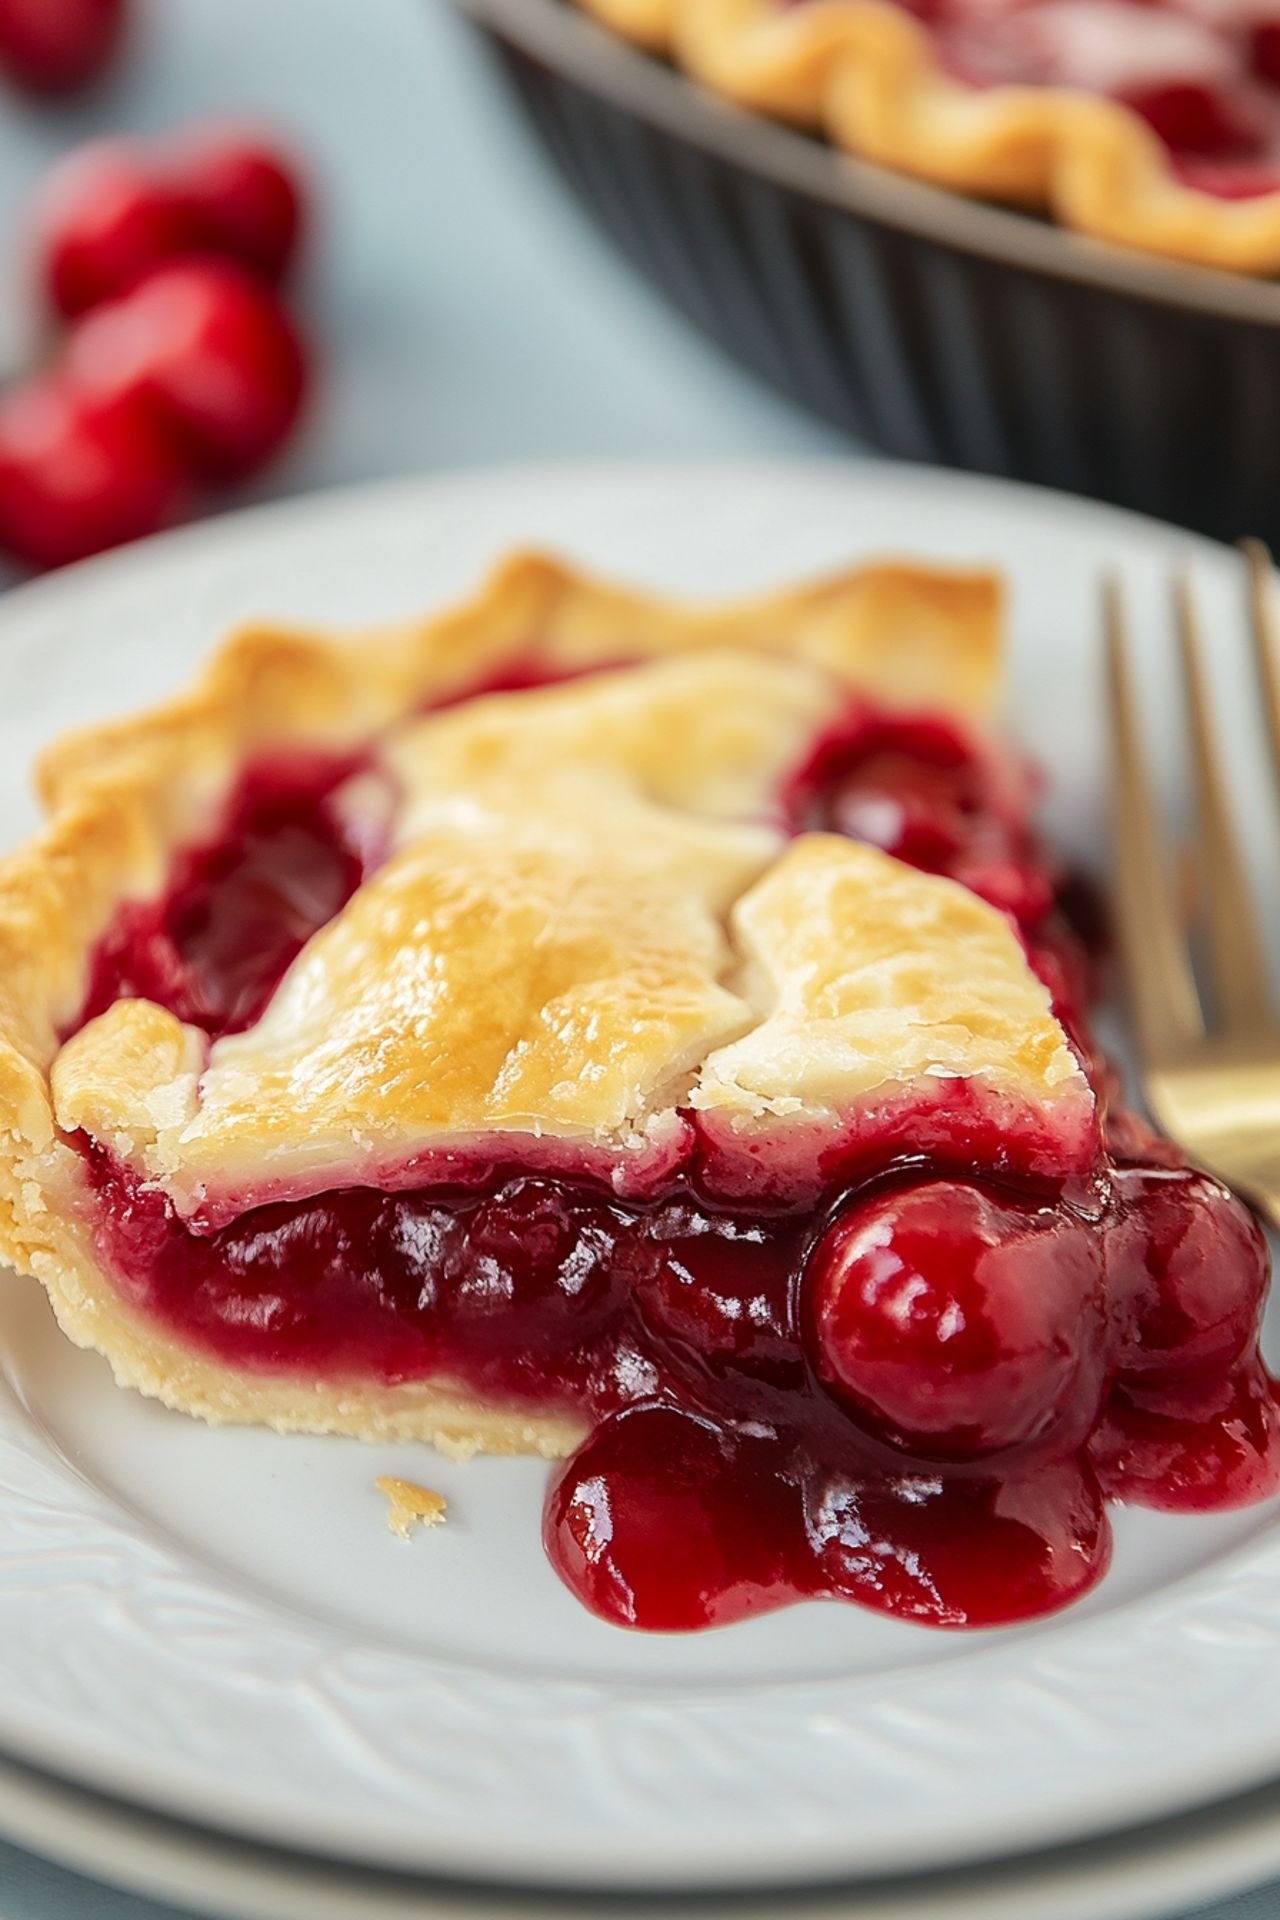
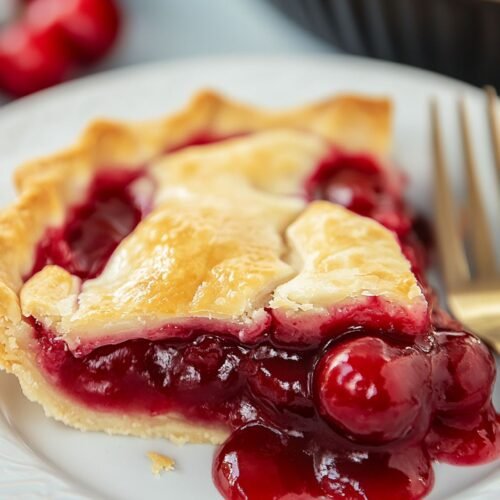
This Air Fryer Cherry Pie is a quick and easy dessert made with a flaky crust and a luscious cherry filling. It’s perfect for busy days when you need a sweet treat in minutes. Using an air fryer ensures a crispy, golden crust without turning on the oven. Pair it with vanilla ice cream for a delightful finish!
Why You’ll Love This Air Fryer Cherry Pie
Making a cherry pie in an air fryer is a game-changer. With minimal effort, you get a beautifully golden crust and a warm, gooey cherry filling that tastes like it was baked in a traditional oven. Whether you’re a fan of quick desserts or just love experimenting with your air fryer, this recipe is a must-try!

The Secret to a Perfect Flaky Crust
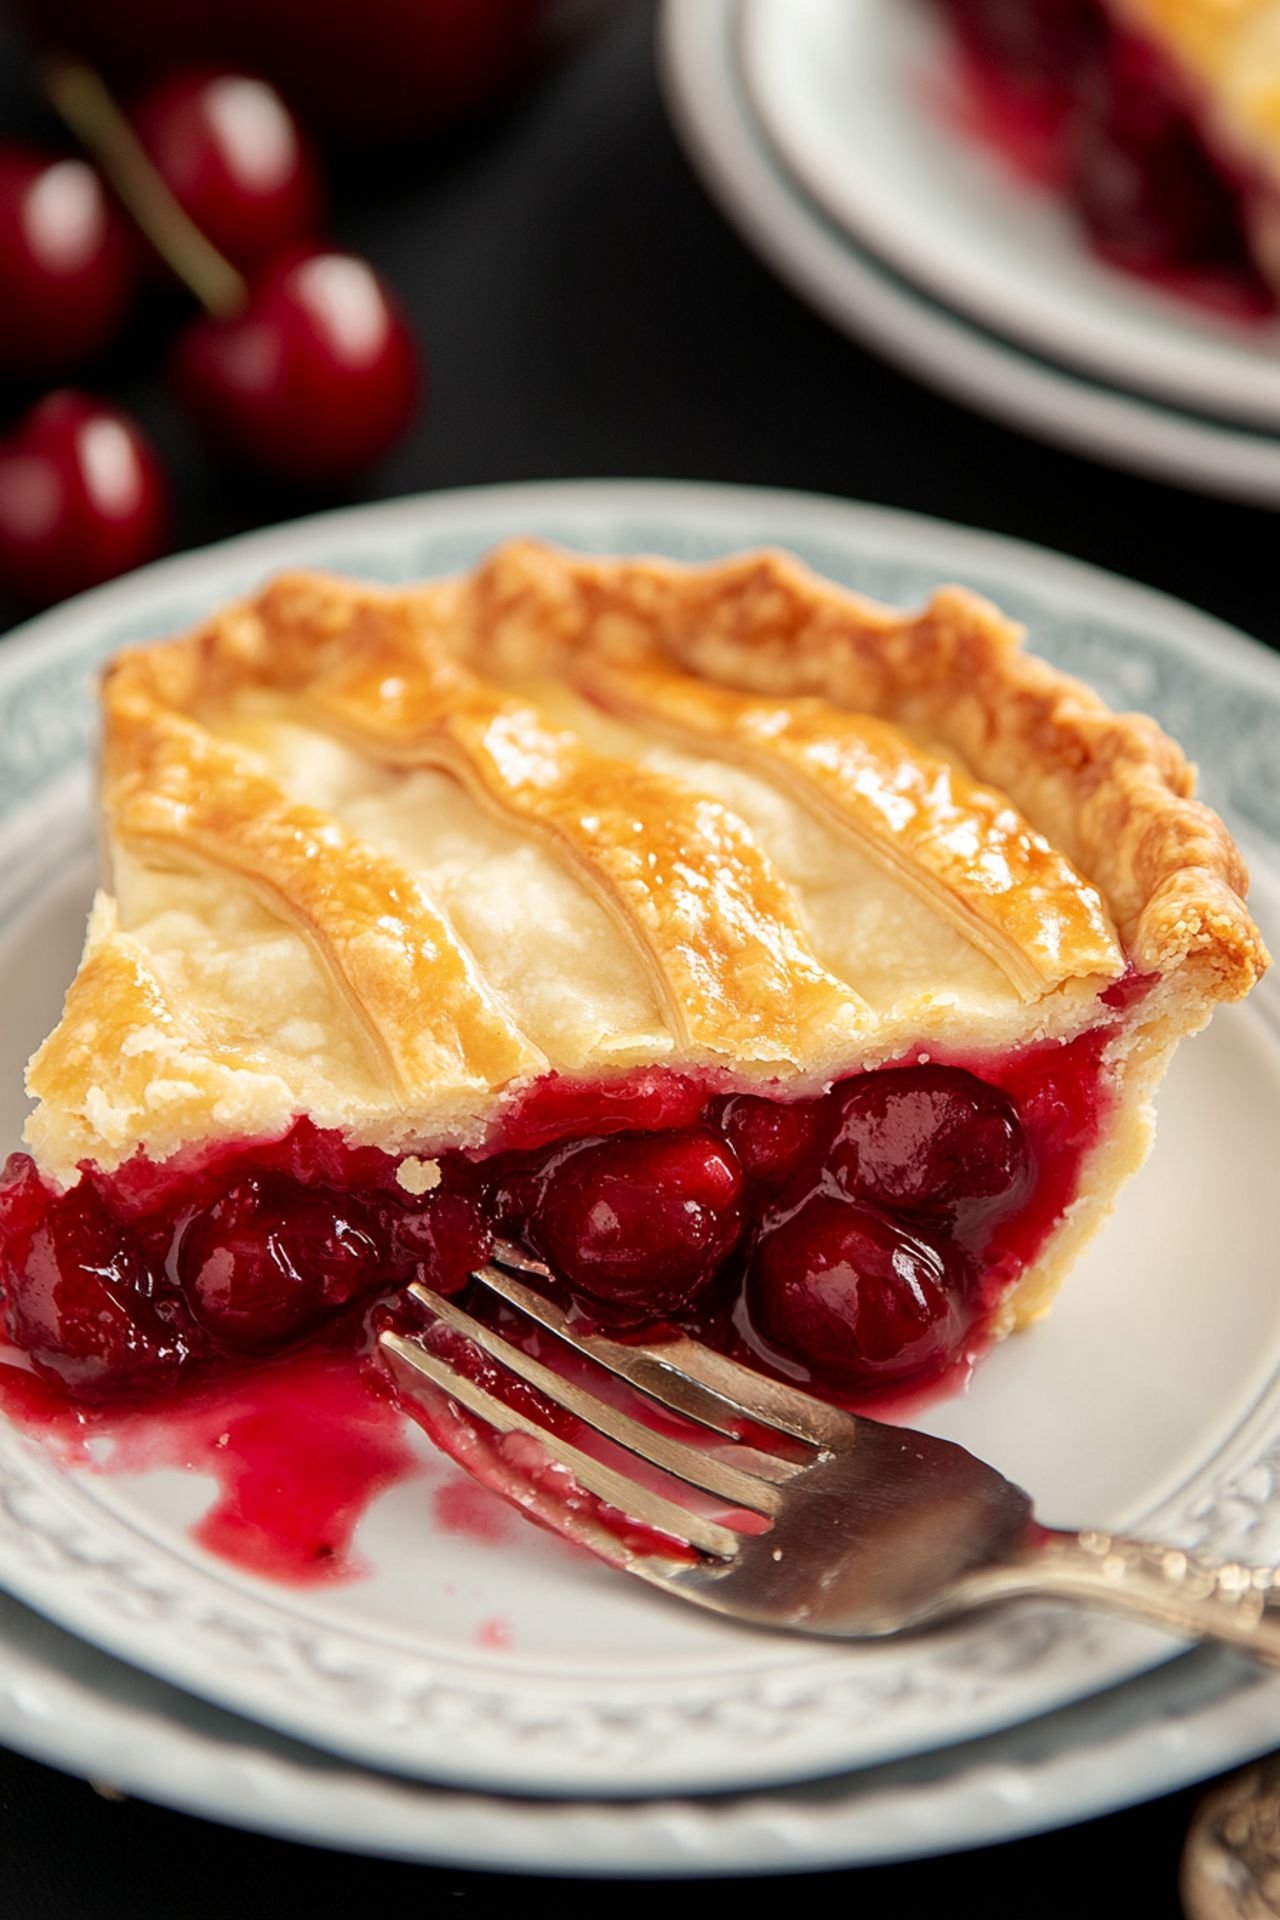
The key to achieving a crispy, golden crust in an air fryer lies in the right technique. Brushing the top with an egg wash ensures a glossy finish, while using a quality pre-made pie crust saves time without sacrificing taste. If you love experimenting, try making your own pie dough for an even flakier texture!
Choosing the Right Cherry Filling
Not all cherry pie fillings are created equal! If you want a more homemade taste, consider using fresh or frozen cherries with a touch of sugar and cornstarch. For a quick and easy version, a high-quality canned filling does the trick. Either way, the air fryer intensifies the sweetness and creates a beautifully caramelized filling.
How to Make Air Fryer Cherry Pie – Step by Step
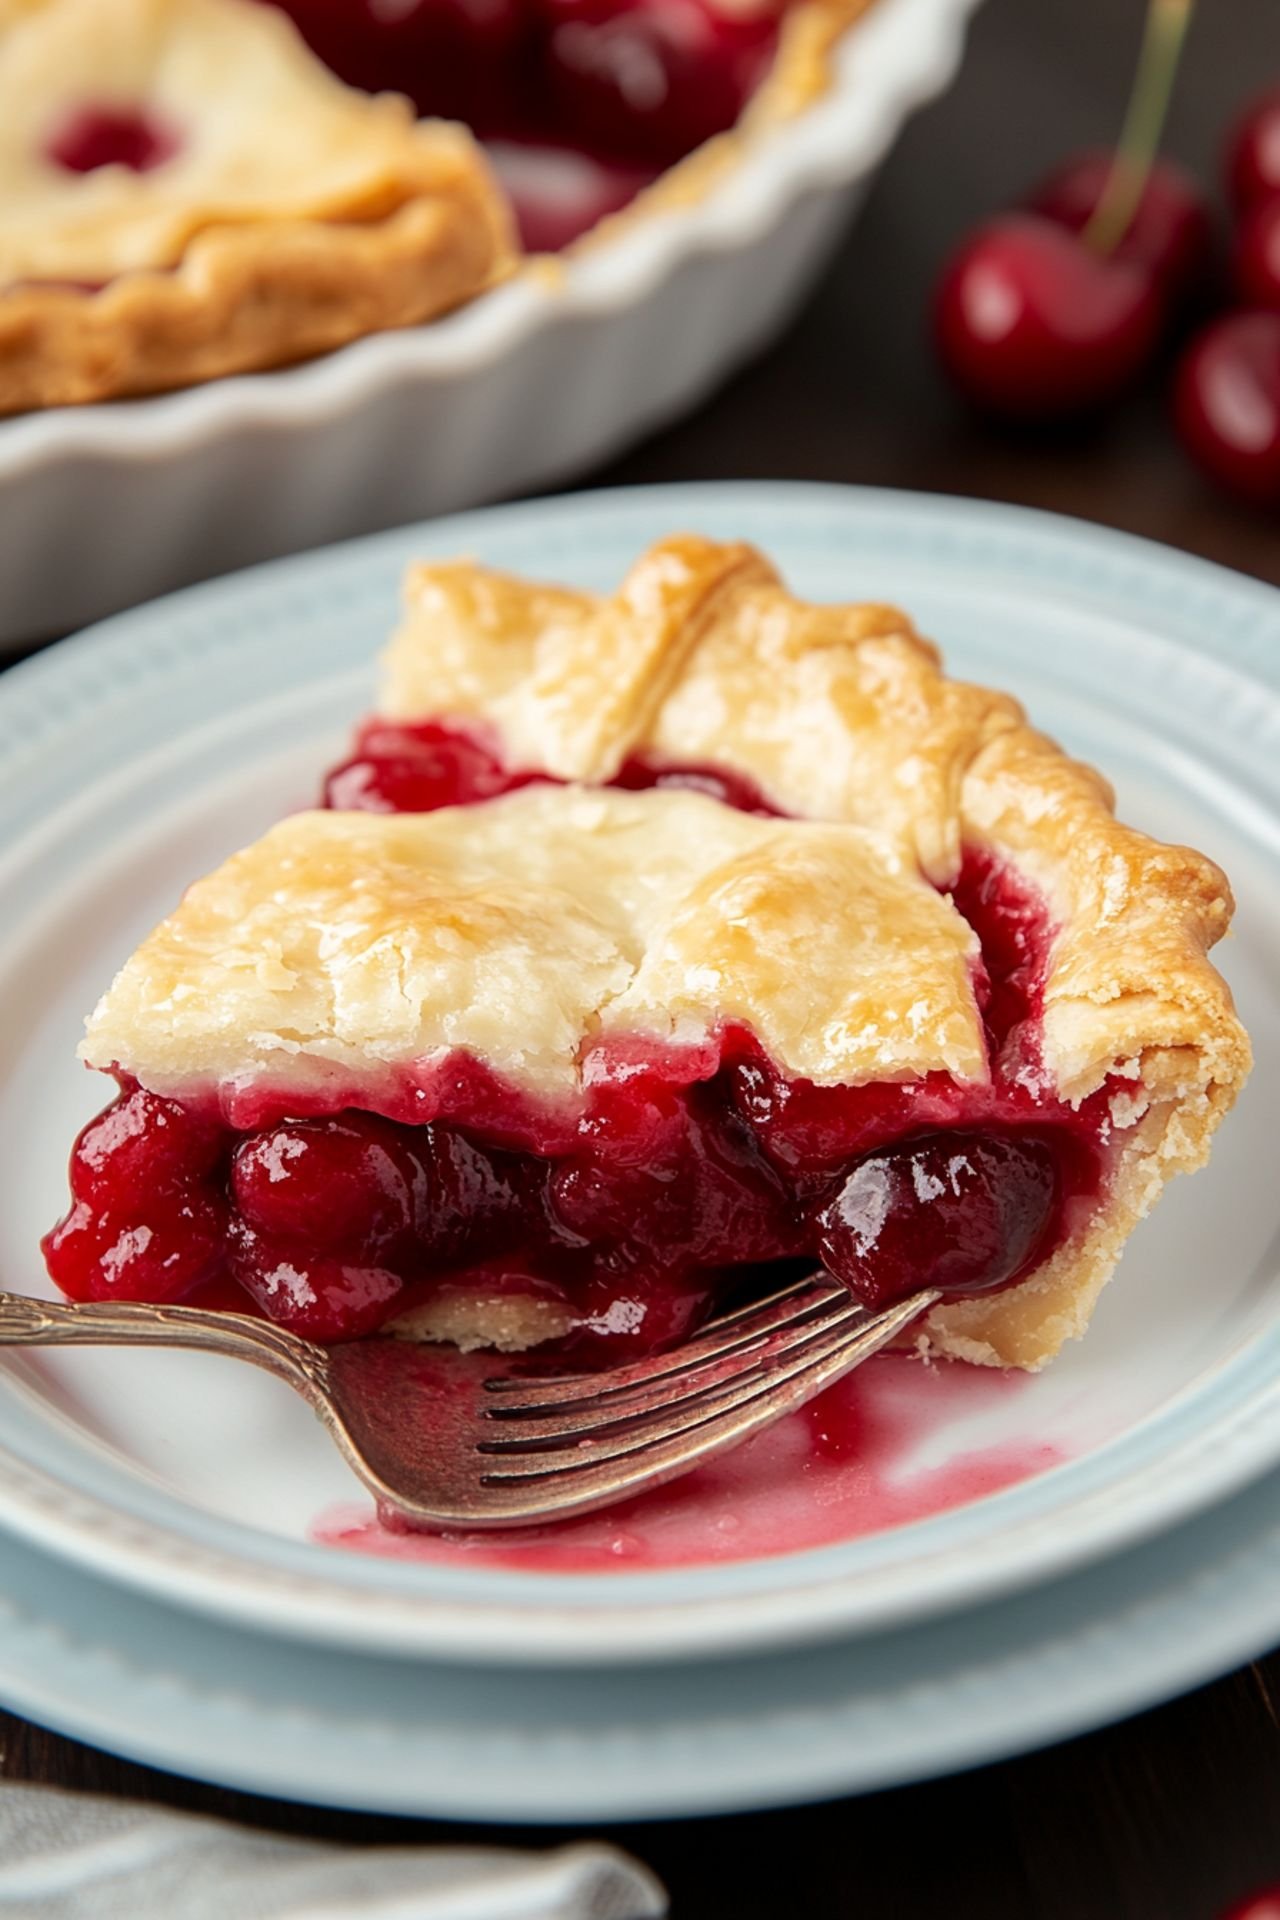
Making cherry pie in an air fryer is as simple as rolling out your dough, adding the cherry filling, and sealing it all together. Be sure to cut small slits on the top crust to allow steam to escape. Cook at 350°F for 12-15 minutes, and you’ll have a warm, crispy dessert ready to serve!
Serving Suggestions for the Ultimate Dessert
This cherry pie pairs beautifully with vanilla ice cream, a dollop of whipped cream, or even a drizzle of chocolate syrup. For a little extra crunch, sprinkle crushed almonds or walnuts on top. No matter how you serve it, this pie is a guaranteed crowd-pleaser.
Expert Tips for the Best Air Fryer Pie
- Use a perforated parchment liner to prevent sticking.
- Always preheat your air fryer for the best results.
- Experiment with different fillings like apple or blueberry.
- Let the pie cool slightly before slicing to prevent a runny filling.
Ready to enjoy a slice of homemade cherry pie with minimal effort? Visit Patricia Universe for more easy air fryer desserts and baking ideas!
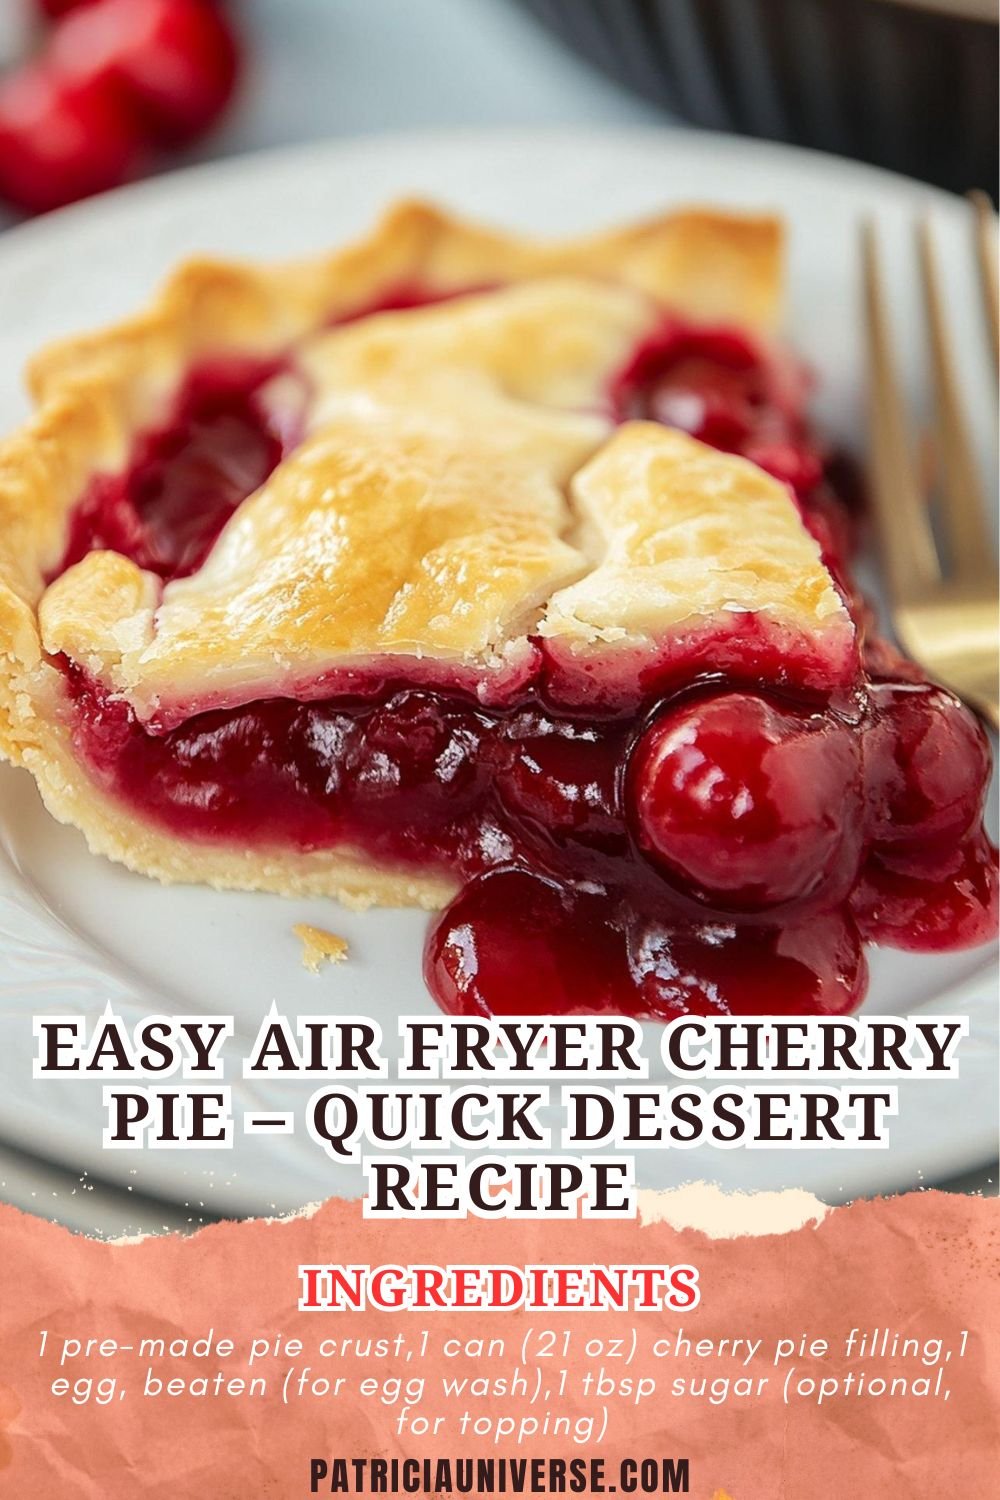
Air Fryer Cherry Pie – Quick & Easy Dessert
Ingredients
- 1 pre-made pie crust
- 1 can (21 oz) cherry pie filling
- 1 egg, beaten (for egg wash)
- 1 tbsp sugar (optional, for topping)
- 1 tbsp flour (for dusting)
- Cooking spray
Instructions
- Preheat your air fryer to 350°F (175°C).
- Lightly flour a surface and roll out the pie crust.
- Cut the crust to fit your air fryer basket or use small pie pans.
- Fill the crust with cherry pie filling, leaving a small border.
- Cover with another layer of pie crust, sealing the edges with a fork.
- Brush the top with egg wash and sprinkle with sugar if desired.
- Place the pie in the air fryer and cook for 12-15 minutes until golden brown.
- Allow to cool slightly before serving.


Leave a Comment