
Table of Contents
- Introduction to Blue Cake Pops
- The Charm of These Sweet Treats
- Perfect for Every Celebration
- How to Achieve the Ideal Texture
- Decorating Ideas for Blue Cake Pops
- Storing and Serving Tips
- Final Thoughts and Tips from Patricia
Key Takeaways
Blue Cake Pops are a delightful dessert perfect for celebrations, gifting, or satisfying your sweet tooth. They are easy to make, customizable, and guaranteed to impress with their rich flavor and charming presentation. This recipe from Patricia at Patricia Universe walks you through each step to ensure perfect results every time.
Introduction to Blue Cake Pops
Blue Cake Pops are a whimsical and versatile dessert that can brighten up any occasion. With their smooth coating, moist cake center, and customizable decorations, these bite-sized desserts are a hit with kids and adults alike. At Patricia Universe, I love creating treats like these that combine ease with a wow factor—making them ideal for birthdays, baby showers, or just a weekend indulgence.
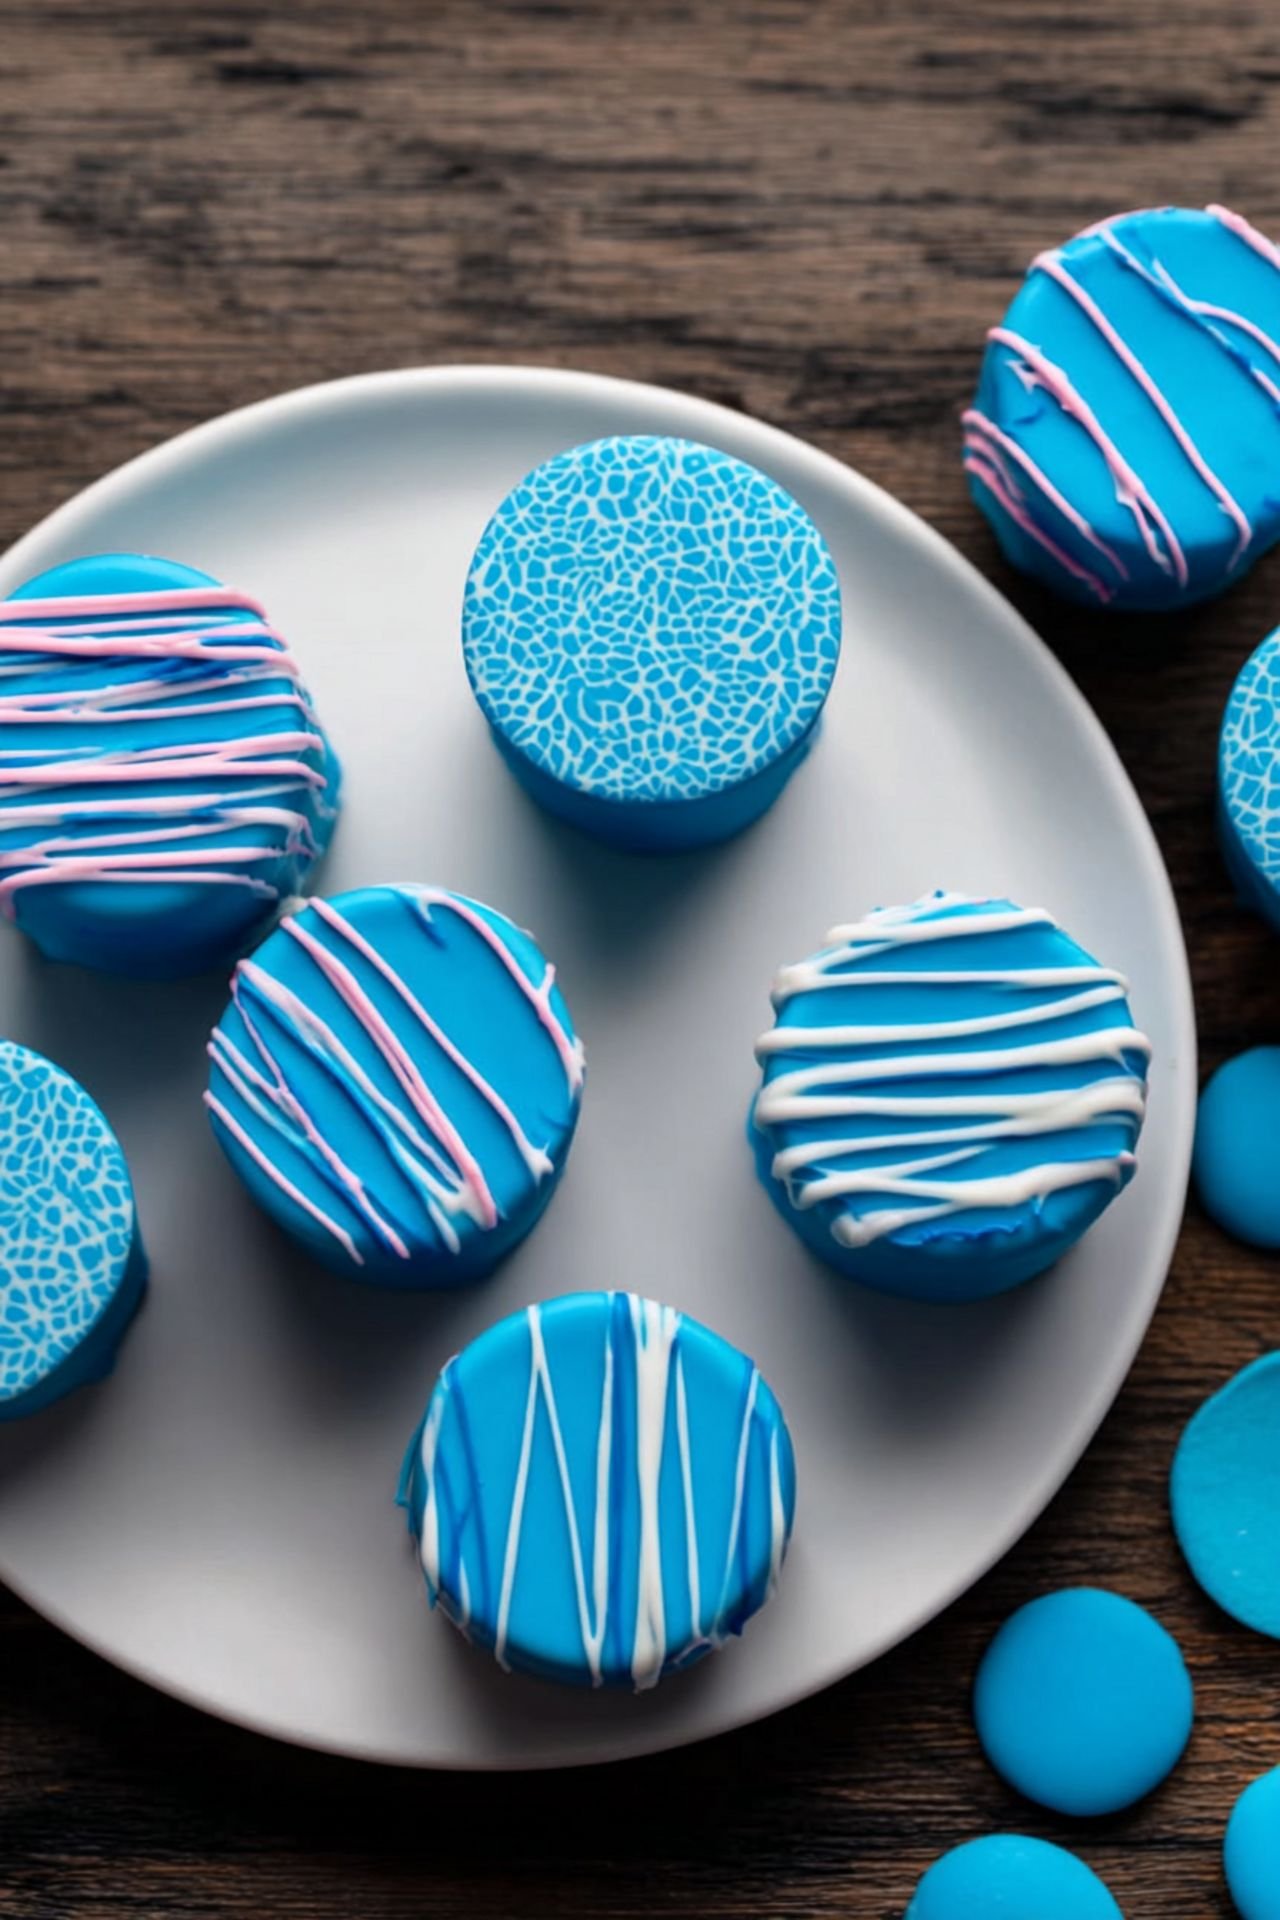
The Charm of These Sweet Treats
Part of the appeal of Blue Cake Pops lies in their adaptability. You can match the color theme to your party, experiment with different cake flavors, or try new coatings. The combination of a tender cake interior with a crisp chocolate shell makes each bite irresistible. These cake pops are also a great hands-on activity for kids, letting them decorate with sprinkles, edible glitter, or colored drizzles.
Perfect for Every Celebration
Whether you’re hosting a baby shower, celebrating a birthday, or adding a fun touch to a wedding dessert table, Blue Cake Pops fit right in. Their individual serving size makes them easy to share, and their vibrant color ensures they’ll stand out in any dessert spread. Plus, since they can be made ahead, they take the stress out of last-minute party prep.
How to Achieve the Ideal Texture
The key to perfect Blue Cake Pops is achieving the right balance between the cake crumbs and frosting. Too much frosting will make them overly sweet and sticky, while too little can cause them to crumble. Chill the formed cake balls before dipping to ensure a smooth coating and fewer cracks. Patricia’s tip: work in small batches to keep everything fresh and manageable.
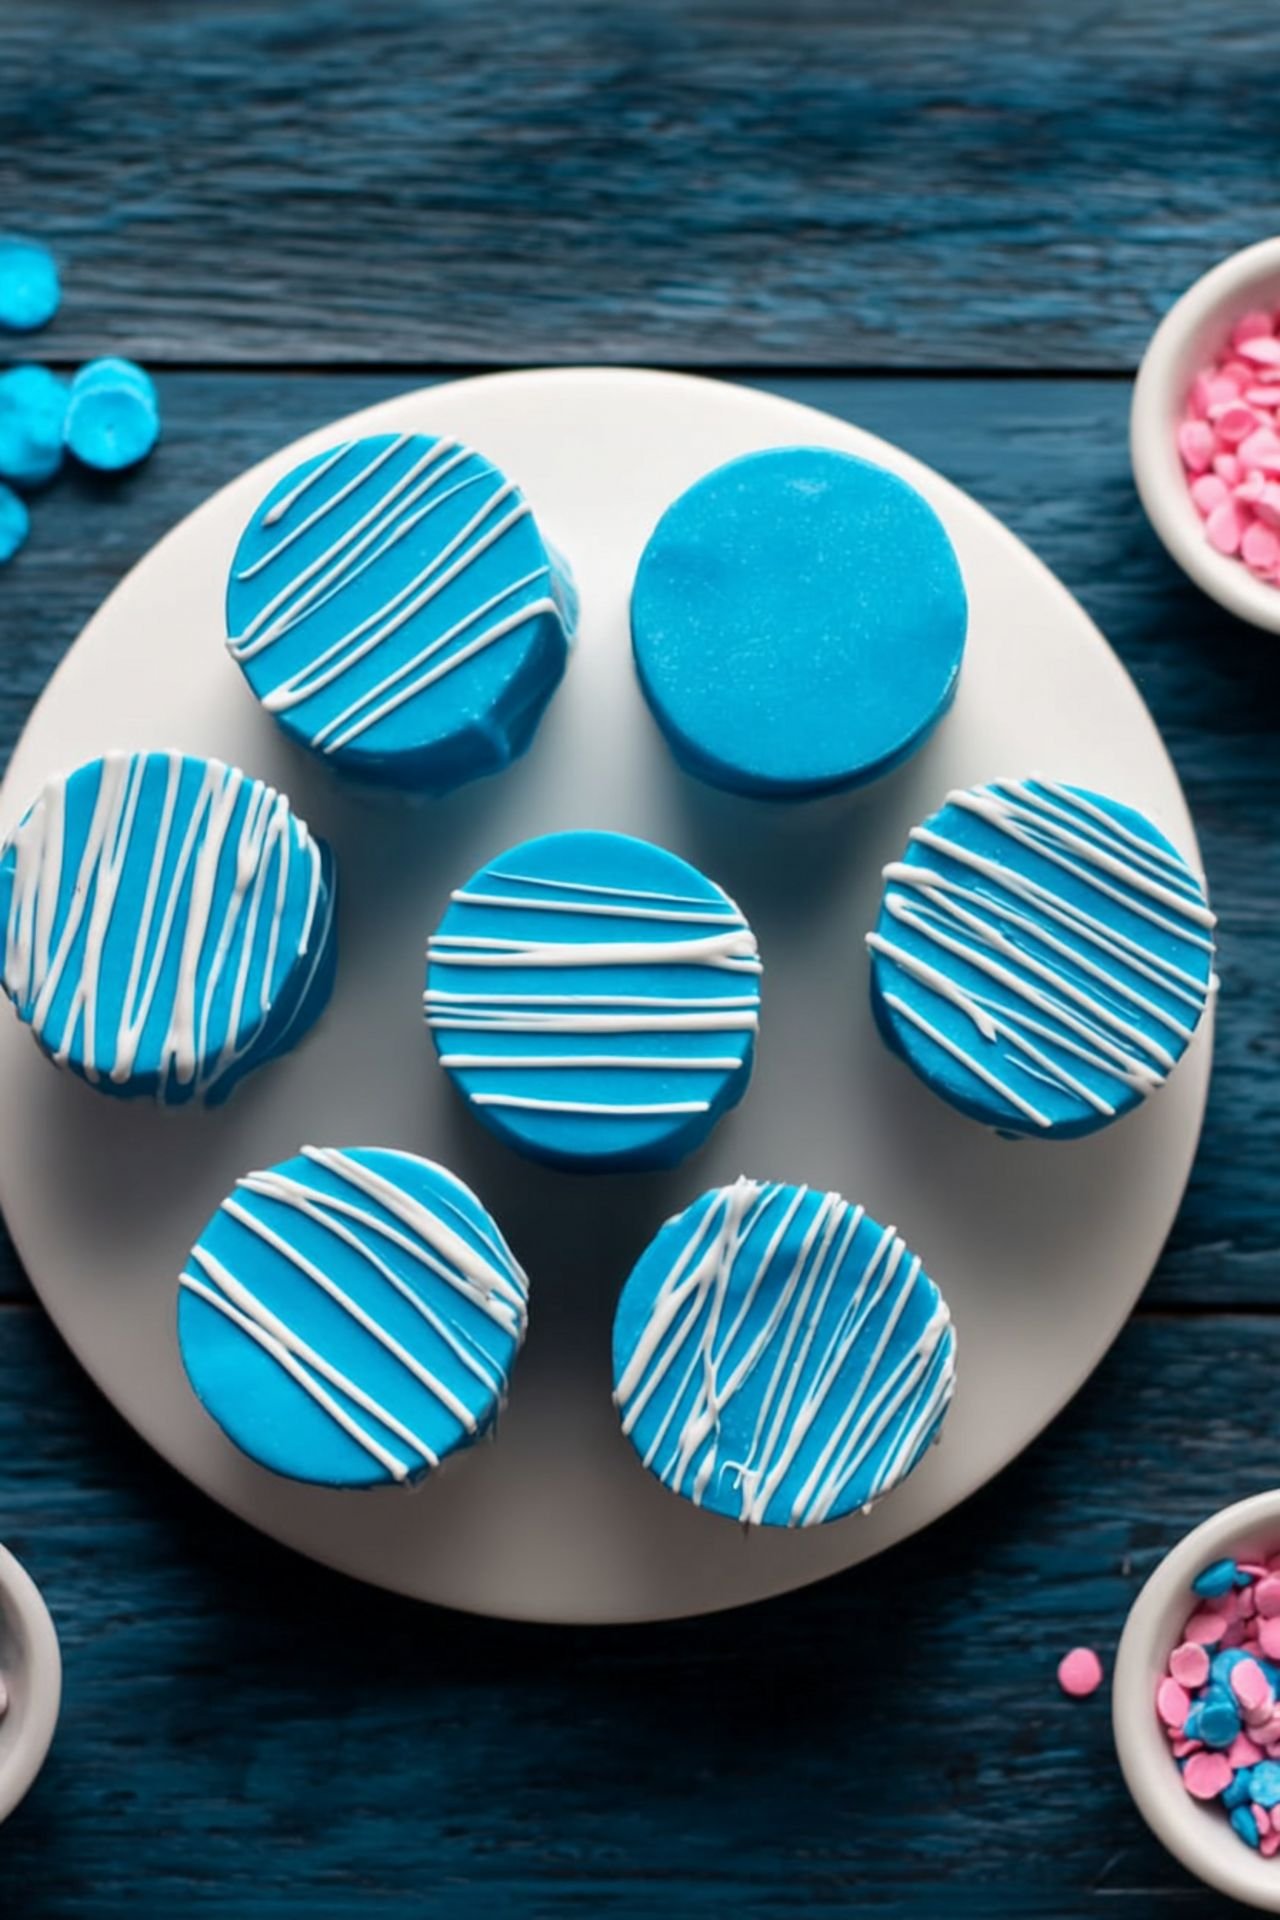
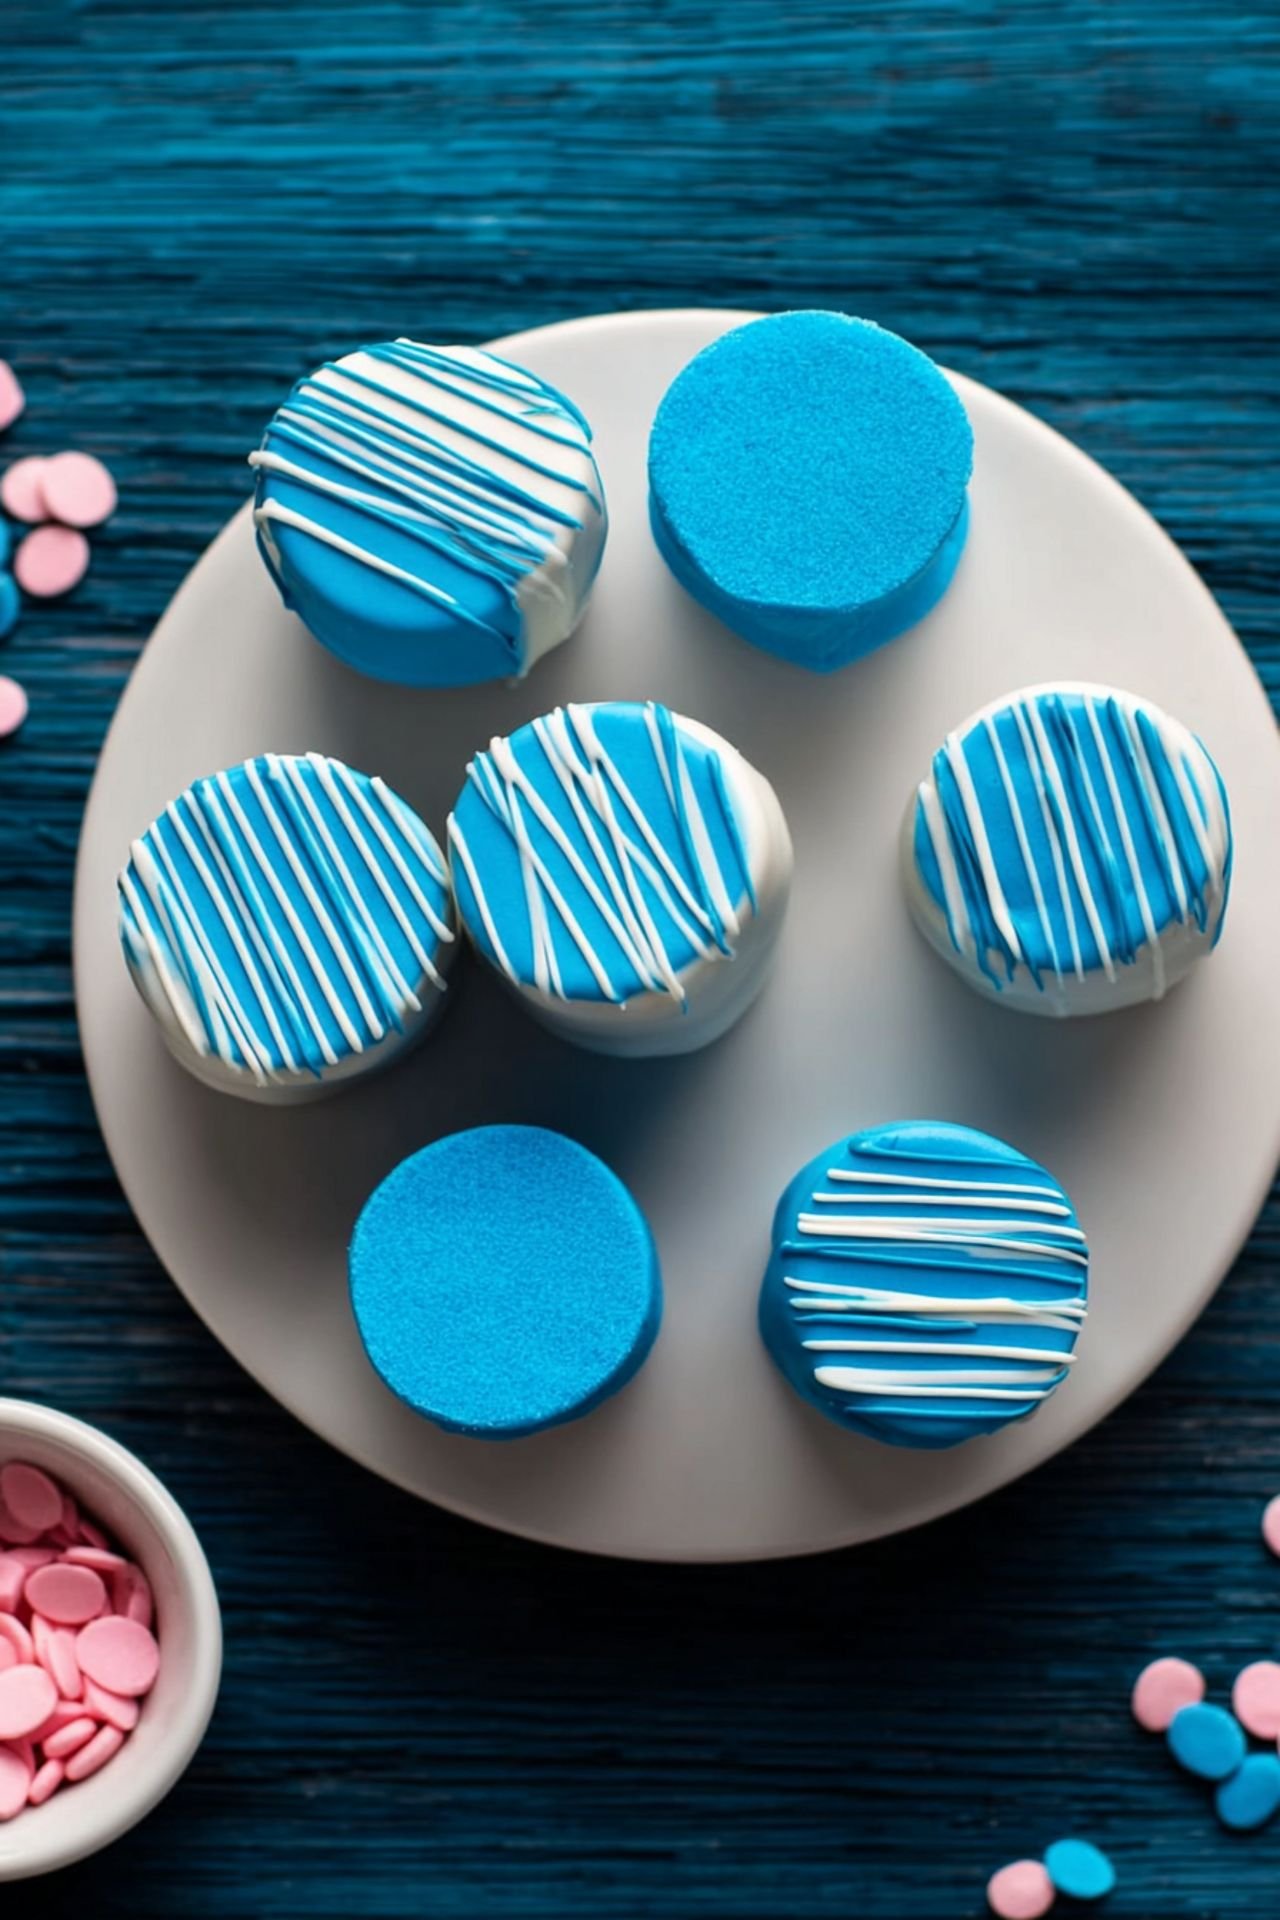
Decorating Ideas for Blue Cake Pops
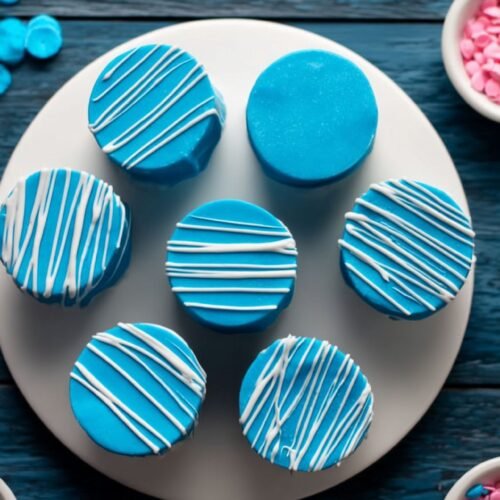
One of the joys of making Blue Cake Pops is the creative decorating process. You can opt for a sleek, uniform finish or go all out with colorful sprinkles, drizzled chocolate, or themed toppers. For a gender reveal party, use a white or pink interior for a fun surprise inside the blue coating. At Patricia Universe, I often mix textures and finishes to make the pops extra eye-catching.
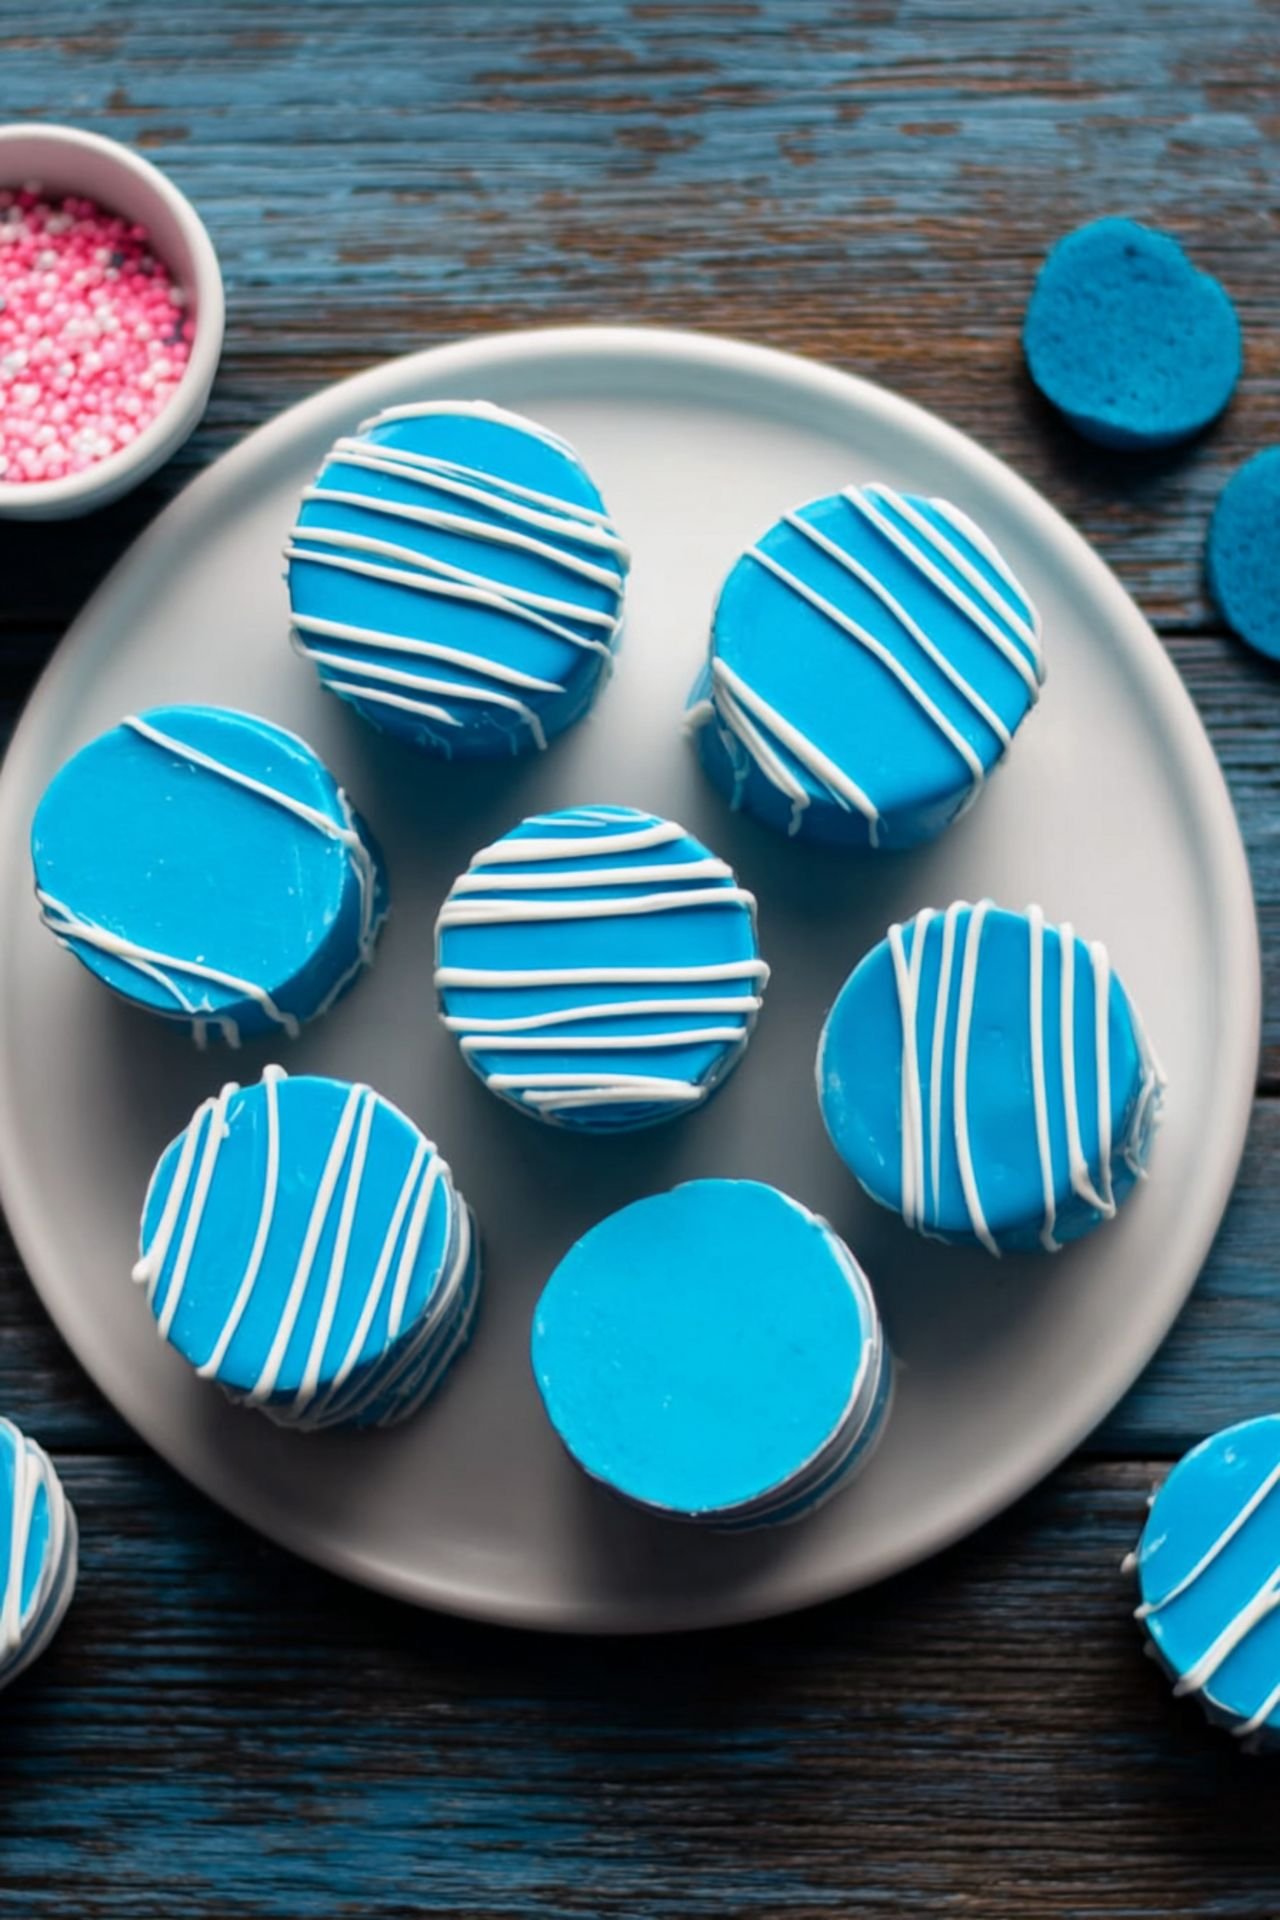
Storing and Serving Tips
Blue Cake Pops can be stored in an airtight container at room temperature for up to three days or in the refrigerator for up to a week. If you’re making them ahead for a special event, store them upright in a foam block to keep their shape intact. Serve them on a tiered stand for a professional look that will impress guests.
Final Thoughts and Tips from Patricia
Making Blue Cake Pops at home is a fun, rewarding project that can be tailored to fit any event or personal taste. With the right techniques and a little creativity, these delightful desserts will be the highlight of your celebration. For more creative dessert ideas, visit me at Patricia Universe.
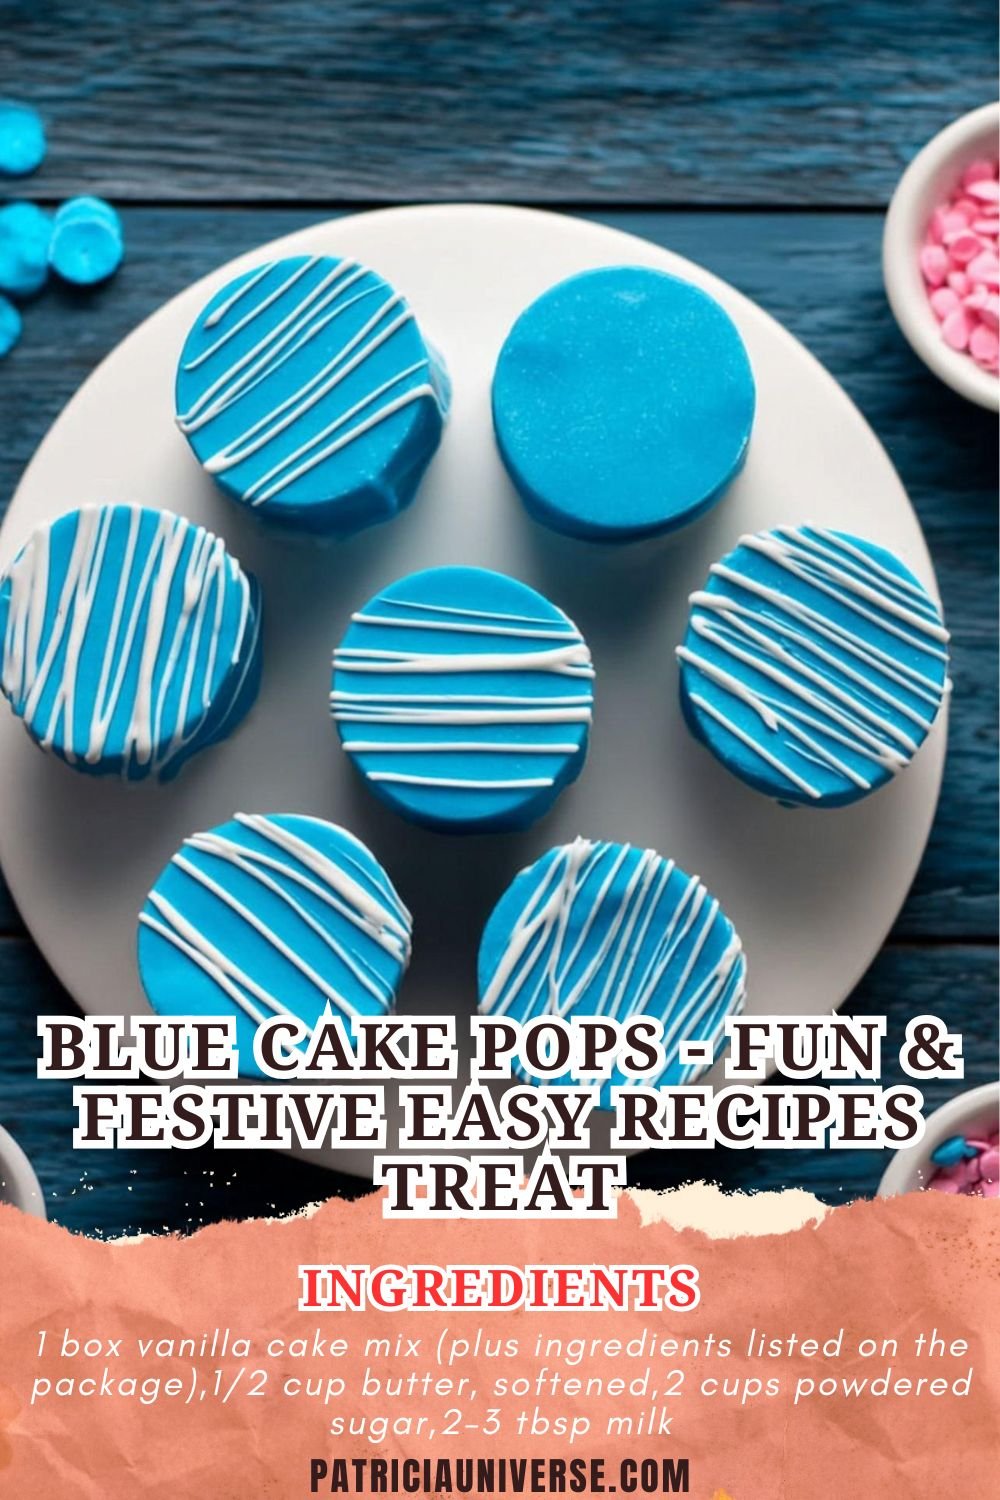
Blue Cake Pops – Fun & Festive Easy Recipes Treat
Ingredients
- 1 box vanilla cake mix (plus ingredients listed on the package)
- 1/2 cup butter, softened
- 2 cups powdered sugar
- 2–3 tbsp milk
- 1 tsp vanilla extract
- Blue food coloring
- 12 oz blue candy melts
- 2 tbsp shortening or coconut oil
- Sprinkles (optional)
- Lollipop sticks
Instructions
- Bake the cake according to package instructions and let it cool completely.
- Crumble the cooled cake into a large mixing bowl.
- In a separate bowl, make the frosting by beating the butter until creamy, then adding powdered sugar, milk, vanilla, and blue food coloring until smooth.
- Mix frosting into the crumbled cake until it reaches a moldable consistency.
- Roll the mixture into small balls and place them on a parchment-lined baking sheet. Chill for 1–2 hours.
- Melt the blue candy melts with shortening or coconut oil until smooth.
- Dip the tip of each lollipop stick into the melted coating, then insert it into a cake ball. Let set for a few minutes.
- Dip each cake pop fully into the melted candy coating, gently tapping off excess.
- Decorate with sprinkles if desired, then let them set completely before serving.


Leave a Comment