Table of Contents
- Key Takeaways
- Why These Halloween Cookies Are a Must-Try
- The Perfect Spooky Treat for Your Party Table
- Fun Halloween Cookies That Kids Will Love
- Tips for Creating Realistic Witch Fingers
- Make Ahead and Storage Tips
- About Patricia and Patricia Universe
Key Takeaways
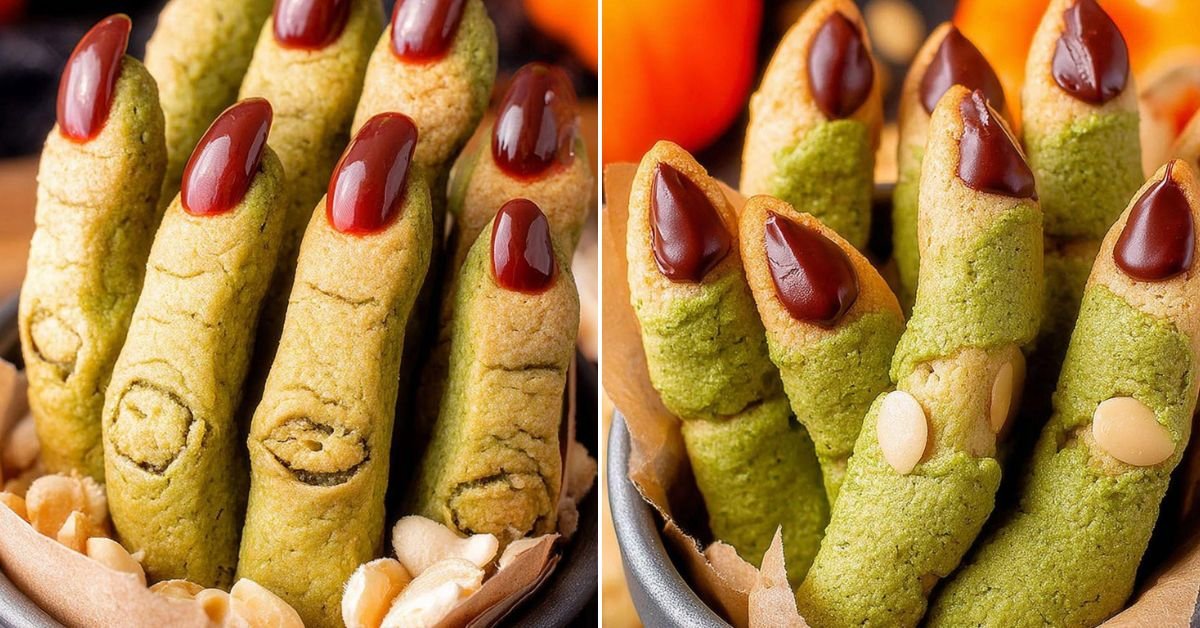
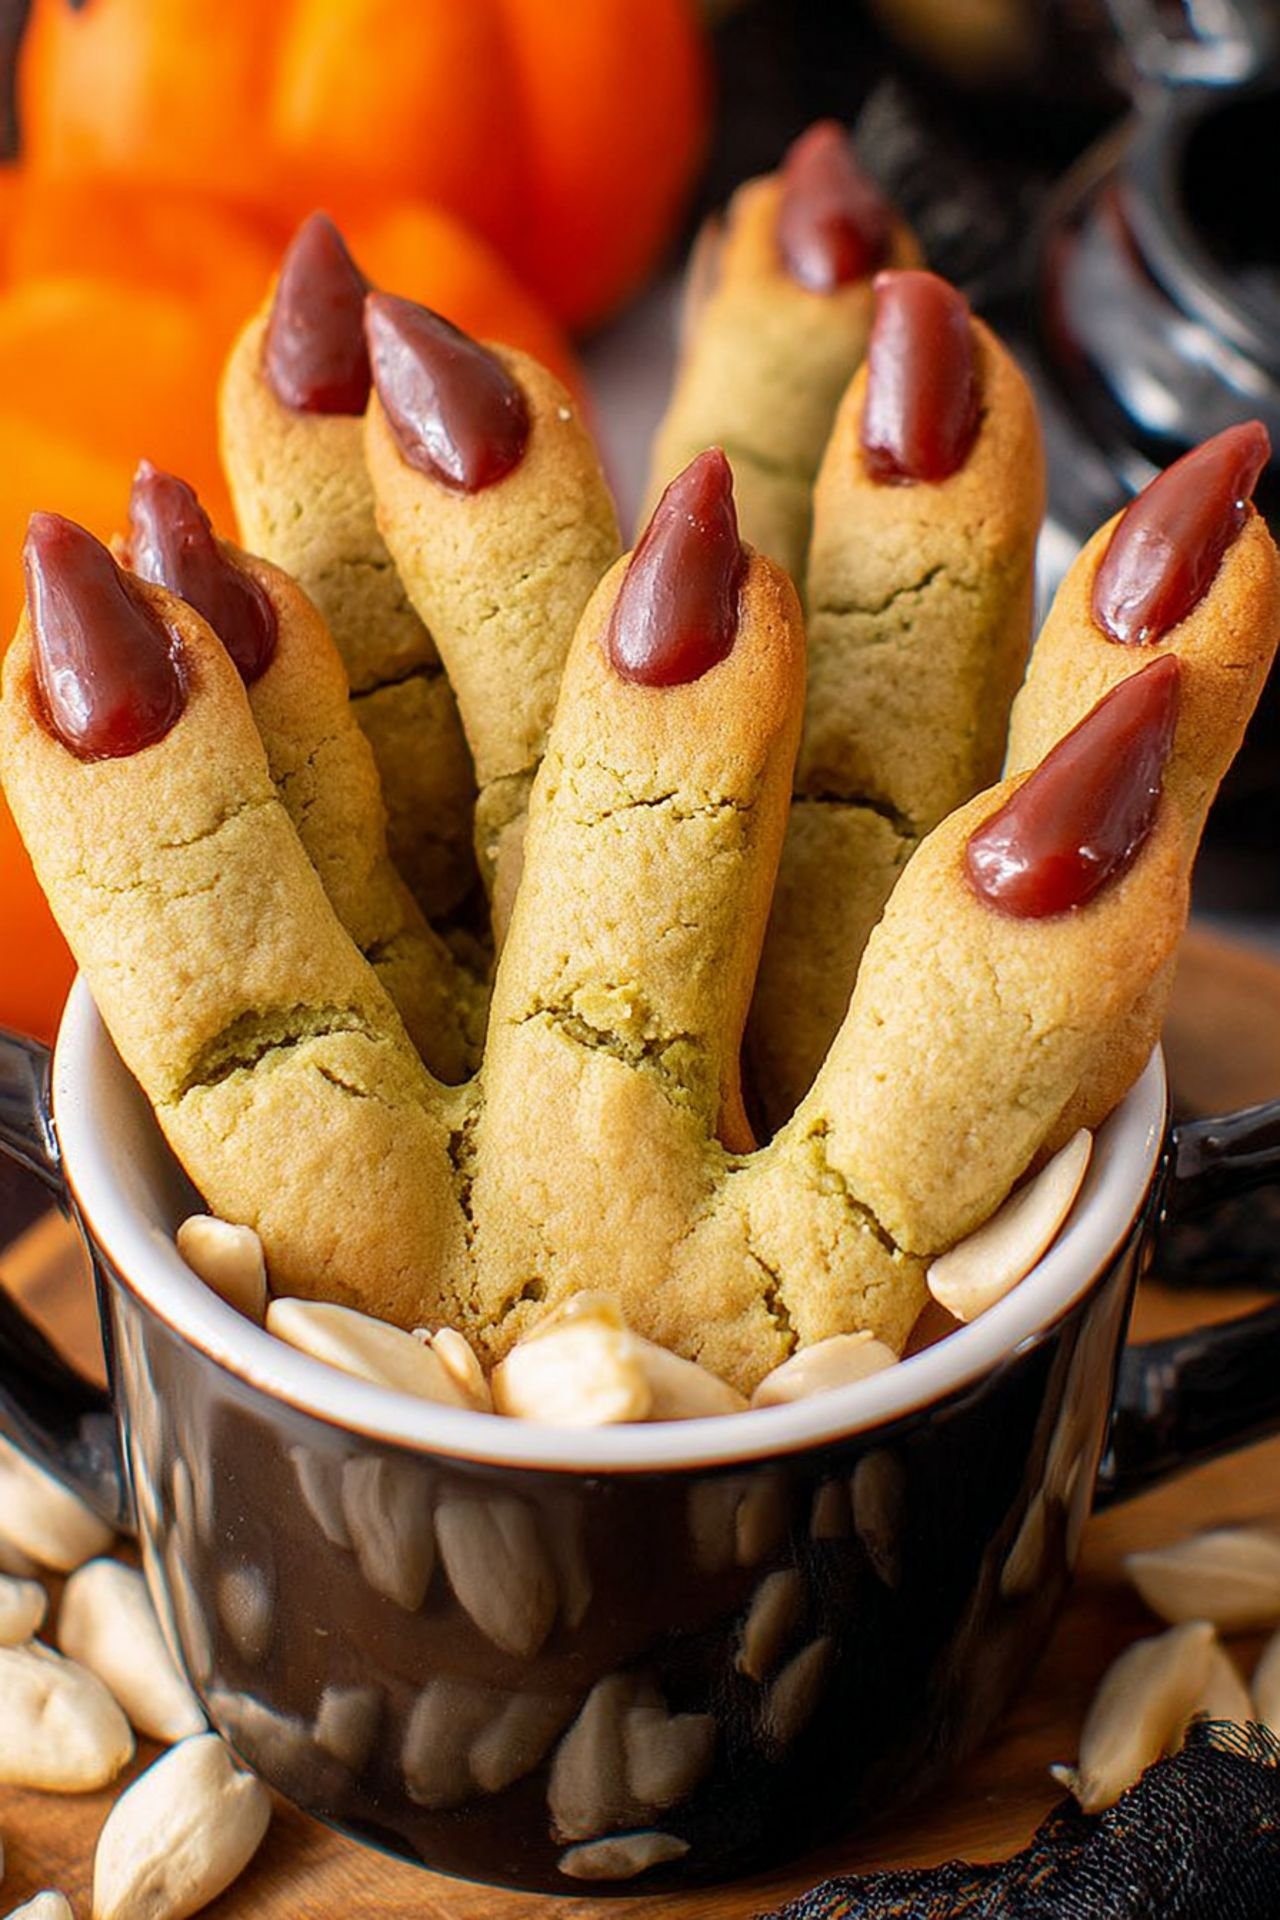
These creepy Halloween cookies shaped like witch fingers are easy to make, fun to serve, and absolutely perfect for spooky-themed parties. They’re buttery, slightly sweet, and detailed to look ghoulishly realistic with almond nails and red gel “blood.” A must-bake for anyone looking to create memorable Halloween desserts.
Why These Halloween Cookies Are a Must-Try
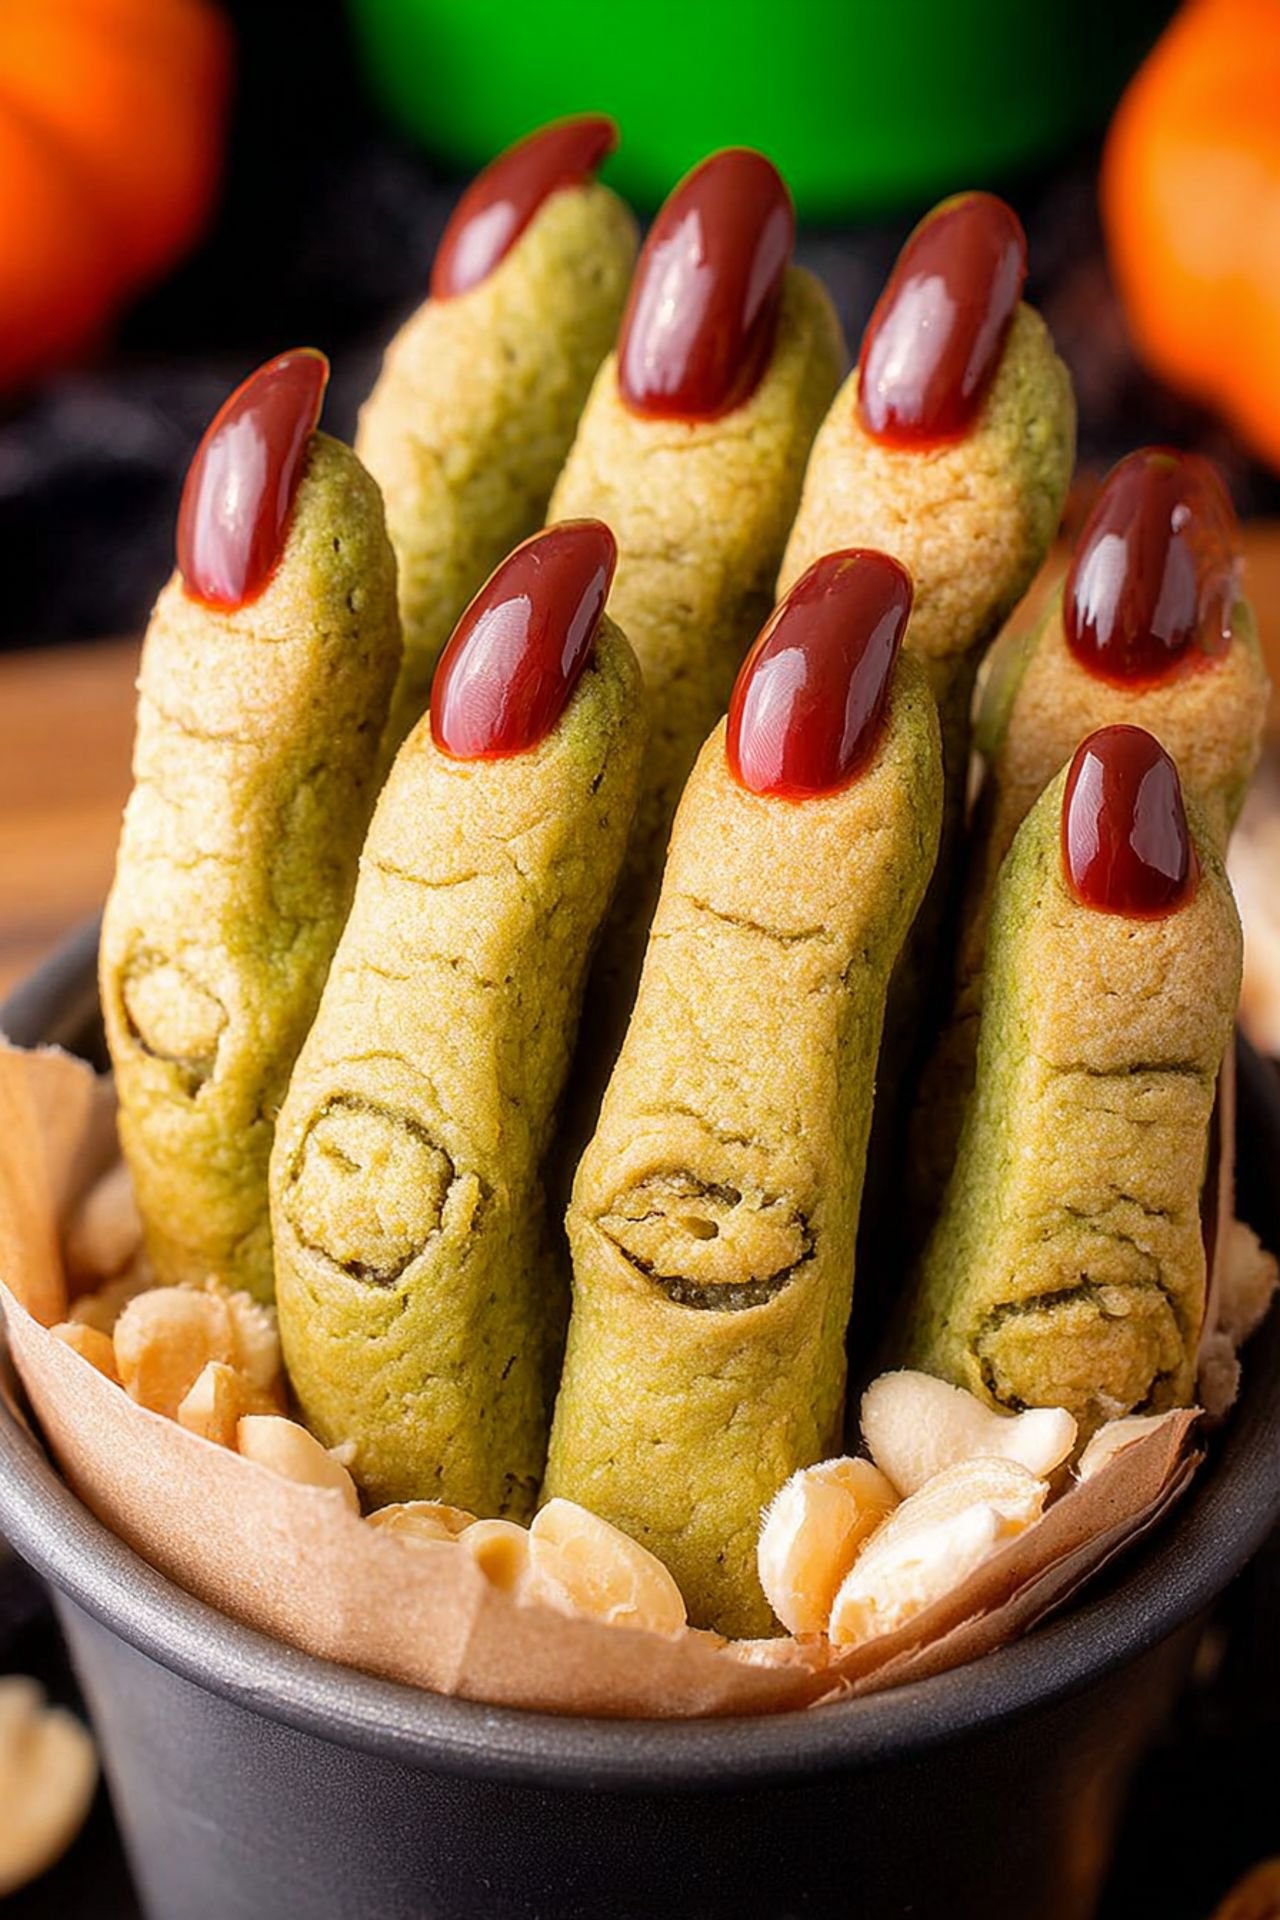
If you’re planning to wow guests at your Halloween party, these Halloween cookies are the show-stopping centerpiece you need. With their creepy finger shapes, gory red gel, and crunchy almond nails, they hit the perfect balance between festive and frightful. I love how they always get people talking—and laughing!
The Perfect Spooky Treat for Your Party Table
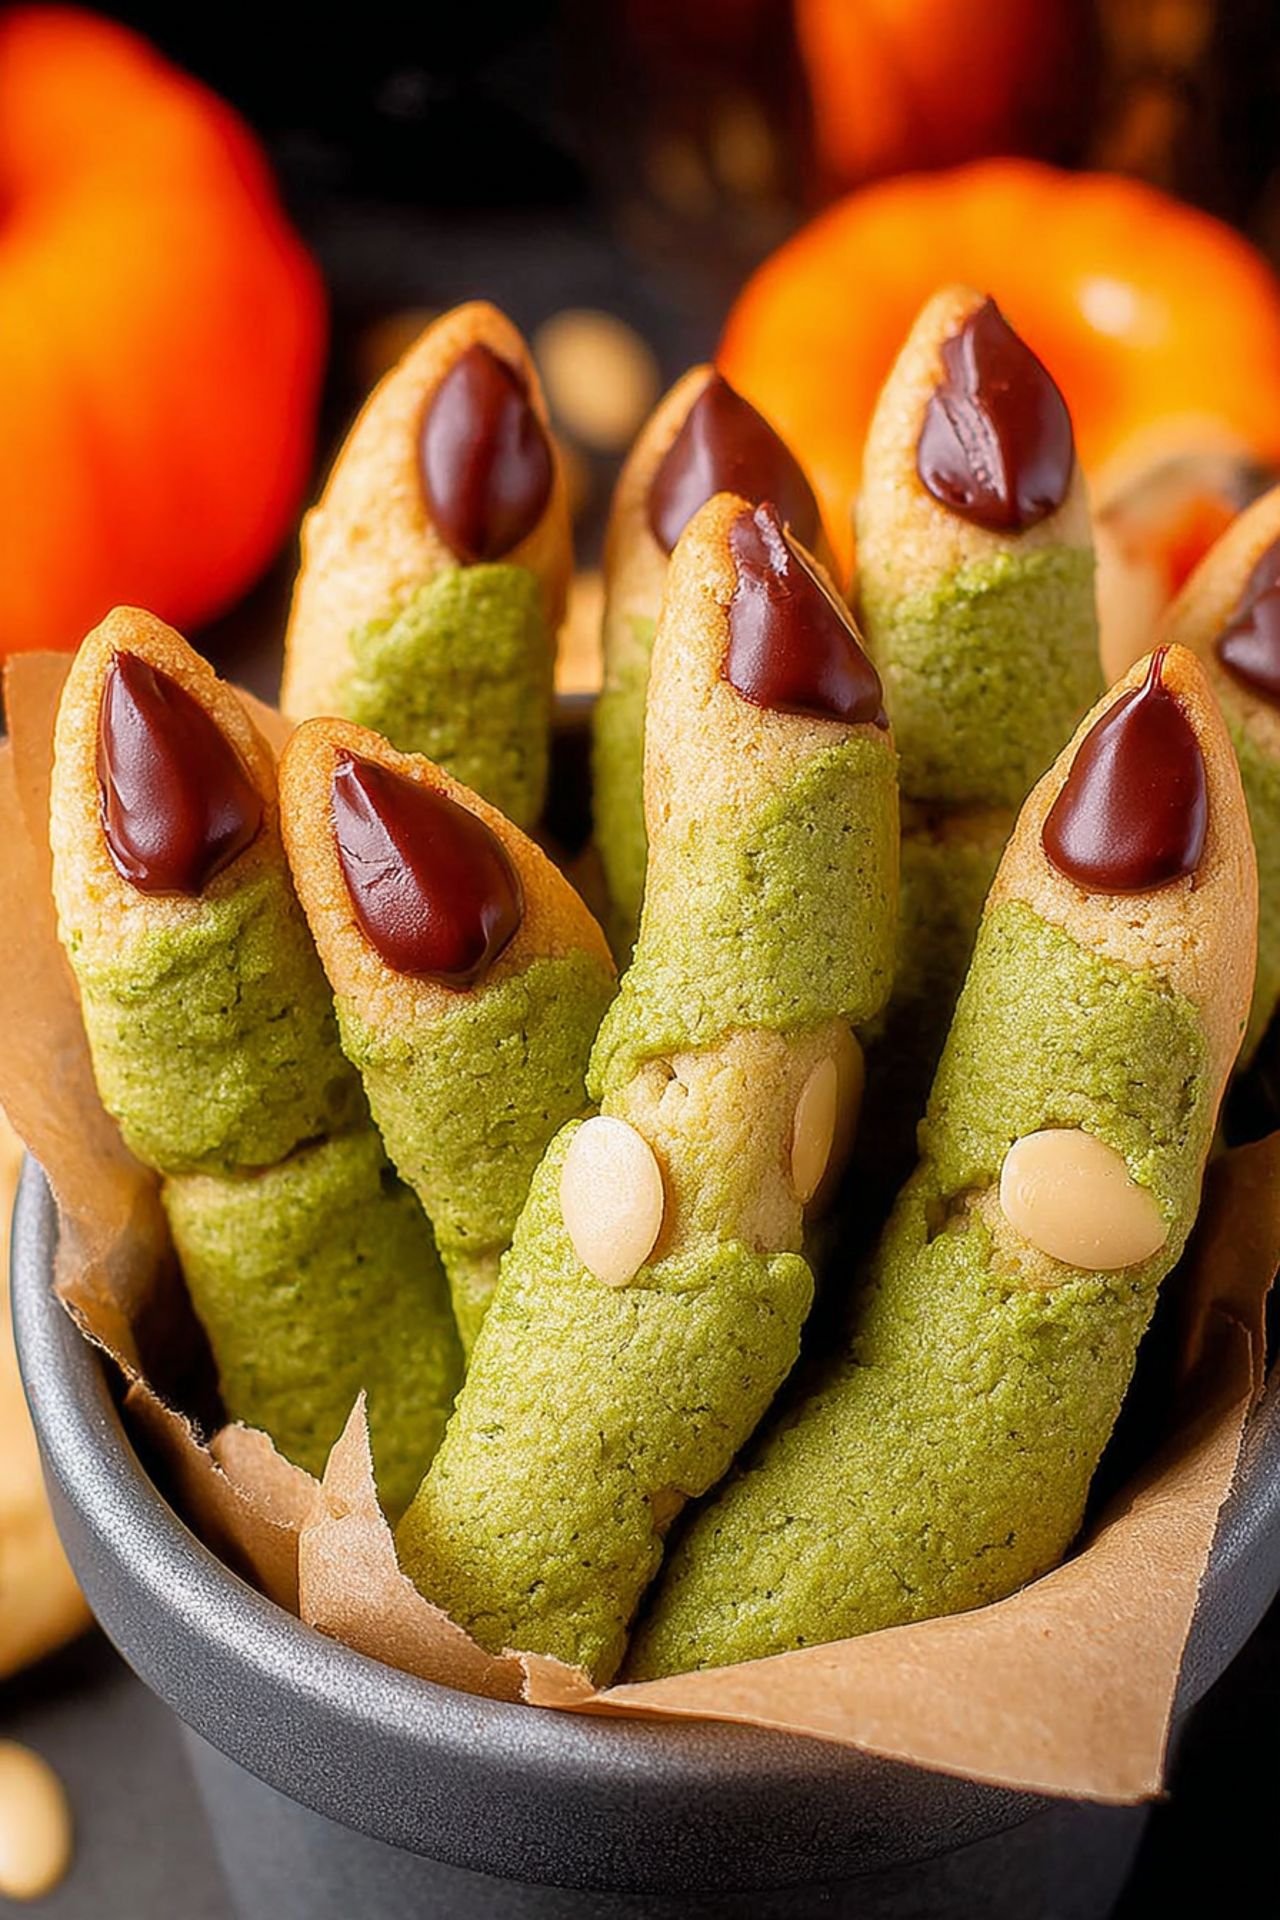
Spooky treats are a Halloween essential, and these cookies couldn’t be more on-theme. Their shape is chilling, their taste is delightful, and they fit seamlessly among other creepy snacks like ghost cupcakes or mummy hot dogs. Whether you make them green or leave them natural, they always stand out.
Fun Halloween Cookies That Kids Will Love
Kids are obsessed with these fun Halloween food ideas—especially when they get to help shape the fingers. It’s the kind of hands-on kitchen activity that doubles as entertainment. Plus, they’re not overly sweet, so even parents sneak a few without guilt. Halloween cookies like these are instant crowd-pleasers.
Tips for Creating Realistic Witch Fingers
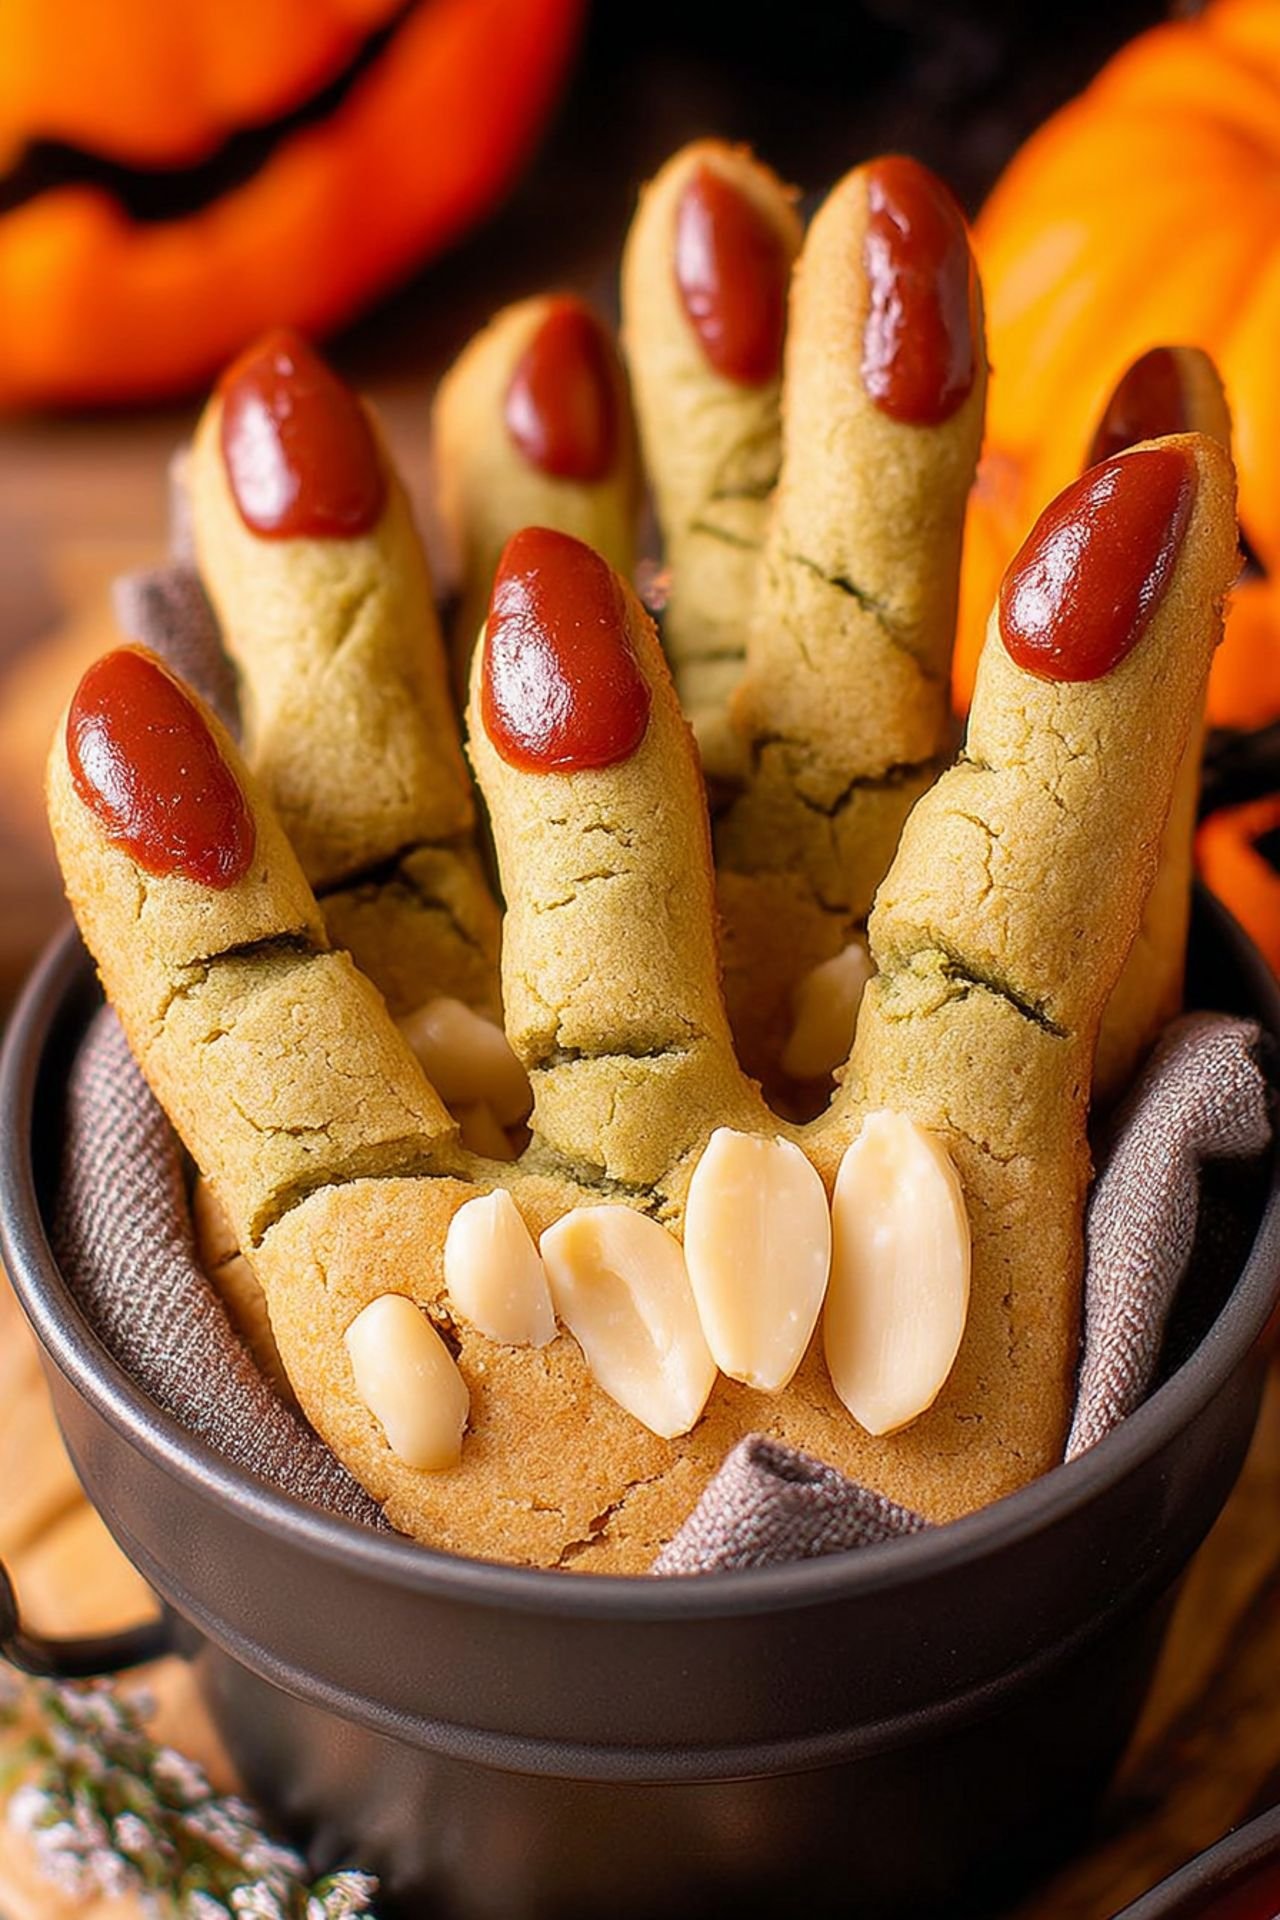
To make your witch fingers look extra spooky, use a paring knife to create knuckle creases and taper the dough like a real finger. Press the almond in before baking to leave an imprint, then lift it out, add the red decorating gel, and press it back in for that oozing blood effect. Want to go all in? Tint the dough with green food coloring for an eerie, witchy vibe. These Halloween desserts never fail to impress when you add that extra attention to detail.
Make Ahead and Storage Tips
You can make the dough a day ahead and keep it chilled in the fridge. After baking, the cookies store well in an airtight container for up to five days. These cookie recipes are great for prepping early—just don’t decorate them until the day of serving to keep the almond nails in place.
About Patricia and Patricia Universe
This recipe is brought to you by Patricia from Patricia Universe, your go-to source for fun Halloween food ideas, spooky treats, and easy recipes your whole family will enjoy. Patricia shares seasonal favorites, classic comfort bakes, and creative twists on everyday desserts that bring joy and a little flair to the table.
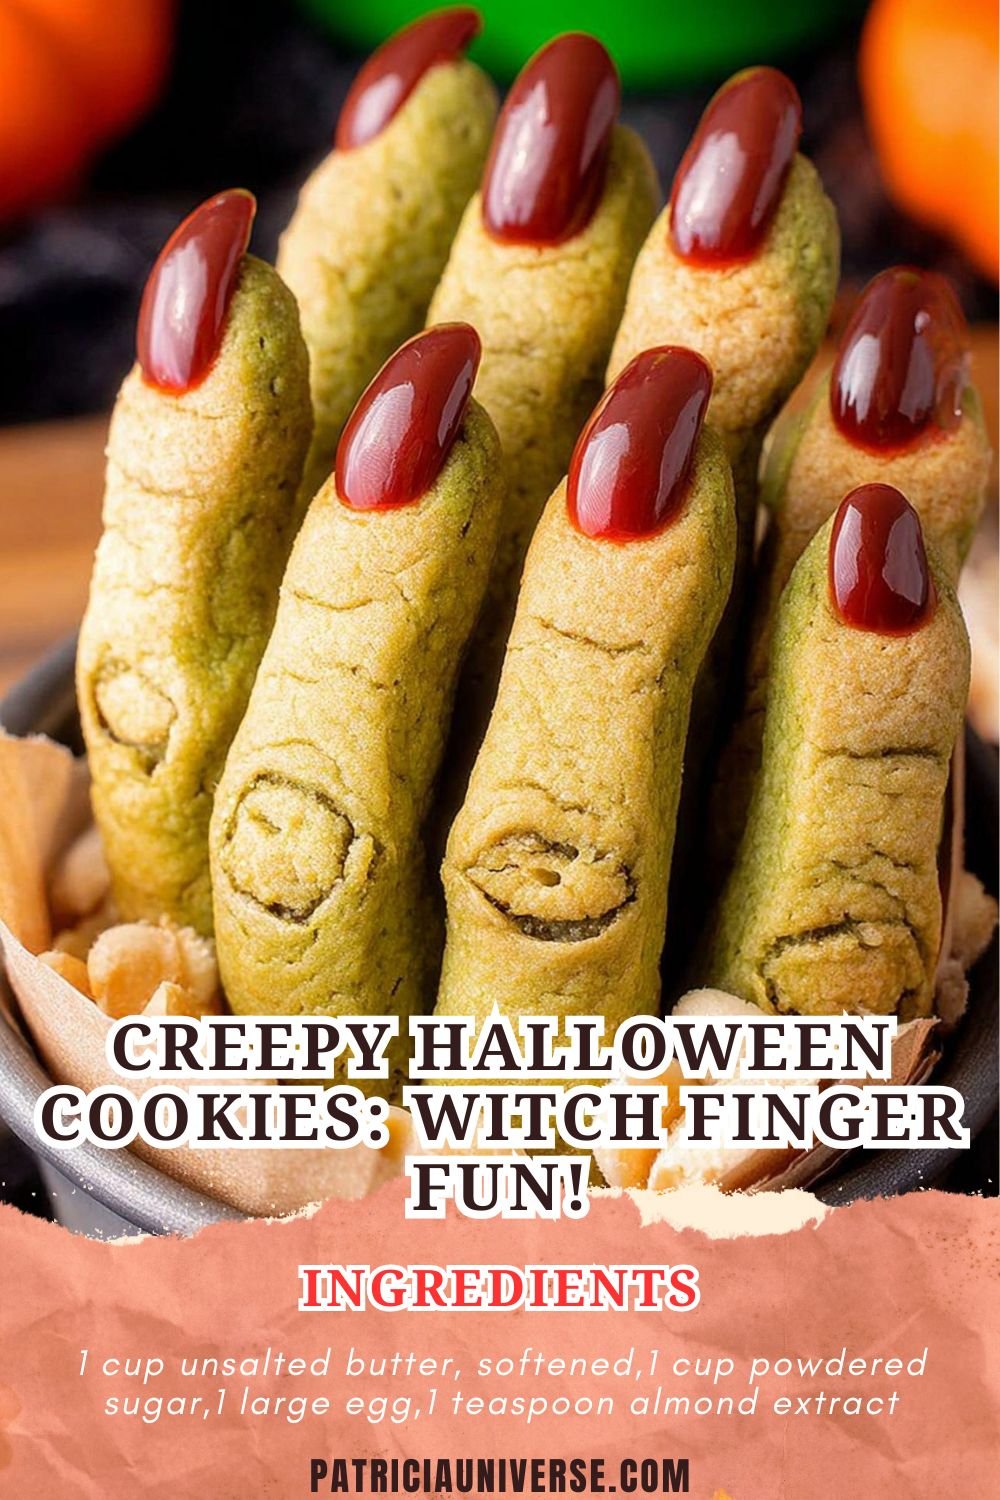

Creepy Halloween Cookies: Witch Finger Fun!
Ingredients
- 1 cup unsalted butter, softened
- 1 cup powdered sugar
- 1 large egg
- 1 teaspoon almond extract
- 1 teaspoon vanilla extract
- 2 2/3 cups all-purpose flour
- 1 teaspoon baking powder
- 1 teaspoon salt
- 3/4 cup whole blanched almonds
- Red decorating gel
- Green food coloring (optional)
Instructions
- In a large bowl, cream together the softened butter and powdered sugar until light and fluffy.
- Beat in the egg, almond extract, and vanilla extract.
- In a separate bowl, whisk together flour, baking powder, and salt. Gradually add to the wet mixture and mix until combined.
- Divide dough in half. Add green food coloring to one portion if desired. Cover and refrigerate for 30 minutes.
- Preheat oven to 325°F (163°C) and line baking sheets with parchment paper.
- Working with one dough portion at a time, scoop about 1 tablespoon of dough and shape into a finger.
- Press one almond into one end to create the fingernail.
- Use a knife to make knuckle lines and give the finger a creepy appearance.
- Place shaped fingers onto baking sheets and bake for 20–25 minutes or until lightly golden.
- Remove from oven, let cool for 3 minutes, then gently remove almond and squeeze red gel into the cavity. Replace almond to resemble bloody fingernail.
- Cool completely and serve!


Leave a Comment