Table of Contents
- Why This Easy Bread Recipe is a Game-Changer
- The Perfect “Bread Easy Recipes” Approach
- Unlocking Artisan Flavor at Home
- Minimal Ingredients, Maximal Results
- The Simple Art of No-Knead Baking
- Serving and Enjoying Your Loaf
- Frequently Asked Questions About Bread Easy Recipes
- The Full Recipe
- Notes & Tips
Key Takeaways
This homemade artisan bread recipe proves that bread easy recipes can yield spectacular results. With just four common pantry ingredients and a no-knead, hands-off method, you can create a bakery-quality loaf featuring a crisp, golden crust and a soft, chewy crumb. It requires minimal active time, making it the perfect project for busy home cooks. Whether you’re new to baking or looking for a reliable go-to loaf, this recipe simplifies the process without sacrificing flavor or texture, delivering impressive, rustic bread with ease.
Why This Easy Bread Recipe is a Game-Changer
Hi there, it’s Patricia from Patricia Universe. If you’ve ever felt intimidated by the idea of making bread from scratch, this recipe is for you. I created this guide for anyone seeking truly bread easy recipes that deliver professional-looking and tasting results. The magic lies in its simplicity—no fancy equipment, no complicated techniques, just a straightforward process that lets time do most of the work. This approach to easy bread making is designed to build confidence and become a staple in your kitchen.
The Perfect “Bread Easy Recipes” Approach
The heart of this method is the “no-knead” technique. By using a very small amount of yeast and a long, slow rise (called fermentation), the dough develops incredible flavor and structure all on its own. This hands-off style of baking is the cornerstone of many successful easy bread recipes. You simply mix the ingredients, let the dough rest overnight, and then shape and bake it. This approach not only simplifies the process but also develops a more complex, slightly tangy flavor that rivals any artisanal loaf.
Unlocking Artisan Flavor at Home
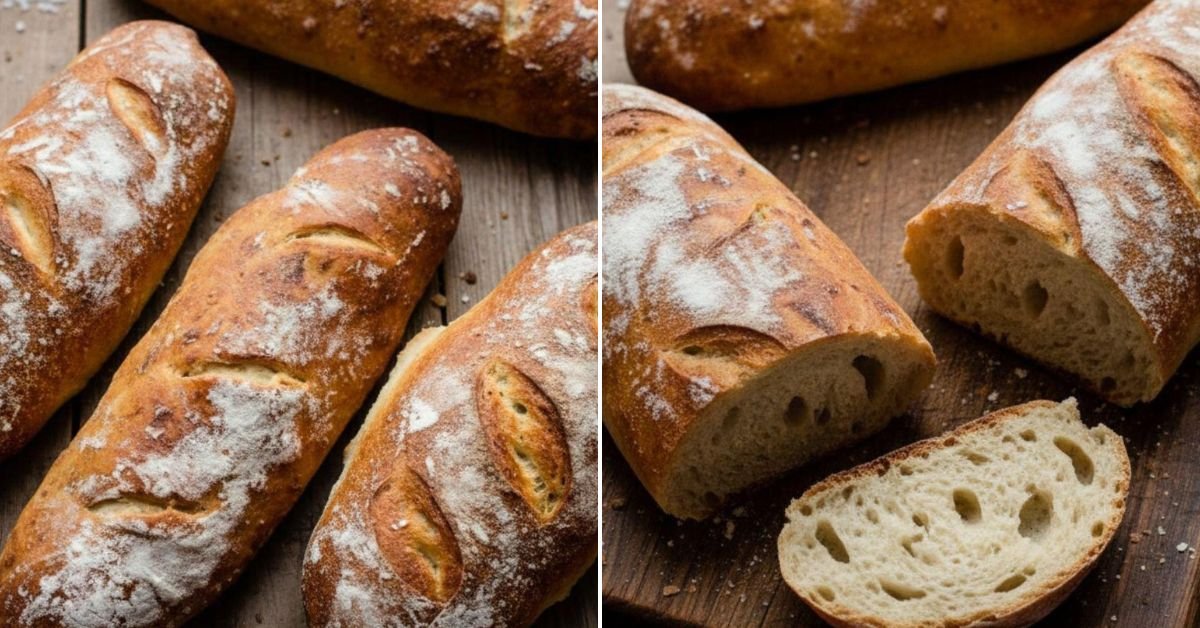
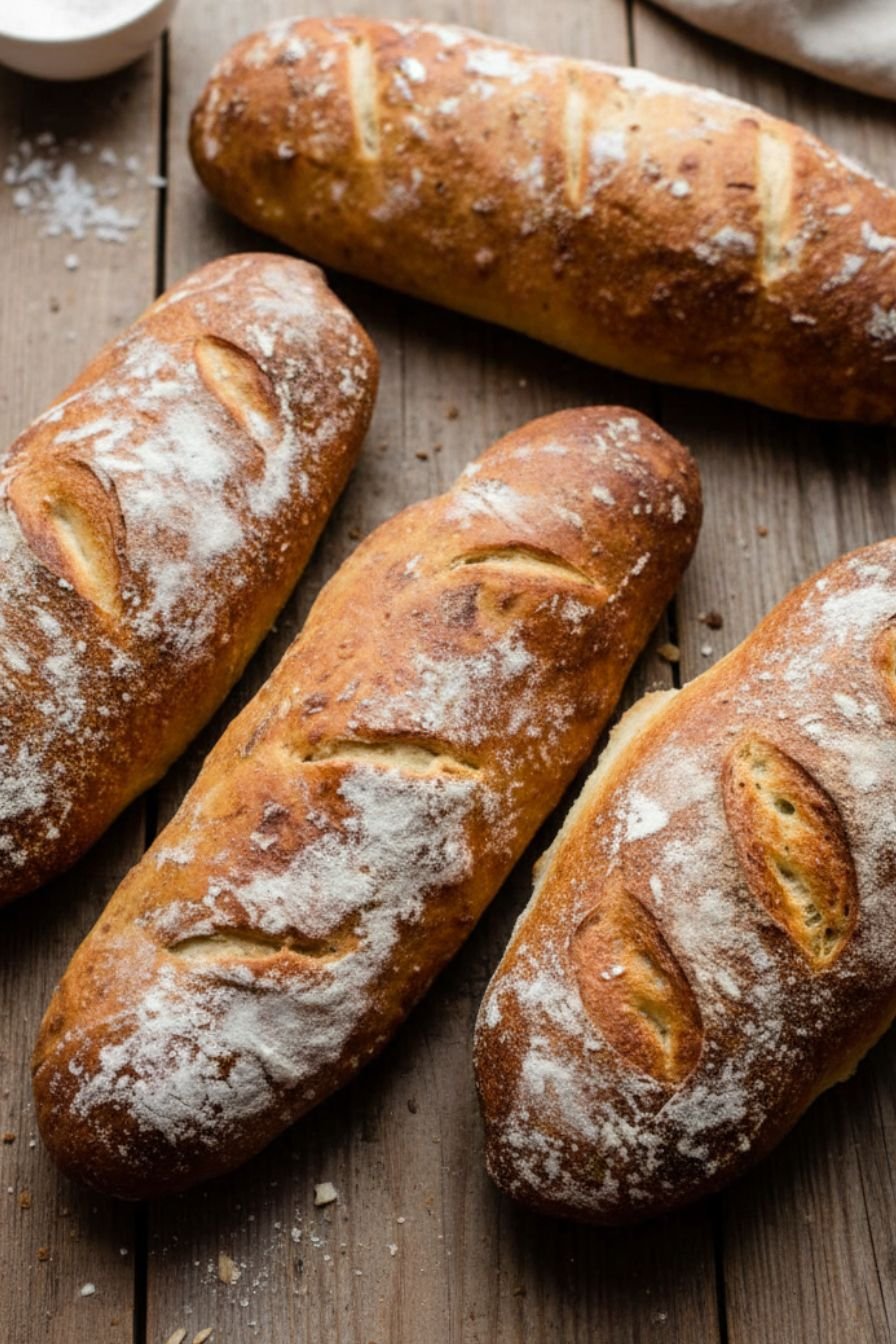
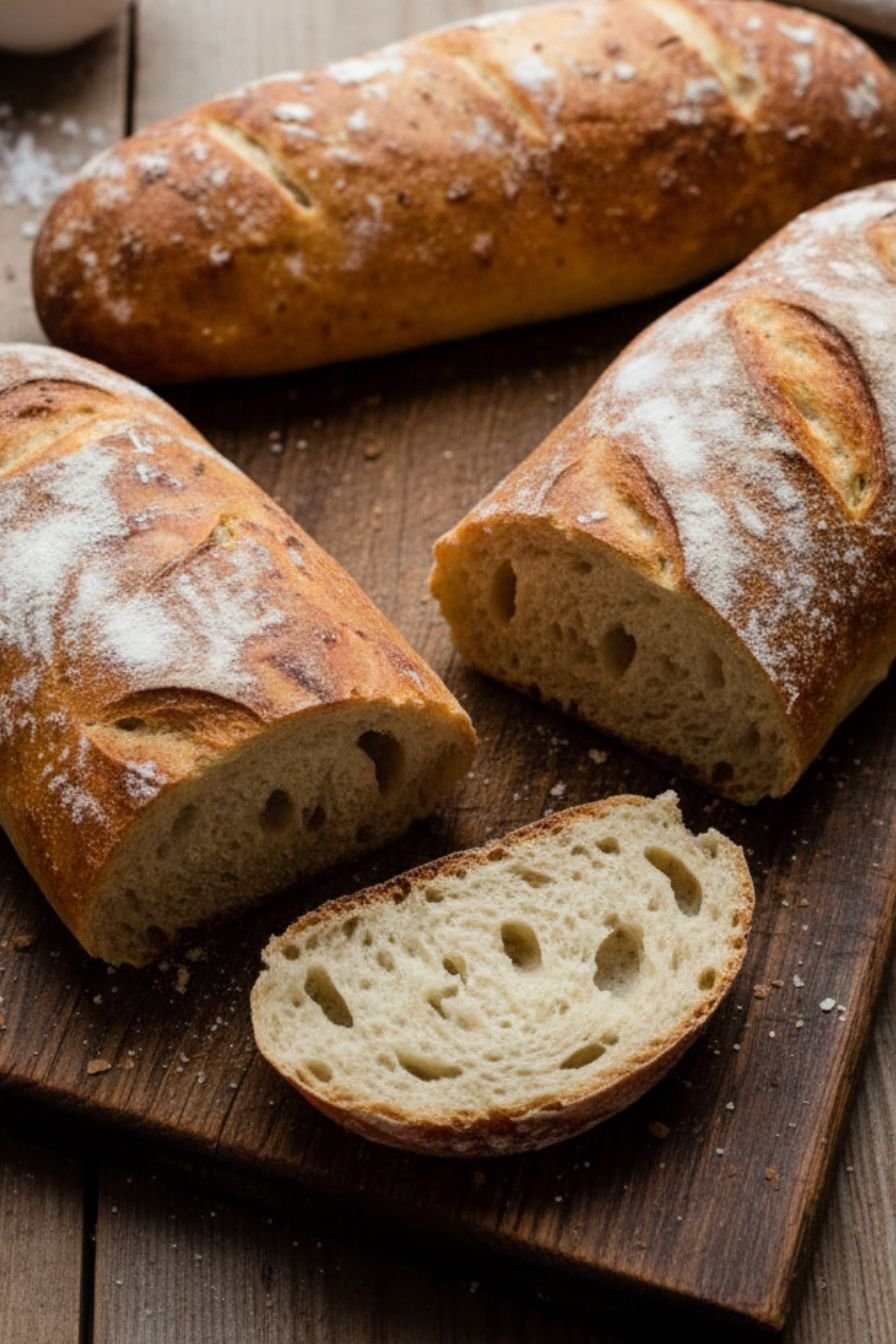
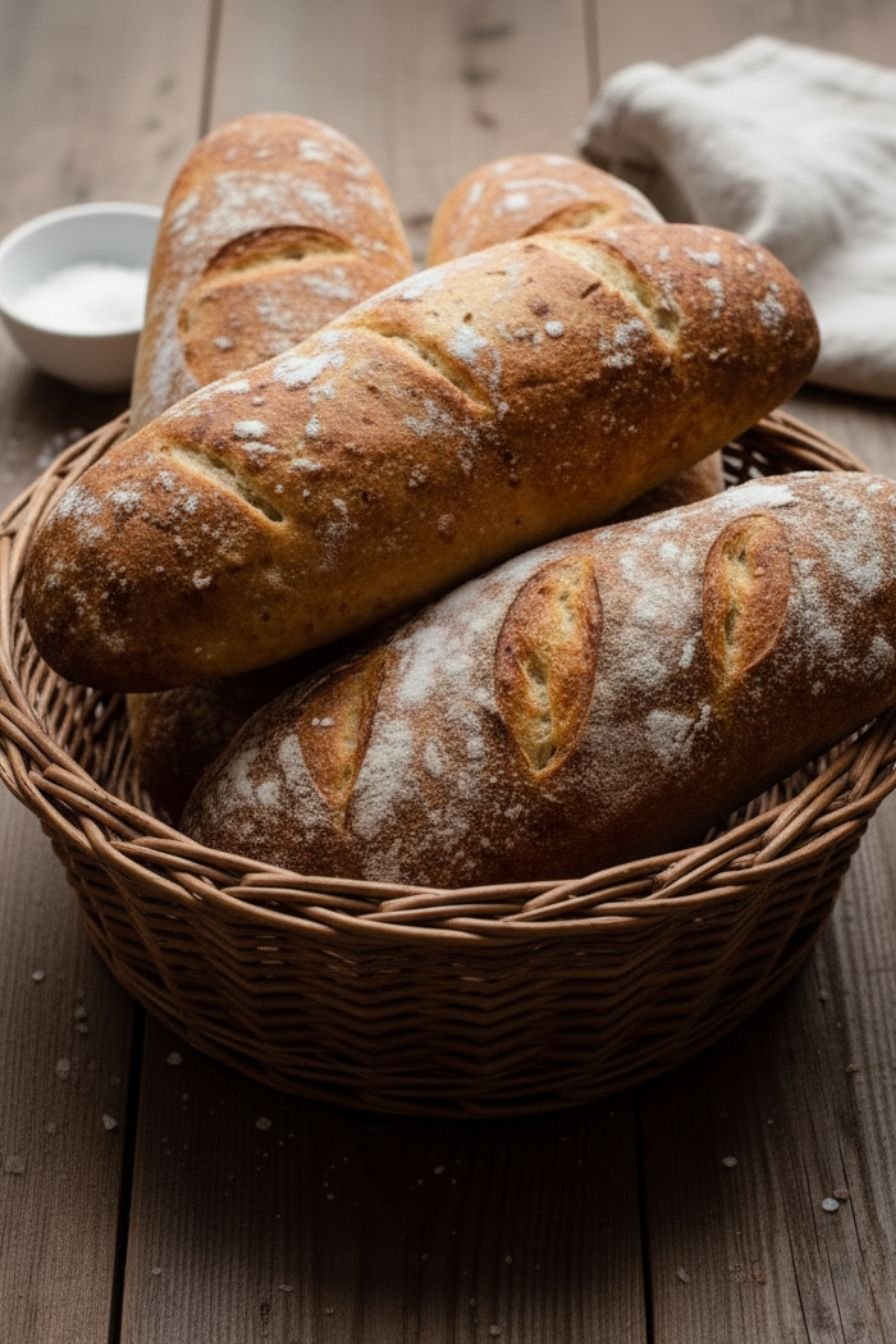
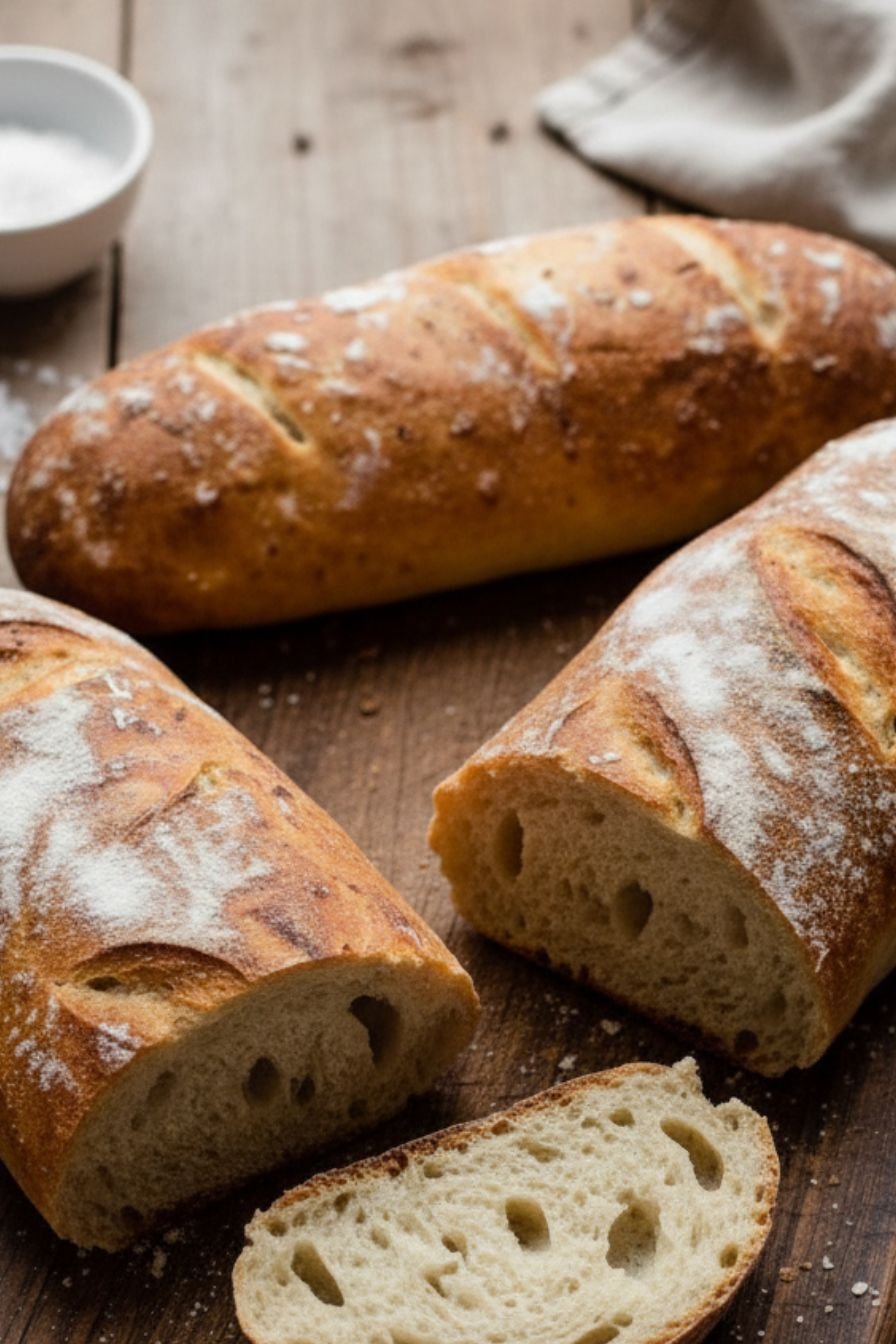
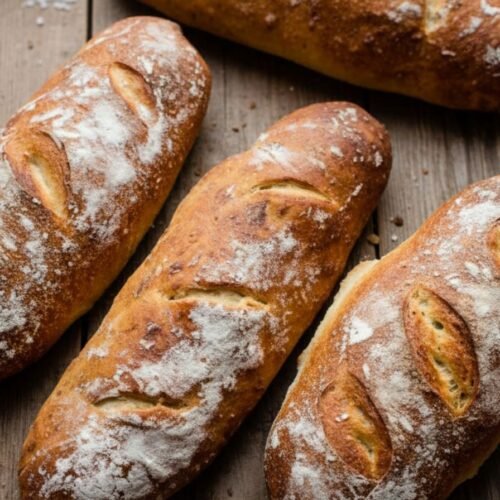
What sets this apart from a standard loaf is the signature crackly crust and open, airy interior. The secret? Steam. Baking the bread in a preheated, lidded Dutch oven traps the moisture released from the dough, creating the perfect humid environment for that coveted crispy, blistered crust to form. When you lift the lid for the final part of baking, the exterior turns a deep, golden brown. This simple trick is what transforms a good simple bread into an extraordinary one, giving you that authentic bakery experience right in your own oven.
Minimal Ingredients, Maximal Results
One of the most beautiful aspects of this homemade bread recipe is its purity. You only need flour, water, salt, and yeast. There are no preservatives, dough conditioners, or unfamiliar additives—just wholesome, recognizable ingredients. This simplicity means the true flavor of the wheat shines through. It’s a fantastic starting point for anyone new to baking, as it teaches you the fundamental roles of each component without any distractions. For those looking for easy recipes for dinner to accompany, this loaf is the perfect, fuss-free side that elevates any meal.
The Simple Art of No-Knead Baking
The “no-knead” method is a revelation for home bakers. Instead of spending 10-15 minutes kneading dough by hand or machine, you let time and natural enzymes in the flour develop the gluten network. This long fermentation is the key to both flavor and texture. It’s the ultimate example of how effective and forgiving easy bread recipes can be. The dough might look shaggy and wet when you first mix it, but trust the process. After its long rest, it transforms into a bubbly, elastic dough ready to be shaped. This method is incredibly forgiving and adaptable, making it a cornerstone of my repertoire here at Patricia Universe.
Serving and Enjoying Your Loaf
The best part of any baking project is, of course, eating the results. This loaf is incredibly versatile. Serve it warm from the oven with a generous slather of good butter for a simple, sublime treat. It’s sturdy enough for hearty sandwiches, perfect for sopping up soups and stews, and makes exceptional toast or bruschetta. It’s the kind of foundational quick bread that becomes a regular feature on your table. I love seeing it become a part of your family’s favorite meals.
Frequently Asked Questions About Bread Easy Recipes
Do I need a Dutch oven?
While a Dutch oven is ideal for creating the perfect steamy environment and crust, you can mimic the effect. Bake the bread on a preheated pizza stone or baking sheet, and place a separate, shallow pan of boiling water on the rack below to generate steam for the first part of baking.
Can I use active dry yeast instead of instant yeast?
Absolutely. If using active dry yeast, you may want to proof it first by dissolving it in the warm water with a pinch of sugar for 5-10 minutes until frothy before adding it to the flour.
My dough is very sticky and hard to handle. Is that normal?
Yes! A wet, sticky dough is key to achieving an open crumb and crisp crust. Generously flour your hands and the work surface when shaping. The parchment paper “sling” is your best friend for transferring it without deflating it.
The Full Recipe
Now that you understand the “why” behind the method, you’re ready to bake! Head over to the recipe card below for the complete, detailed instructions, ingredient list, and baking times to create your own perfect loaf of artisan bread. This is one of those foundational bread easy recipes you’ll return to again and again.
Notes & Tips
For Deeper Flavor: Let the dough ferment for the full 18 hours during the first rise. The longer fermentation develops more complex, slightly sour notes.
Storage: The bread is best enjoyed the day it’s baked. To keep it fresh, store the completely cooled loaf wrapped in a clean kitchen towel or in a paper bag at room temperature for up to 2 days. For longer storage, slice and freeze in a sealed bag for up to 3 months. Reheat frozen slices directly in a toaster.
Experiment: Once you’ve mastered the basic loaf, try adding a handful of chopped fresh herbs, grated cheese, or toasted seeds to the dough for a flavorful twist.
Ingredients
For the Dough
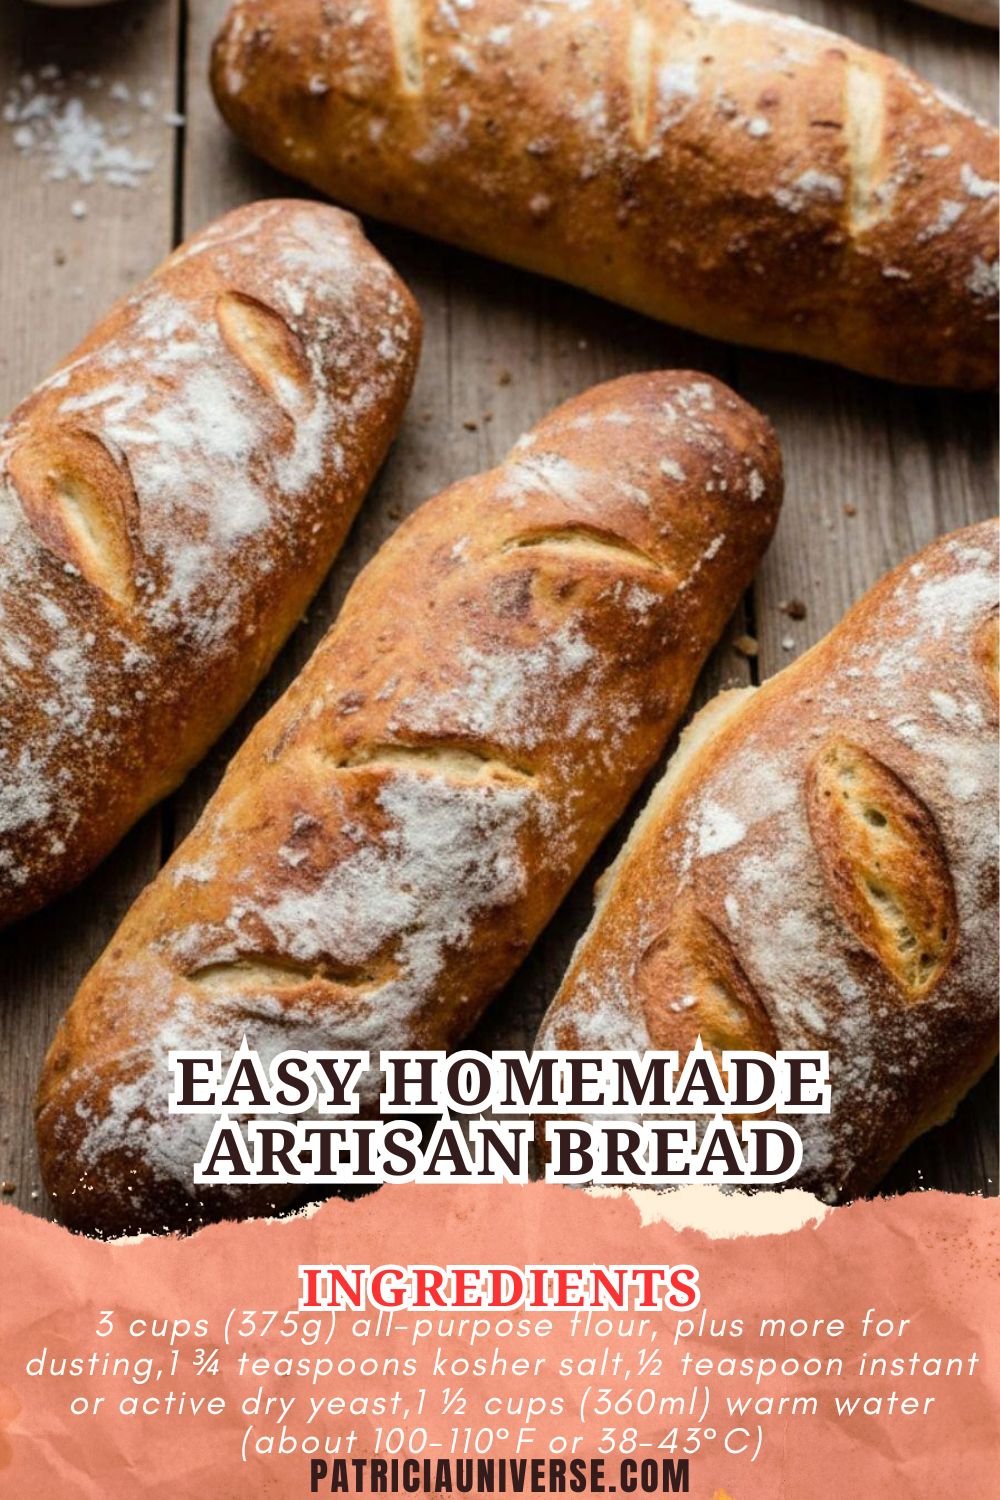
- 3 cups (375g) all-purpose flour, plus more for dusting
- 1 ¾ teaspoons kosher salt
- ½ teaspoon instant or active dry yeast
- 1 ½ cups (360ml) warm water (about 100-110°F or 38-43°C)
Instructions
Make the Dough
- In a large bowl, whisk together the flour, salt, and yeast.
- Pour in the warm water and stir with a sturdy wooden spoon or your hands until a shaggy, sticky dough forms and no dry flour remains. The dough will be quite sticky and loose; this is normal.
First Rise
- Cover the bowl tightly with plastic wrap or a damp kitchen towel.
- Let the dough rise at room temperature (about 70°F or 21°C) for 12-18 hours. The dough is ready when it’s bubbly on the surface and has roughly doubled in size.
Shape the Loaf
- Generously flour a large piece of parchment paper (about 12×18 inches) and place it on a work surface.
- Using floured hands, gently scrape the risen dough out of the bowl and onto the floured parchment. The dough will be very sticky.
- With floured hands, gently fold the dough over itself a few times, shaping it into a rough ball. Don’t overwork it.
- Use the parchment to lift the dough and transfer it (parchment and all) into a clean, medium-sized bowl or a proofing basket lined with a floured kitchen towel for its second rise.
Second Rise
- Cover the bowl or basket with a damp towel and let the dough rise again for 1-2 hours, until it looks puffy and has increased in size by about half.
Preheat and Bake
- About 30 minutes before the second rise is complete, place a large (5-7 quart) Dutch oven or heavy pot with its lid into your oven. Preheat the oven to 450°F (230°C).
- When the dough is ready and the oven is hot, carefully remove the hot Dutch oven.
- Using the parchment paper as a sling, carefully lower the dough into the hot pot. Be cautious of the hot sides.
- Score the top of the dough about ¼ inch deep with a sharp knife or razor blade.
- Cover with the lid and bake for 30 minutes.
- Remove the lid and continue baking, uncovered, for another 12-17 minutes, or until the bread is deep golden brown and sounds hollow when tapped on the bottom.
- Carefully lift the bread out of the pot using the parchment paper and transfer it to a wire rack. Let it cool completely for at least 1 hour before slicing.


Leave a Comment