Table of Contents
- Key Takeaways
- Why This Easy Sourdough Starter Works
- The Joy of Starting from Scratch
- Creating Easy Recipes with a Starter
- Baking with Confidence, the Easy Way
- Daily Rituals for Long-Term Reward
- Starter Success: Easy Recipes Begin Here
- Helpful Tips from Patricia Universe
Key Takeaways
This easy sourdough starter recipe from Patricia Universe provides a beginner-friendly method to make a naturally fermented starter at home. It’s reliable, uses minimal ingredients, and sets the foundation for delicious bread and other baked goods. Whether you’re looking for dinner recipes or easy recipes with minimal effort, this starter opens the door to countless possibilities.
Why This Easy Sourdough Starter Works
At Patricia Universe, we believe in empowering home bakers with tools they can trust. This easy sourdough starter aligns with our mission to simplify baking while delivering delicious results. Because it requires only flour, water, and a bit of patience, it’s one of the most accessible easy recipes for aspiring bakers.
The Joy of Starting from Scratch
There’s something deeply satisfying about nurturing your own starter from just two ingredients. The process connects you to the food you’re creating and reminds you that great results can come from simple beginnings. This is one of those recipes for dinner prep that starts long before the final loaf is baked—and it’s worth every step.
Creating Easy Recipes with a Starter
Once your sourdough starter is mature and bubbly, it becomes the heart of so many easy recipes. From sourdough pancakes to artisan loaves, this one jar brings flavor and depth that you simply can’t get from commercial yeast. It’s also perfect for those interested in butter swim biscuits easy recipes or adding a rustic flair to cheesey potatoes easy recipe sides.
Baking with Confidence, the Easy Way
This starter eliminates the guesswork. You’ll watch it grow stronger daily and feel a sense of accomplishment. It’s a great way to build confidence and enjoy the process of creating homemade bread—truly one of the most rewarding dinner recipes components you can master.
Daily Rituals for Long-Term Reward
Consistency is key when working with natural fermentation. Feeding your starter becomes a daily ritual that encourages routine and mindfulness. It’s simple, yet fulfilling—much like many of the chicken stirfry easy recipe meals that complement your fresh bread creations.
Starter Success: Easy Recipes Begin Here
Using this easy recipes method, you’ll discover how simple it is to grow a living, thriving sourdough starter. Within a week, you’ll be ready to bake and explore new ways to make your meals stand out with homemade flair. At Patricia Universe, we celebrate the journey of delicious discovery.
Helpful Tips from Patricia Universe
Use filtered water to avoid chemicals that might inhibit fermentation. Keep your jar at a consistent room temperature. Don’t worry about perfection—just keep feeding it. With patience and practice, you’ll have a reliable starter ready to enhance every homemade dish.
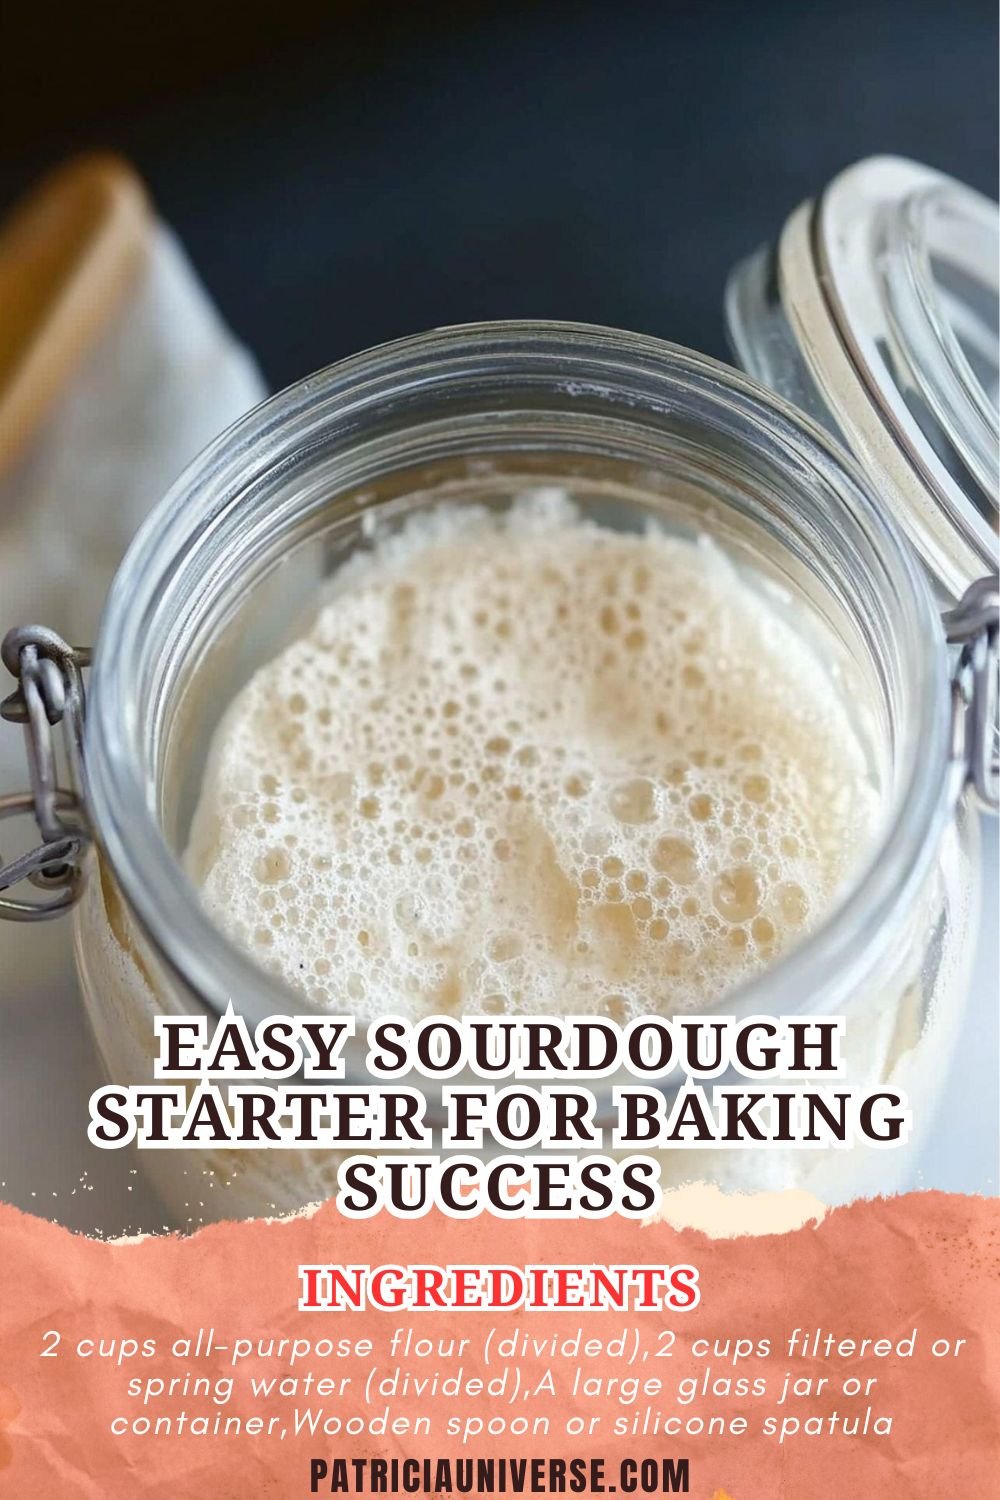
Easy Sourdough Starter for Baking Success
Ingredients
- 2 cups all-purpose flour (divided)
- 2 cups filtered or spring water (divided)
- A large glass jar or container
- Wooden spoon or silicone spatula
- Towel or coffee filter for covering
- Rubber band to secure cover
Instructions
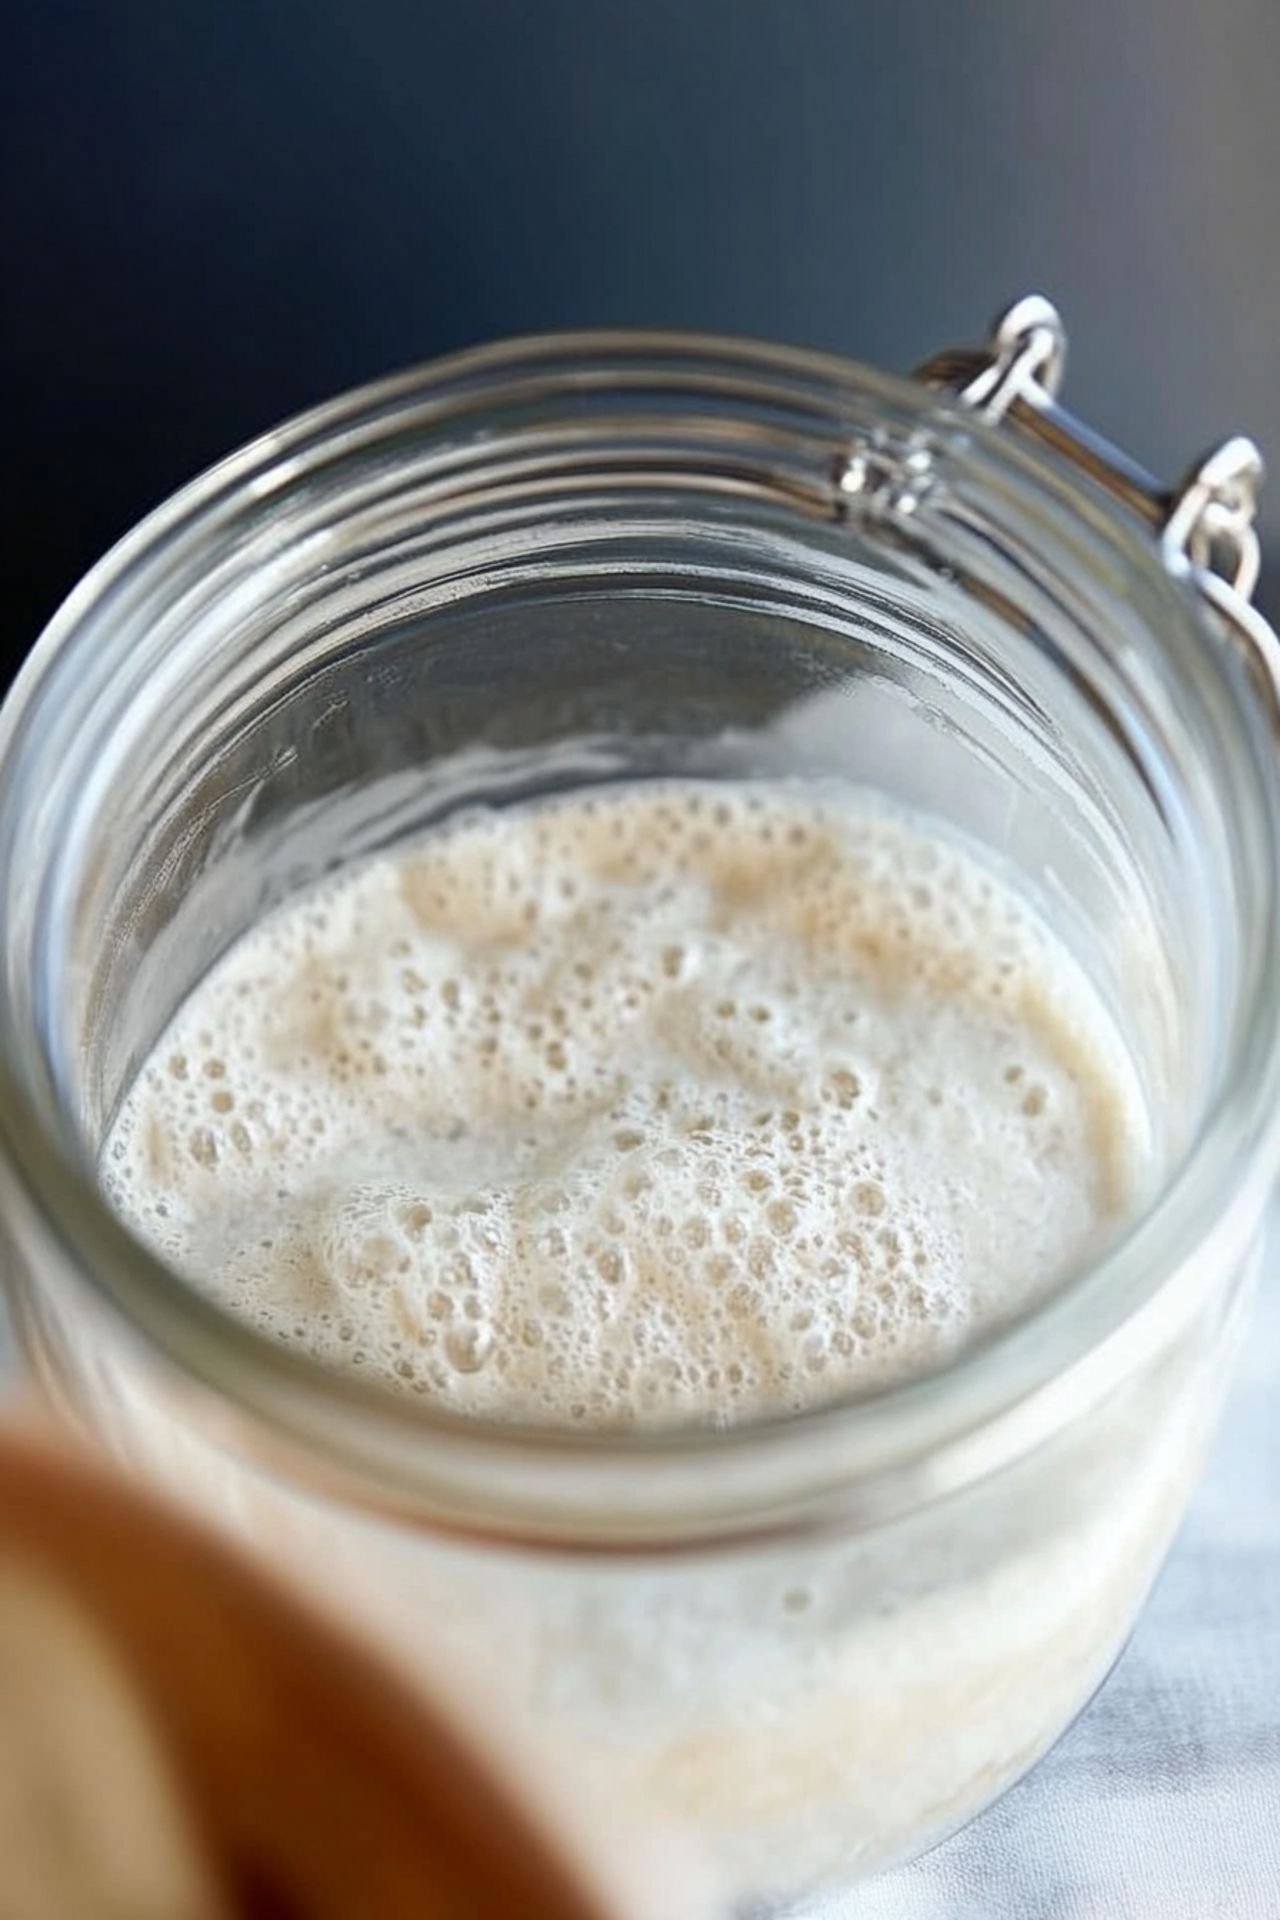
- Day 1: Mix 1 cup flour and 1 cup water in a clean jar. Stir well, cover loosely, and let sit at room temperature (ideally 70-75°F).
- Day 2: Check for bubbles. Discard half of the starter and feed with 1/2 cup flour and 1/2 cup water. Stir, cover, and rest.
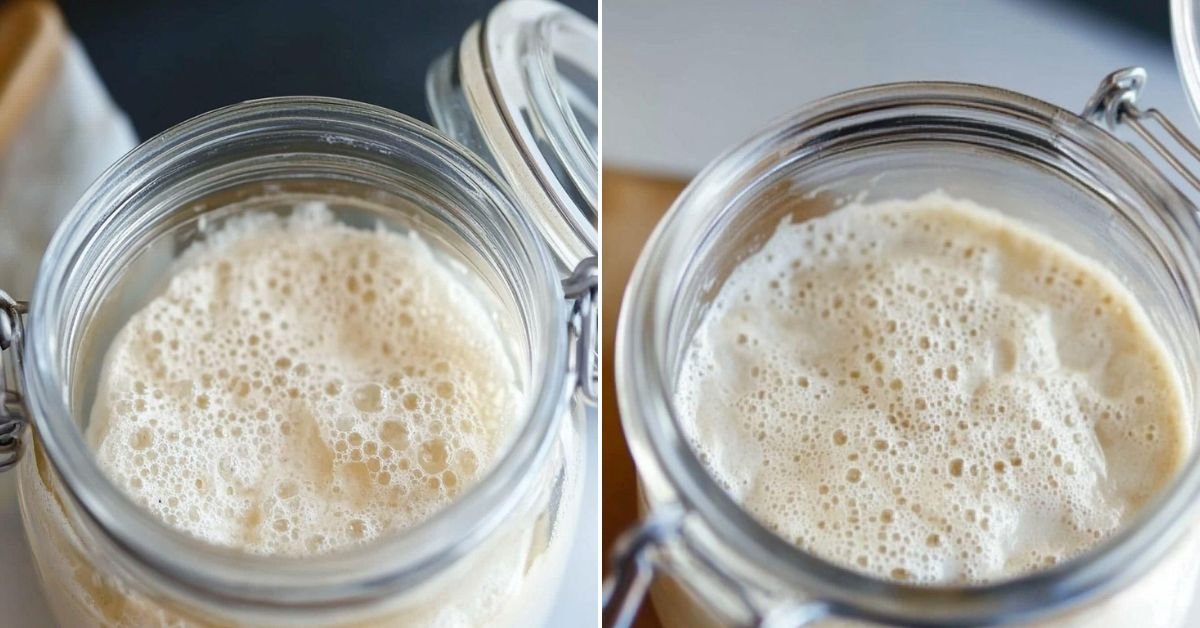
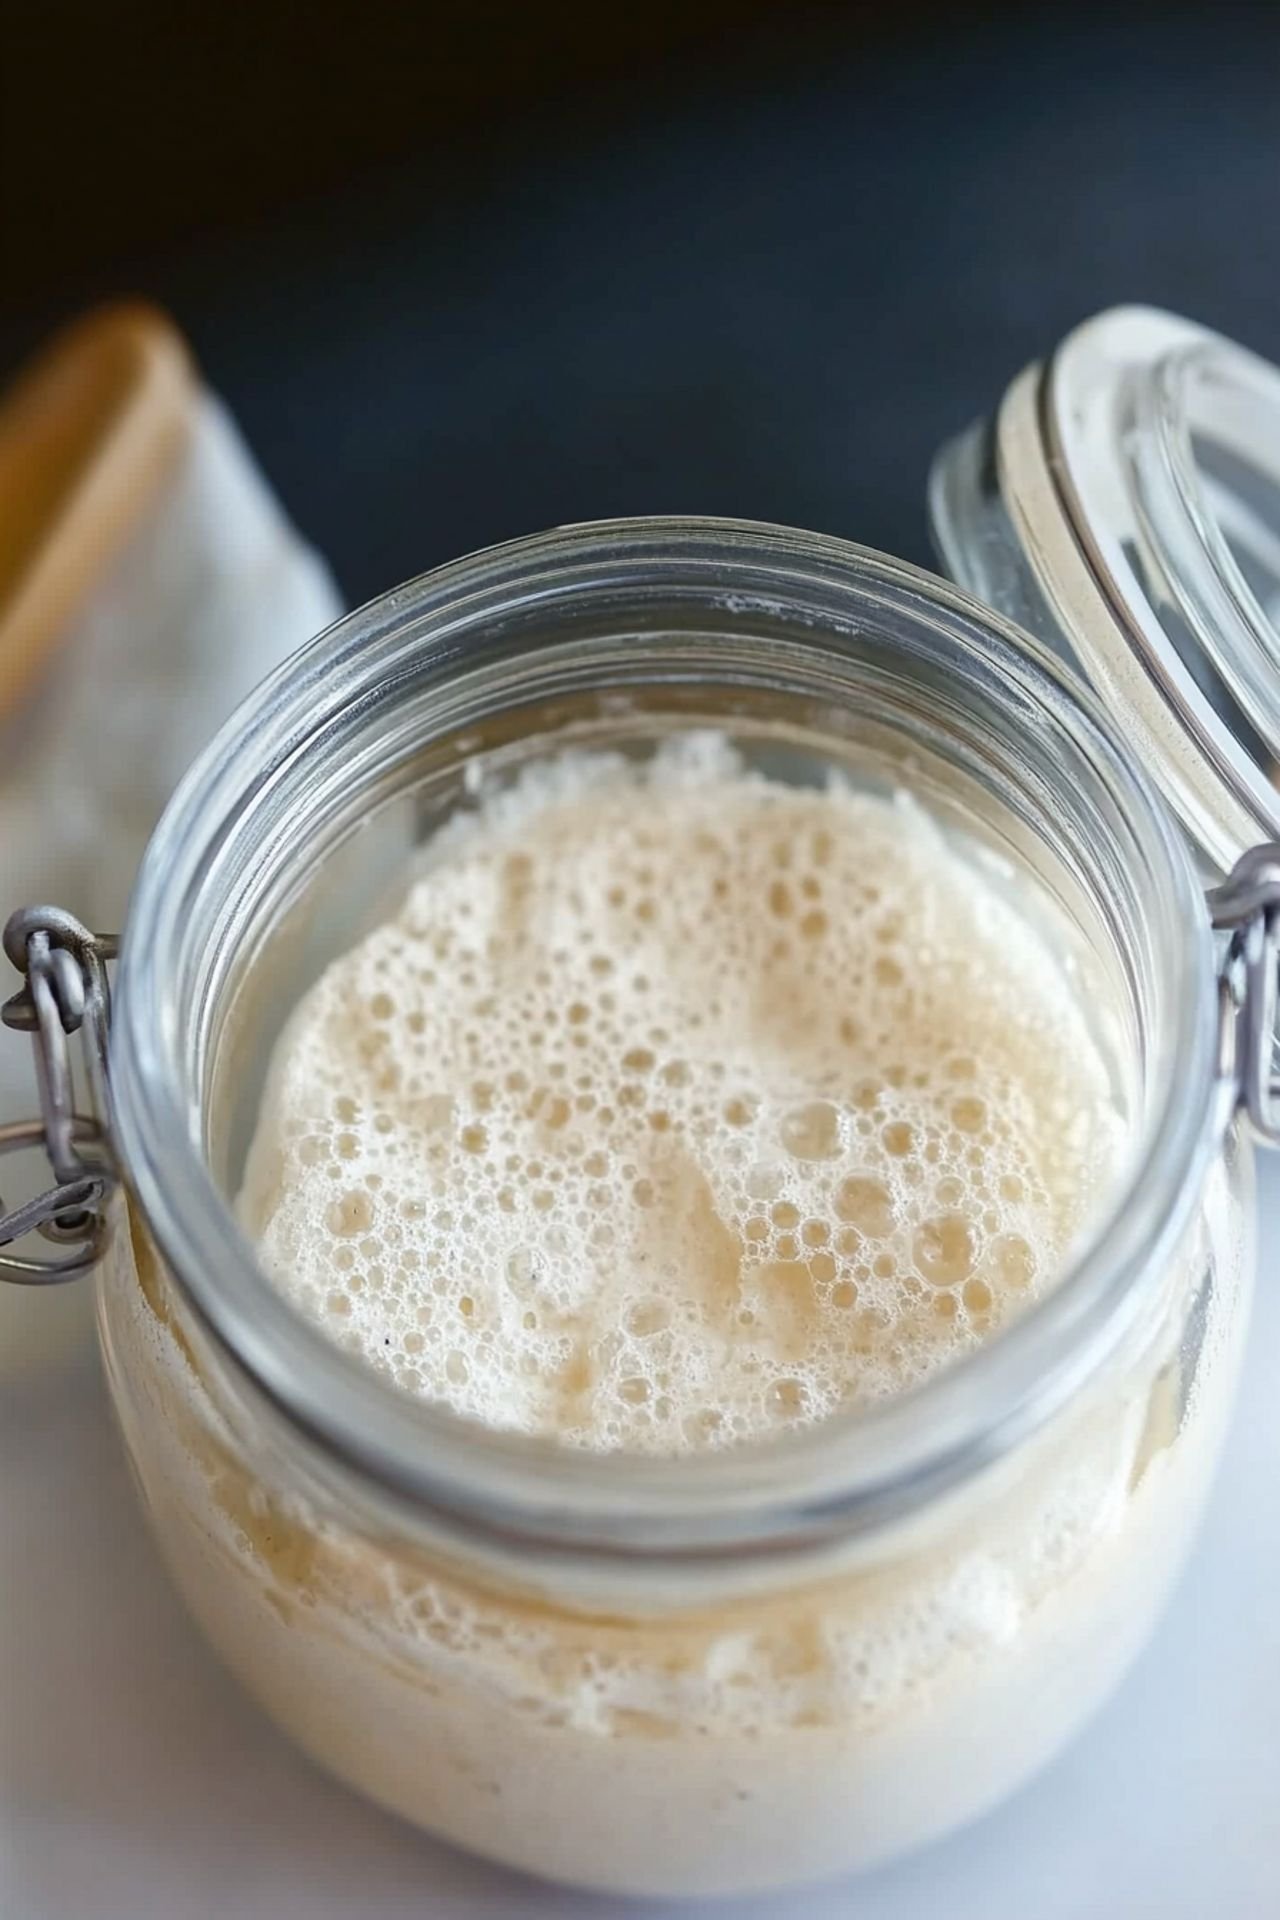
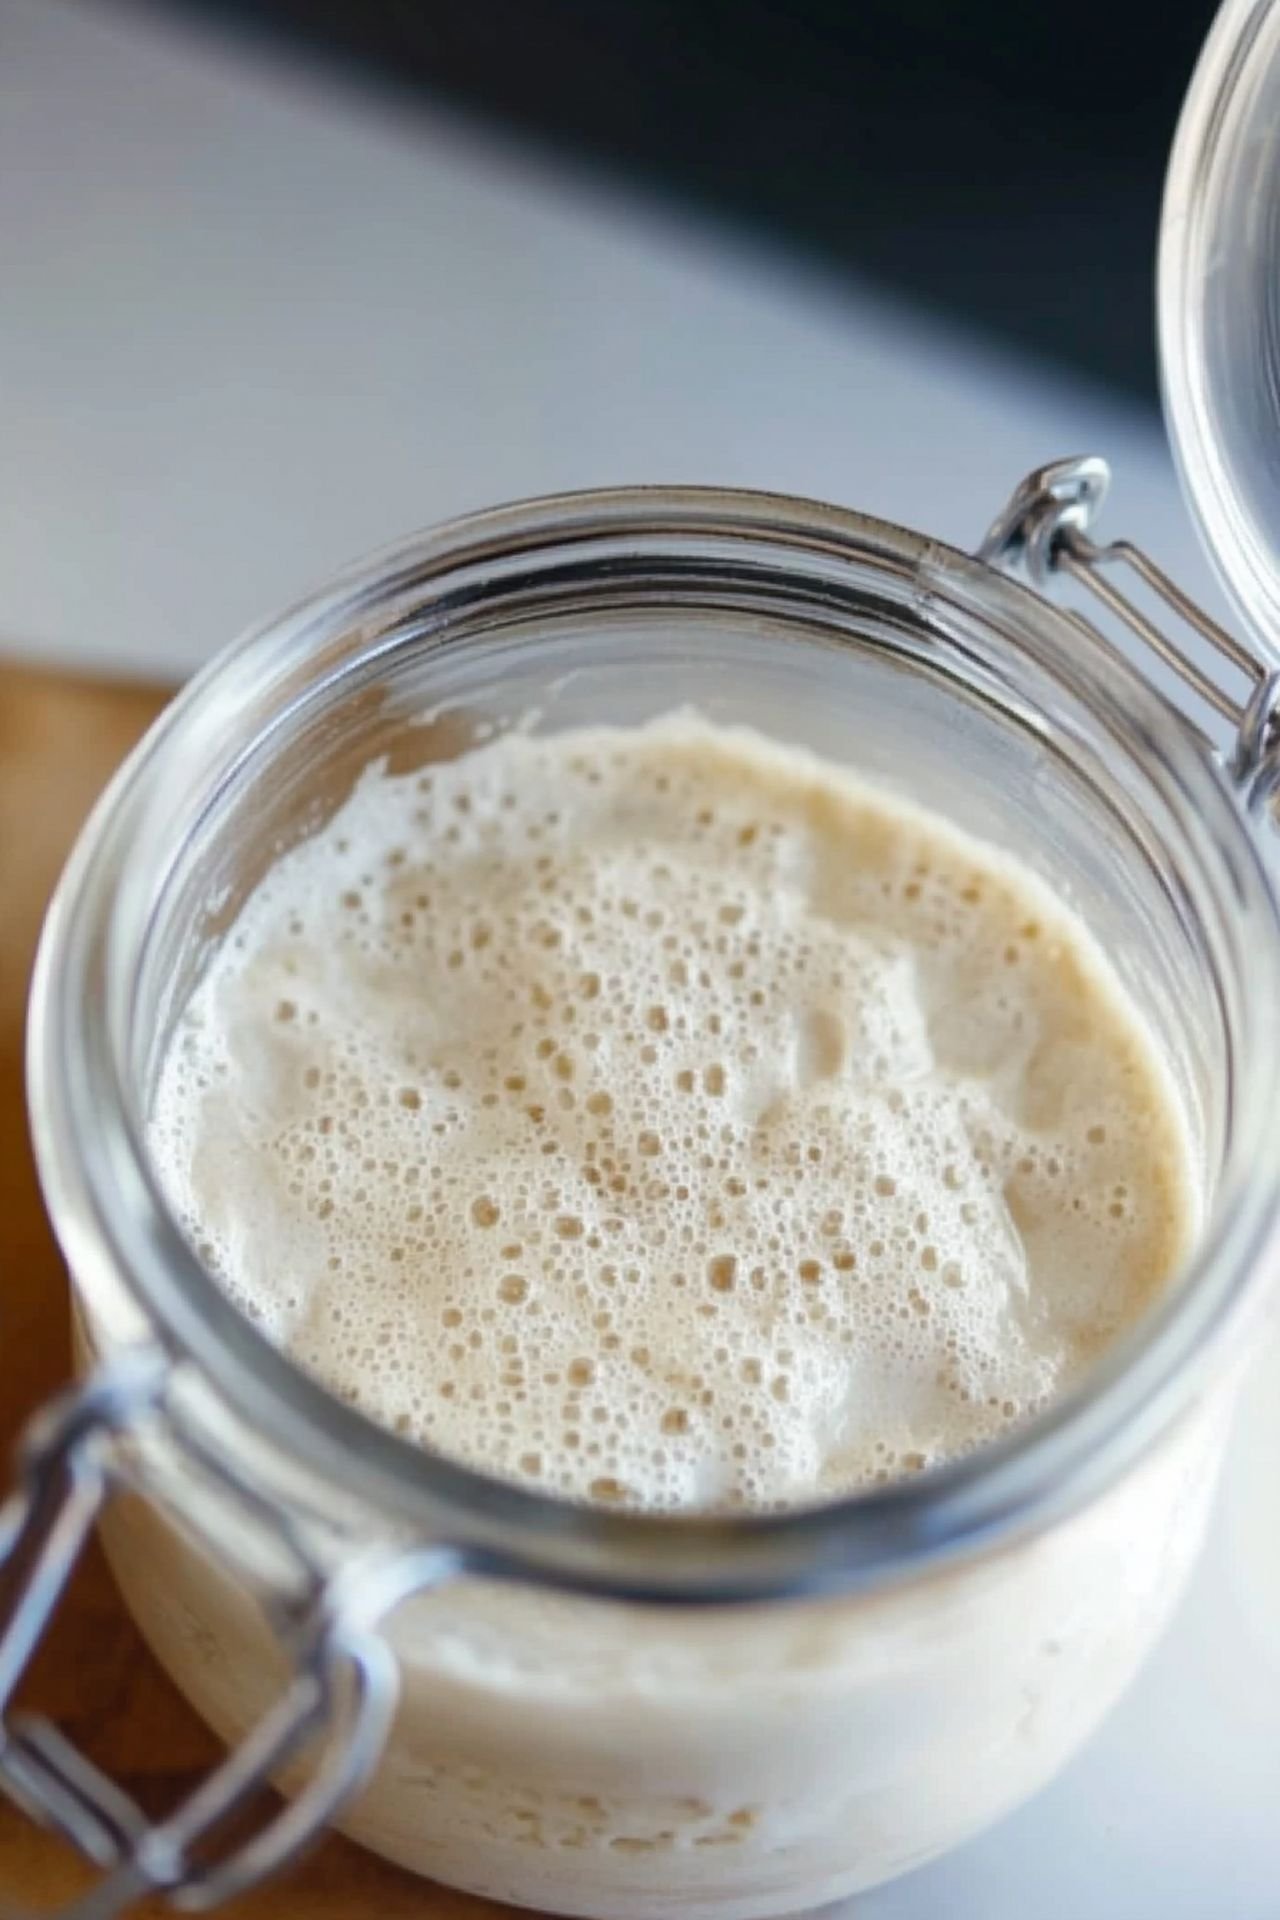
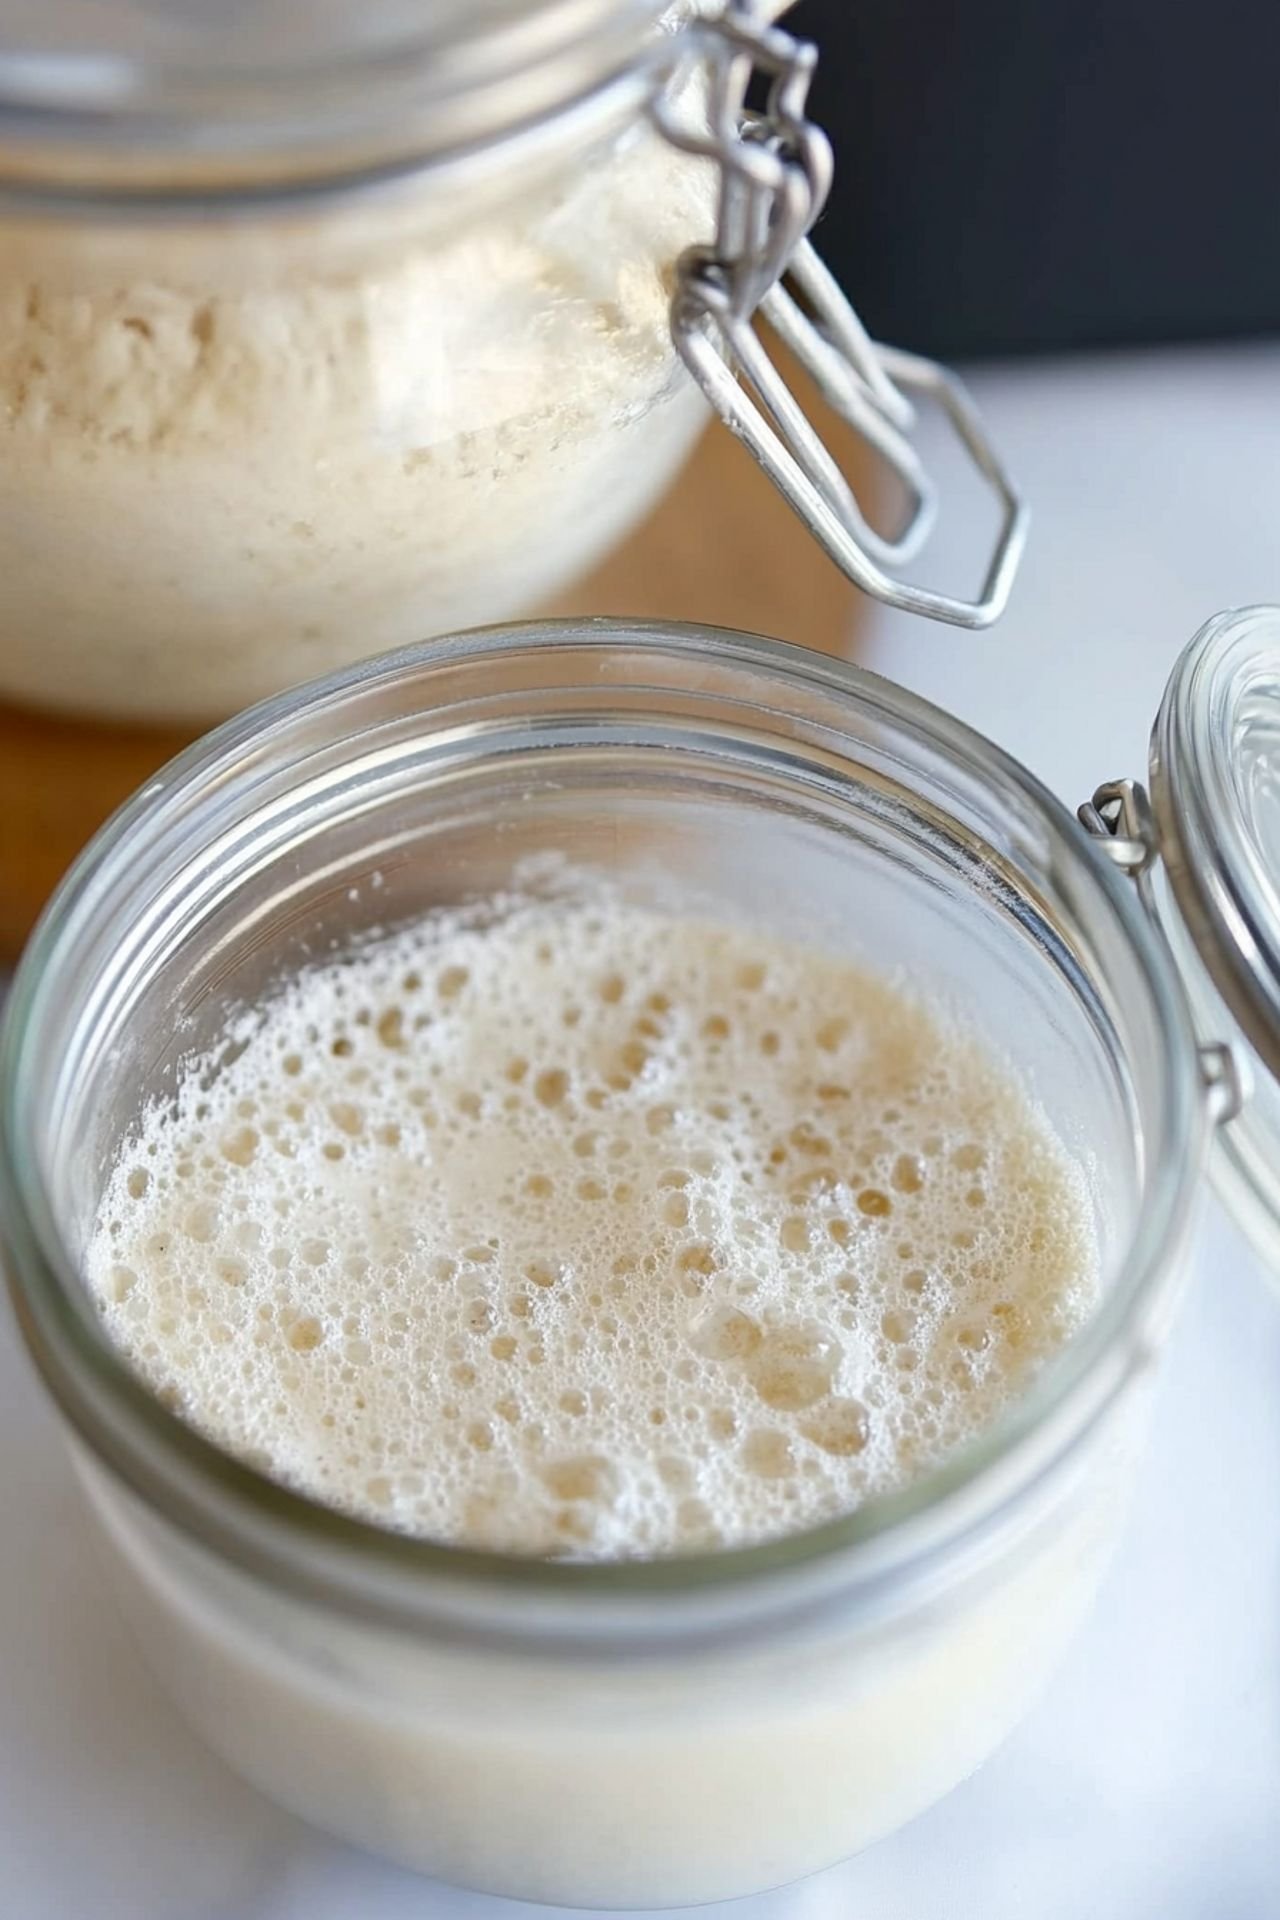
- Days 3-6: Repeat the Day 2 process every 24 hours. Discard half, feed, and stir. By Day 5 or 6, your starter should double in size and smell pleasantly tangy.
- Day 7+: Once bubbly and doubling reliably, your starter is ready for baking! Store in the fridge if not used daily, and feed weekly.


Leave a Comment