Table of Contents
- Why This Dessert Is a Holiday Must
- The Holiday Magic of Mini Desserts
- Creating Your Perfect Holiday Cheesecakes
- Get the Family Involved: Holiday Baking Fun
- Serving and Storing Your Festive Treats
- More Festive Desserts to Love
- Full Christmas Tree Mini Cheesecake Recipe
- Notes & Tips
Key Takeaways
- Festive & Fun: Transform classic cheesecake into adorable, edible Christmas trees perfect for any holiday gathering.
- Surprisingly Simple: Uses straightforward techniques and common ingredients, making it an accessible project for bakers of all levels.
- Make-Ahead Magic: These cheesecakes need to chill for several hours, allowing you to prepare them a day in advance and decorate just before serving.
- Crowd-Pleasing: The individual portions are ideal for parties, and the creamy, rich flavor is universally loved.
- Family-Friendly Activity: The decorating stage is a perfect opportunity to get kids involved in the kitchen.
Why This Dessert Is a Holiday Must
Hello, I’m Patricia from Patricia Universe, and I believe the best holiday memories are often baked. When planning my holiday dessert table, I look for creations that are not only delicious but also spark joy and conversation. These Christmas Tree Mini Cheesecakes do exactly that. They combine the timeless, creamy indulgence of a classic cheesecake with a playful, festive twist that delights both kids and adults. I created this recipe to be a stress-free centerpiece for your celebrations—a treat that looks impressive but is built on simple, reliable techniques. When you’re looking for standout Christmas desserts that won’t keep you in the kitchen all day, this is the recipe to turn to. It’s one of my favorite easy dessert recipes for the season.
The Holiday Magic of Mini Desserts
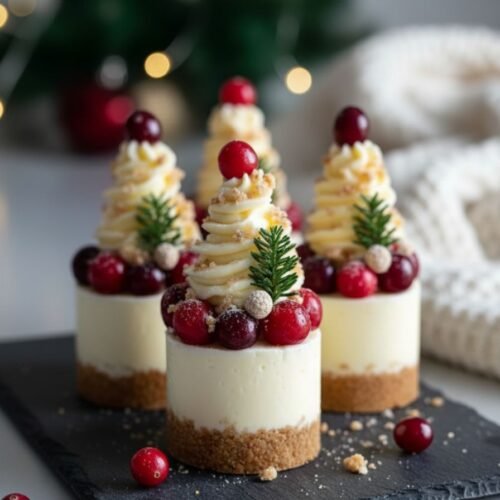
There’s something undeniably special about mini desserts, especially during the holidays. They offer built-in portion control (though you might want two!), present beautifully on a platter, and allow guests to sample different treats without commitment. These mini cheesecakes take that concept and elevate it with their charming tree shape. They are the perfect holiday desserts for a cookie exchange, as a sweet gift for neighbors, or as the grand finale to your Christmas dinner. The process of dressing them up with green coating and colorful “ornaments” is half the fun, transforming simple baking into a creative holiday activity.

Creating Your Perfect Holiday Cheesecakes
The secret to these mini cheesecakes is in the foundation: a buttery graham cracker crust that provides the perfect crunch against the velvety filling. For the filling itself, using full-fat, room-temperature cream cheese is non-negotiable for that luxuriously smooth texture. The addition of sour cream adds a delightful tang and helps keep the cheesecake incredibly creamy. While baking, the slow cool-down in the oven is your best defense against cracks, ensuring each little tree has a flawless surface ready for its festive makeover. This method results in a dessert that’s rich, satisfying, and wonderfully family-friendly.
Get the Family Involved: Holiday Baking Fun
One of my favorite parts of this recipe is how it brings people together. Once the cheesecakes are baked and chilled, the decorating station becomes a hub of holiday creativity. Lay out bowls of different sprinkles, candies, and stars, and let everyone design their own edible Christmas tree. It’s a wonderful, low-pressure way to involve kids in the kitchen and create lasting memories. The pride they feel in presenting their decorated creations is a truly sweet part of the holiday season. This makes the recipe more than just a treat; it’s an experience.
Serving and Storing Your Festive Treats
The beauty of this recipe lies in its make-ahead nature. You can bake and chill the cheesecakes a full day before your event, then decorate them a few hours before serving. This makes them an ideal quick and easy solution for busy hosts. Store them in a single layer in an airtight container in the refrigerator. They hold up beautifully for 4-5 days, though they rarely last that long! For serving, arrange them on a platter or a tiered stand dusted with a little powdered “snow” for an extra magical touch.
More Festive Desserts to Love
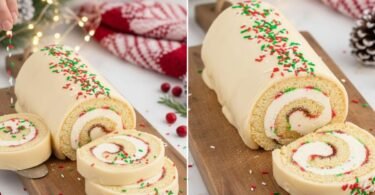
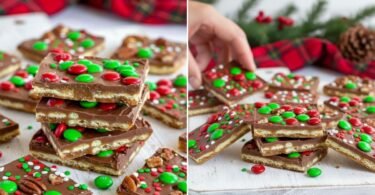
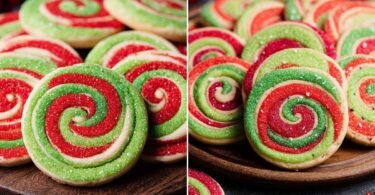
If you love the spirit of these Christmas desserts, I invite you to explore more festive inspiration on Patricia Universe. From elegant Yule Logs to simple, buttery shortbread cookies, you’ll find a whole collection of recipes designed to make your holiday baking joyful and successful. After all, the season is about sharing love and delicious food with those around you.

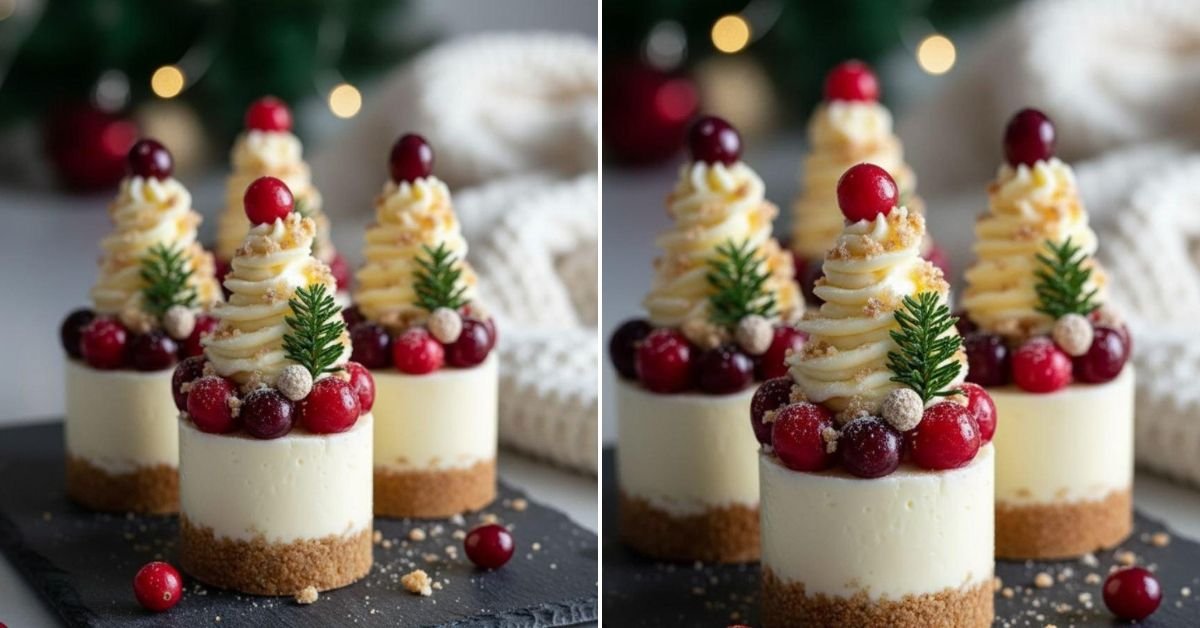
Festive Christmas Tree Mini Cheesecakes: An Easy Holiday Dessert
Ingredients
For the Crust
- 1 ¼ cups graham cracker crumbs (about 9 full sheets)
- 5 tablespoons unsalted butter, melted
- 2 tablespoons granulated sugar
- Pinch of salt
For the Cheesecake Filling
- 16 oz (2 blocks) full-fat cream cheese, softened to room temperature
- ½ cup granulated sugar
- 2 large eggs, at room temperature
- 1 teaspoon pure vanilla extract
- ½ cup sour cream, at room temperature
For Decoration
- 1 cup green candy melts or green frosting
- Assorted sprinkles, star-shaped candies, and mini M&M’s for ornaments
Instructions
Make the Crust
- Preheat your oven to 325°F (163°C). Line a 12-cup muffin tin with paper liners.
- In a medium bowl, combine the graham cracker crumbs, melted butter, sugar, and salt. Stir until the mixture resembles wet sand.
- Divide the mixture evenly among the muffin cups (about 1 ½ tablespoons each). Press down firmly with the bottom of a glass or a small measuring cup to form a compact crust.
- Bake for 5 minutes. Remove from the oven and let cool slightly while you prepare the filling.
Make the Filling
- In a large bowl using a hand mixer or stand mixer fitted with a paddle attachment, beat the softened cream cheese and sugar together on medium-high speed until smooth and creamy, about 2-3 minutes.
- Add the eggs one at a time, beating well after each addition. Scrape down the sides of the bowl as needed.
- Beat in the vanilla extract and sour cream until just combined. Be careful not to overmix.
Bake & Cool
- Divide the cheesecake filling evenly among the prepared crusts, filling each cup nearly to the top.
- Bake for 18-22 minutes, or until the edges are set and the centers only have a slight jiggle.
- Turn off the oven, crack the door open slightly, and let the cheesecakes cool in the oven for 1 hour. This prevents cracking.
- Transfer the muffin tin to a wire rack to cool completely, then refrigerate for at least 4 hours, or preferably overnight.
Decorate
- Before serving, carefully peel off the paper liners.
- Melt the green candy melts according to package instructions (or use green frosting). Place a mini cheesecake on a wire rack over parchment paper.
- Starting at the top, drizzle the green coating over the sides to create a “tree” shape. Immediately decorate with sprinkles, candy “ornaments,” and a star candy on top before the coating sets.
- Repeat with all cheesecakes. Let set completely before serving.


Leave a Comment