Table of Contents
- Why You’ll Love This Sugar-Free Cheesecake
- The Perfect Guilt-Free Dessert
- How to Get the Creamiest Texture
- Perfect Pairings for Your Cheesecake
- Storing and Serving Tips
- Frequently Asked Questions
Key Takeaways
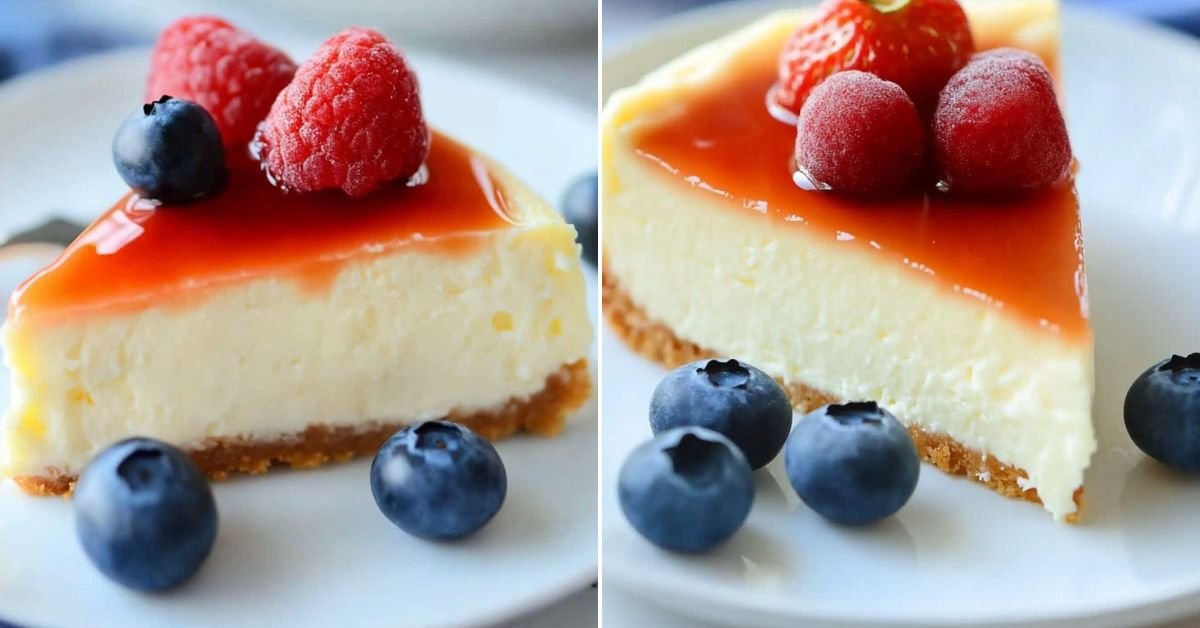
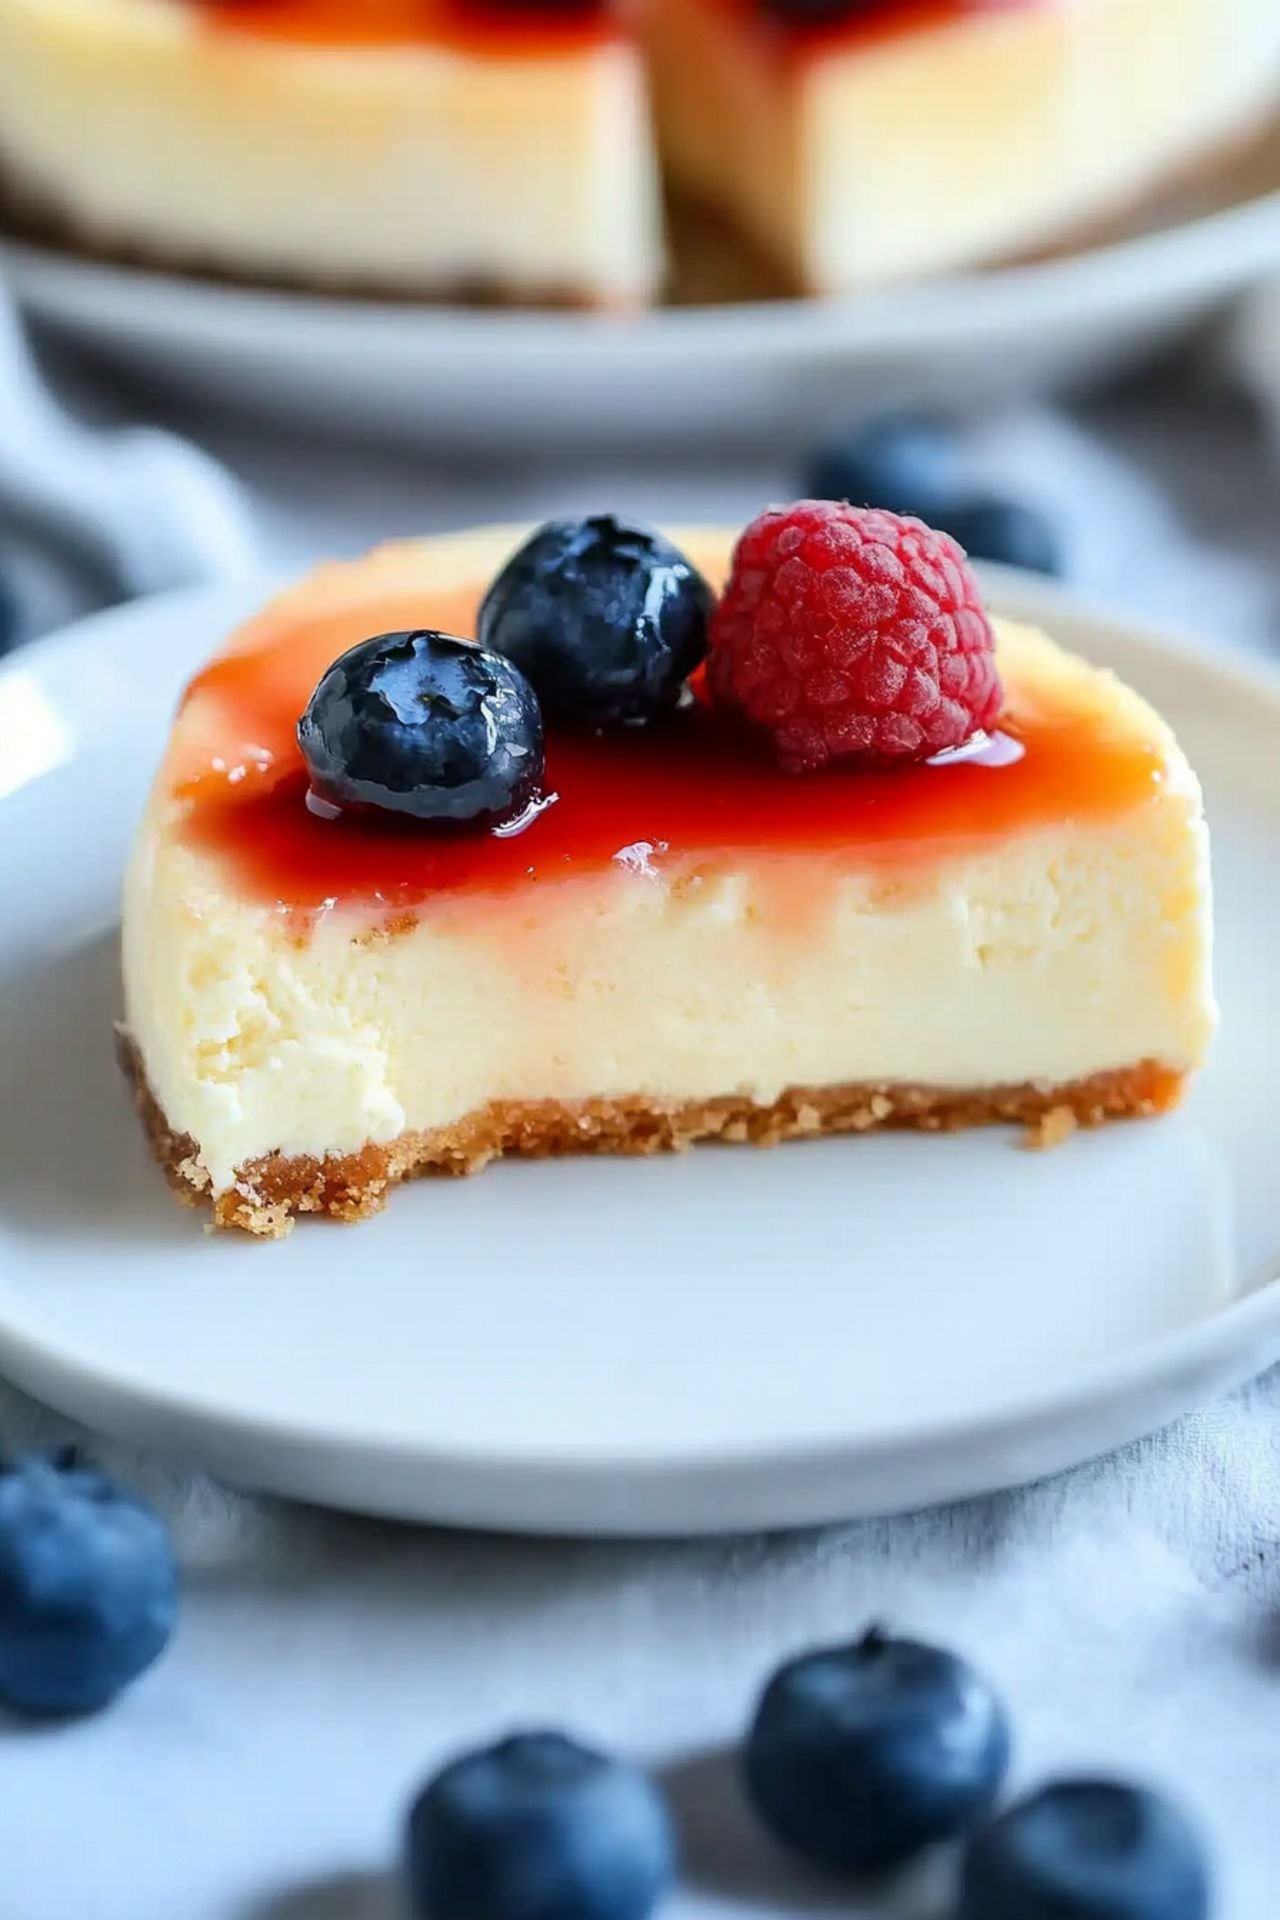
This sugar-free cheesecake is a perfect choice for a guilt-free indulgence. It’s rich, creamy, and low-carb, making it a great option for those who want a healthier dessert without compromising on taste.
Why You’ll Love This Sugar-Free Cheesecake
At Patricia Universe, we believe that delicious treats don’t have to be loaded with sugar. That’s why this sugar-free cheesecake is the perfect dessert for anyone who loves a rich, creamy texture without the guilt. This easy-to-make recipe is perfect for dinner recipes and can be a delightful addition to your low-carb lifestyle.
The Perfect Guilt-Free Dessert
If you’re looking for an easy recipe that satisfies your sweet tooth without added sugar, this cheesecake is your answer. Made with natural sugar alternatives, it’s a great way to enjoy a delicious treat while maintaining a balanced diet. Whether you’re following a keto plan or just cutting back on sugar, this recipe is a must-try!
How to Get the Creamiest Texture
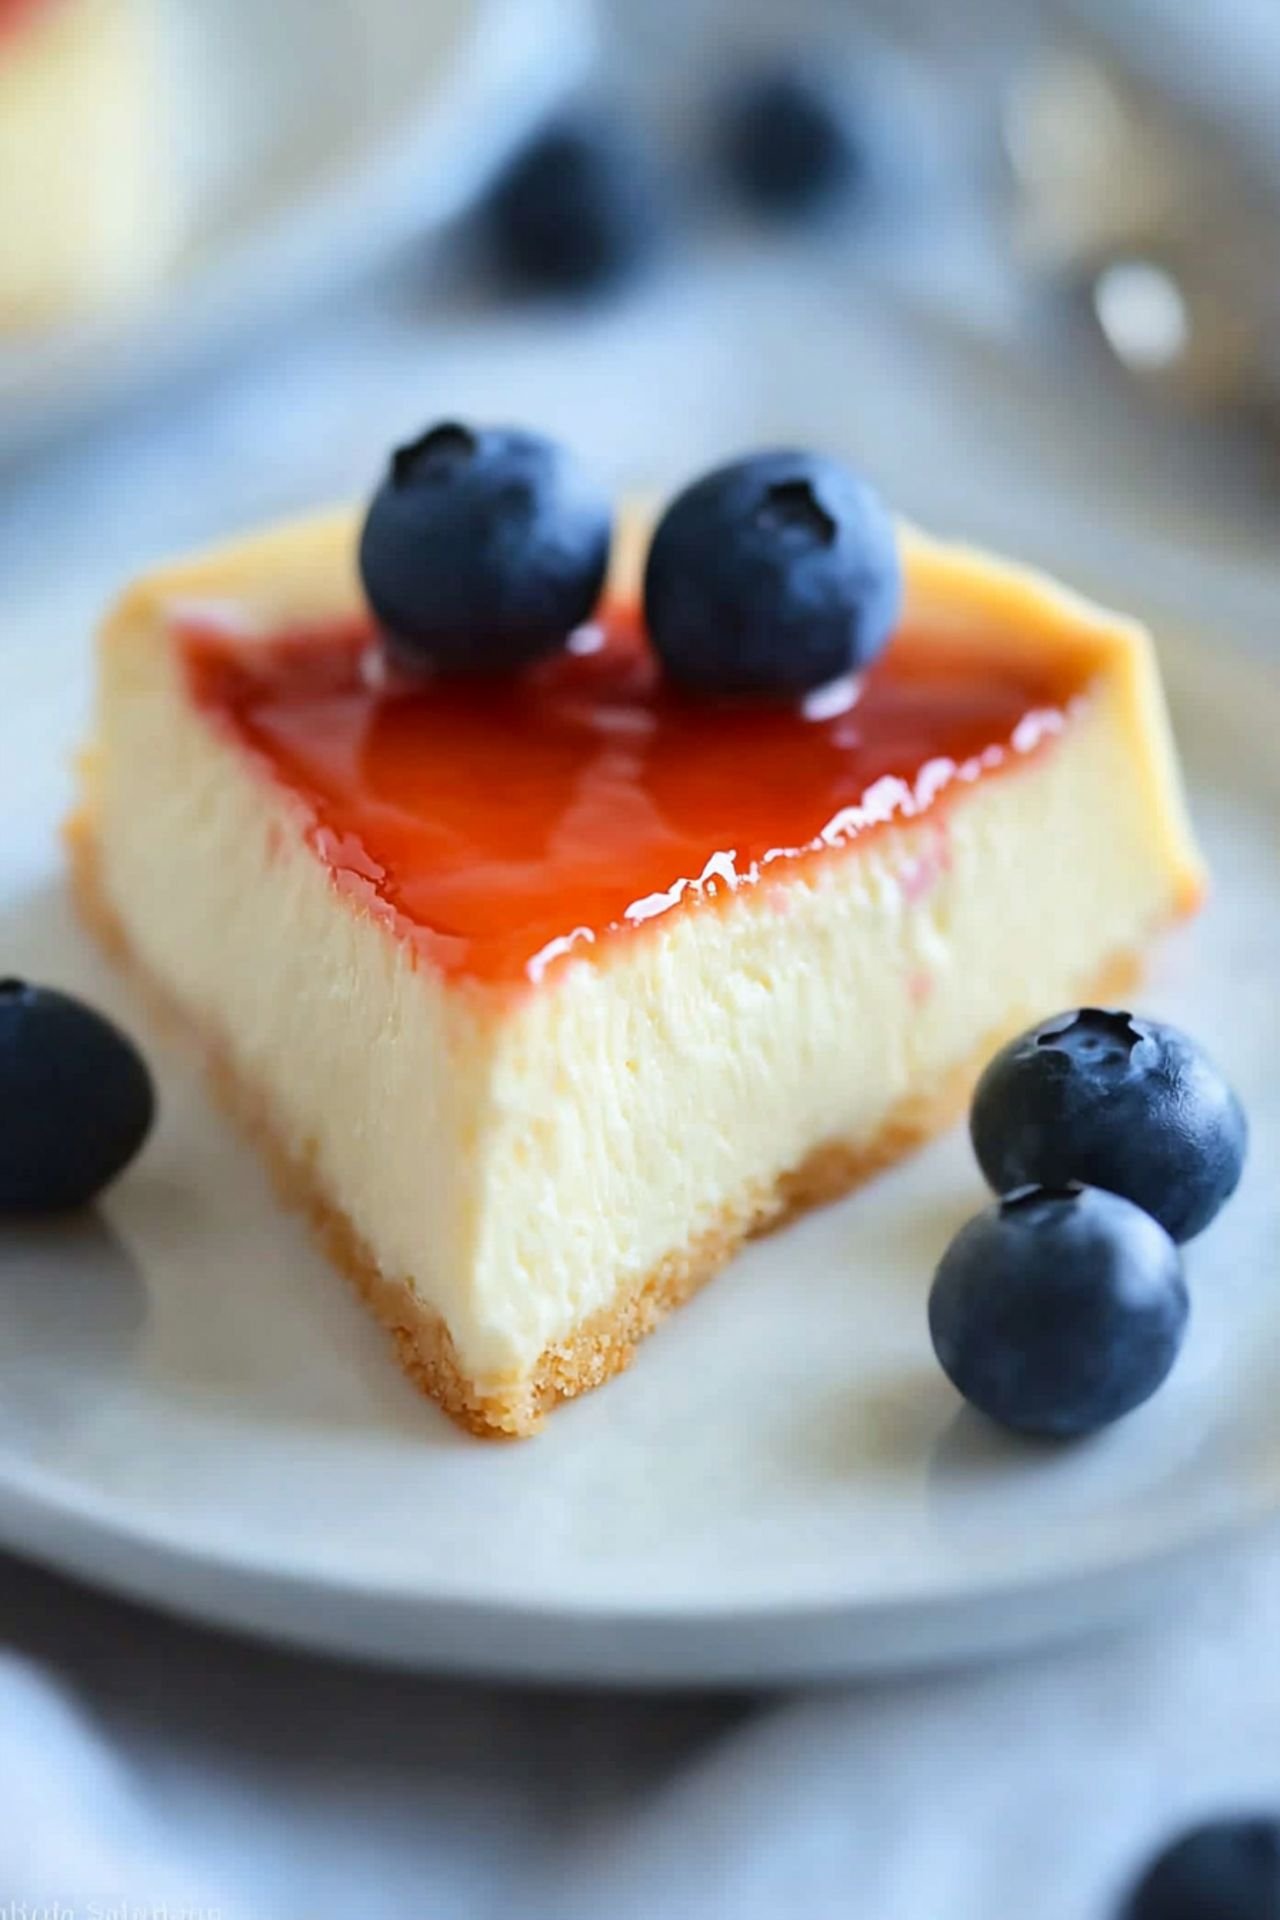
The key to a perfectly creamy cheesecake lies in the technique. Make sure your cream cheese is fully softened before mixing, and avoid overbeating the batter to prevent air bubbles. By baking it at a low temperature and allowing it to cool slowly, you’ll achieve that irresistible smooth texture every time.
Perfect Pairings for Your Cheesecake
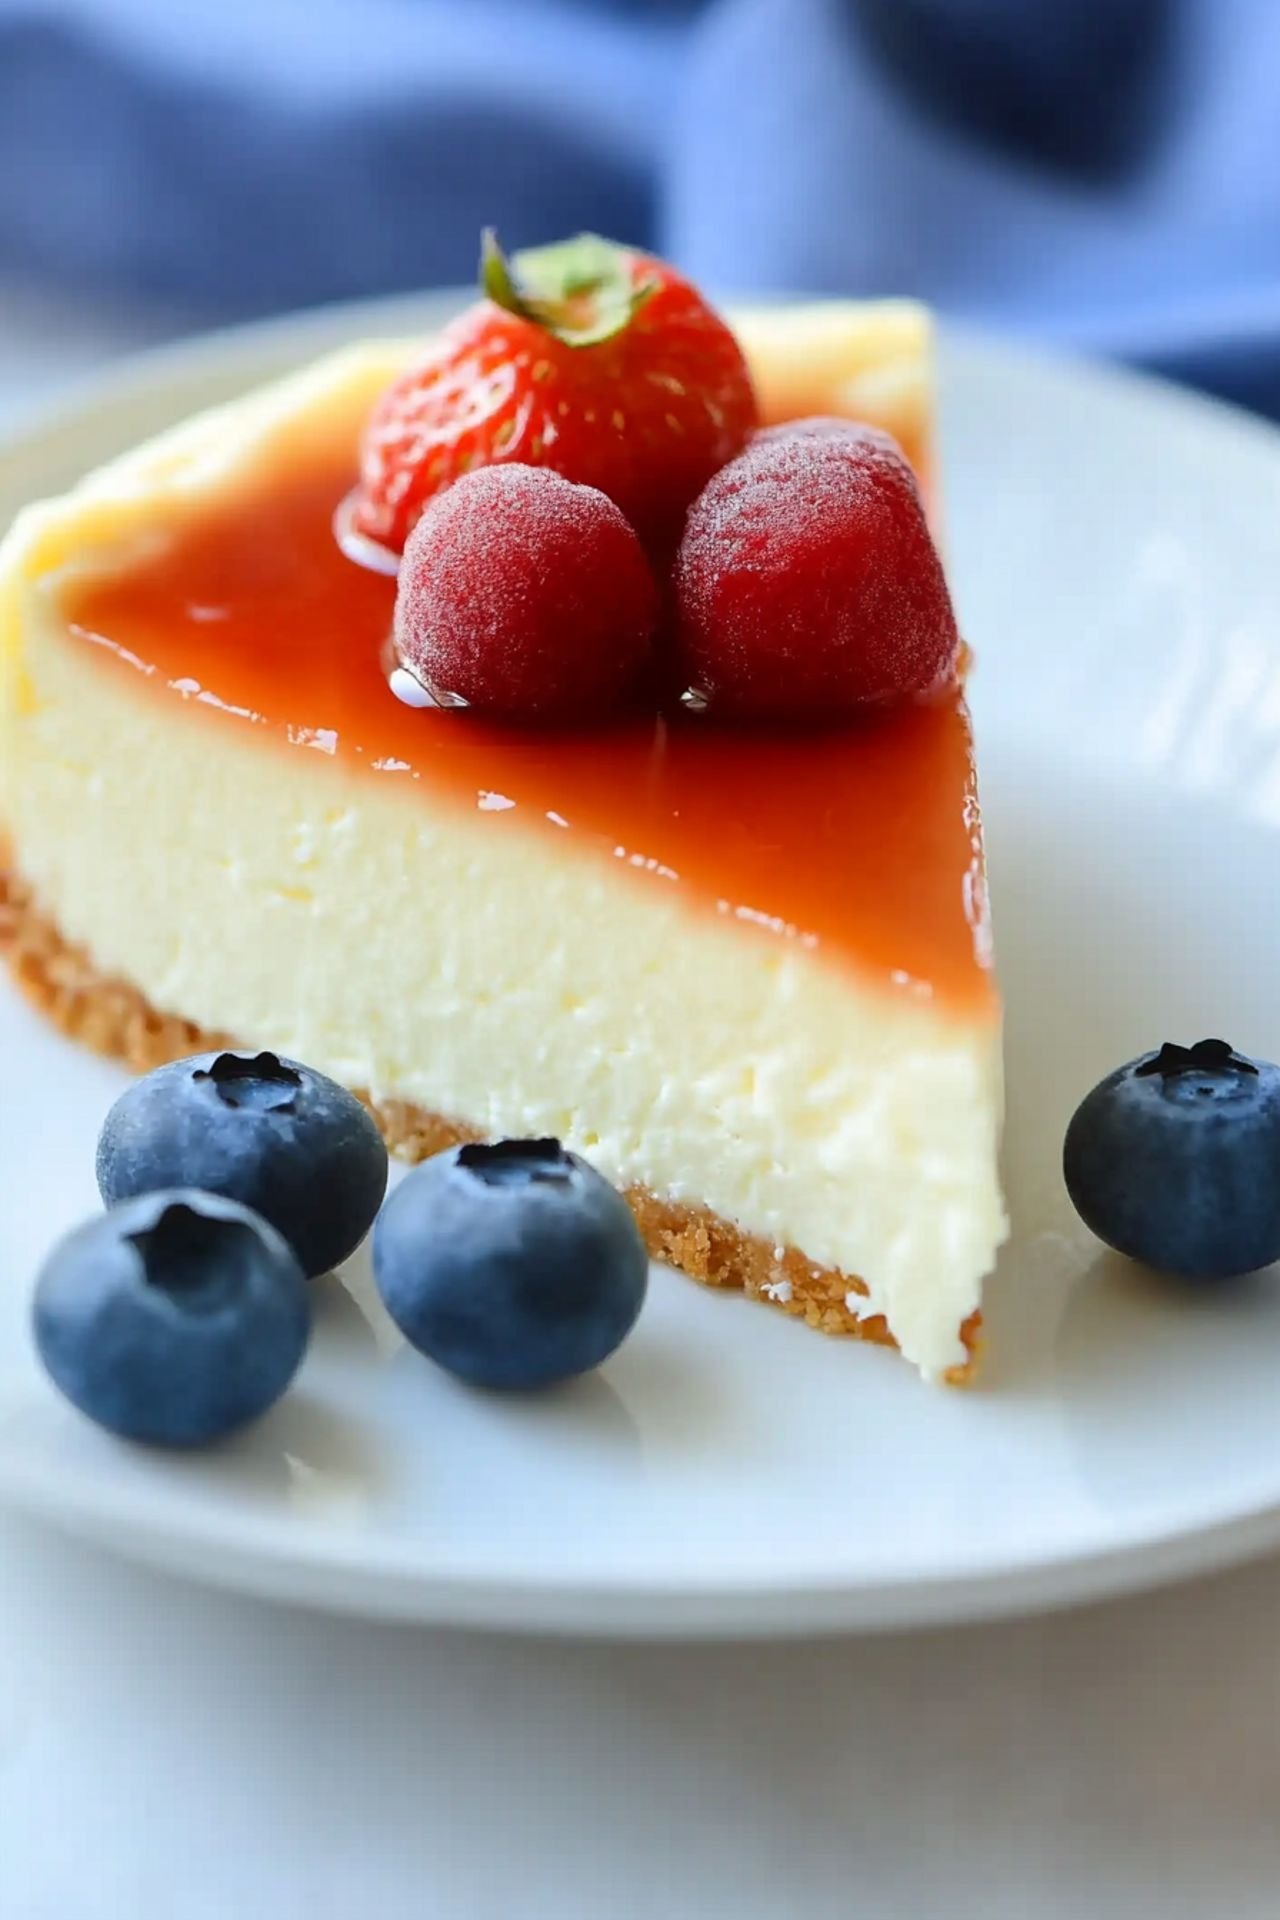
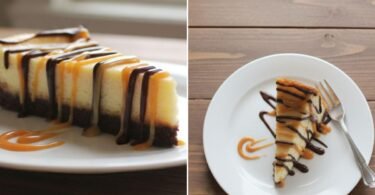
This cheesecake is incredibly versatile! Pair it with a sugar-free berry compote, a drizzle of dark chocolate, or a handful of chopped nuts for extra texture. If you’re feeling creative, add a sprinkle of cinnamon or a splash of almond extract to elevate the flavors even more.
Storing and Serving Tips
For best results, store your cheesecake in the refrigerator for at least 4 hours before serving. This allows the flavors to develop fully and ensures the perfect firm texture. If you have leftovers, keep them covered in the fridge for up to 5 days or freeze individual slices for a quick and easy dessert option.
Frequently Asked Questions
- Can I make this cheesecake dairy-free? Yes! Use dairy-free cream cheese and a plant-based heavy cream substitute.
- What is the best sugar alternative for this recipe? Erythritol or monk fruit sweetener work well and keep it completely sugar-free.
- How can I prevent my cheesecake from cracking? Avoid overmixing, bake at a lower temperature, and cool it gradually for the best results.
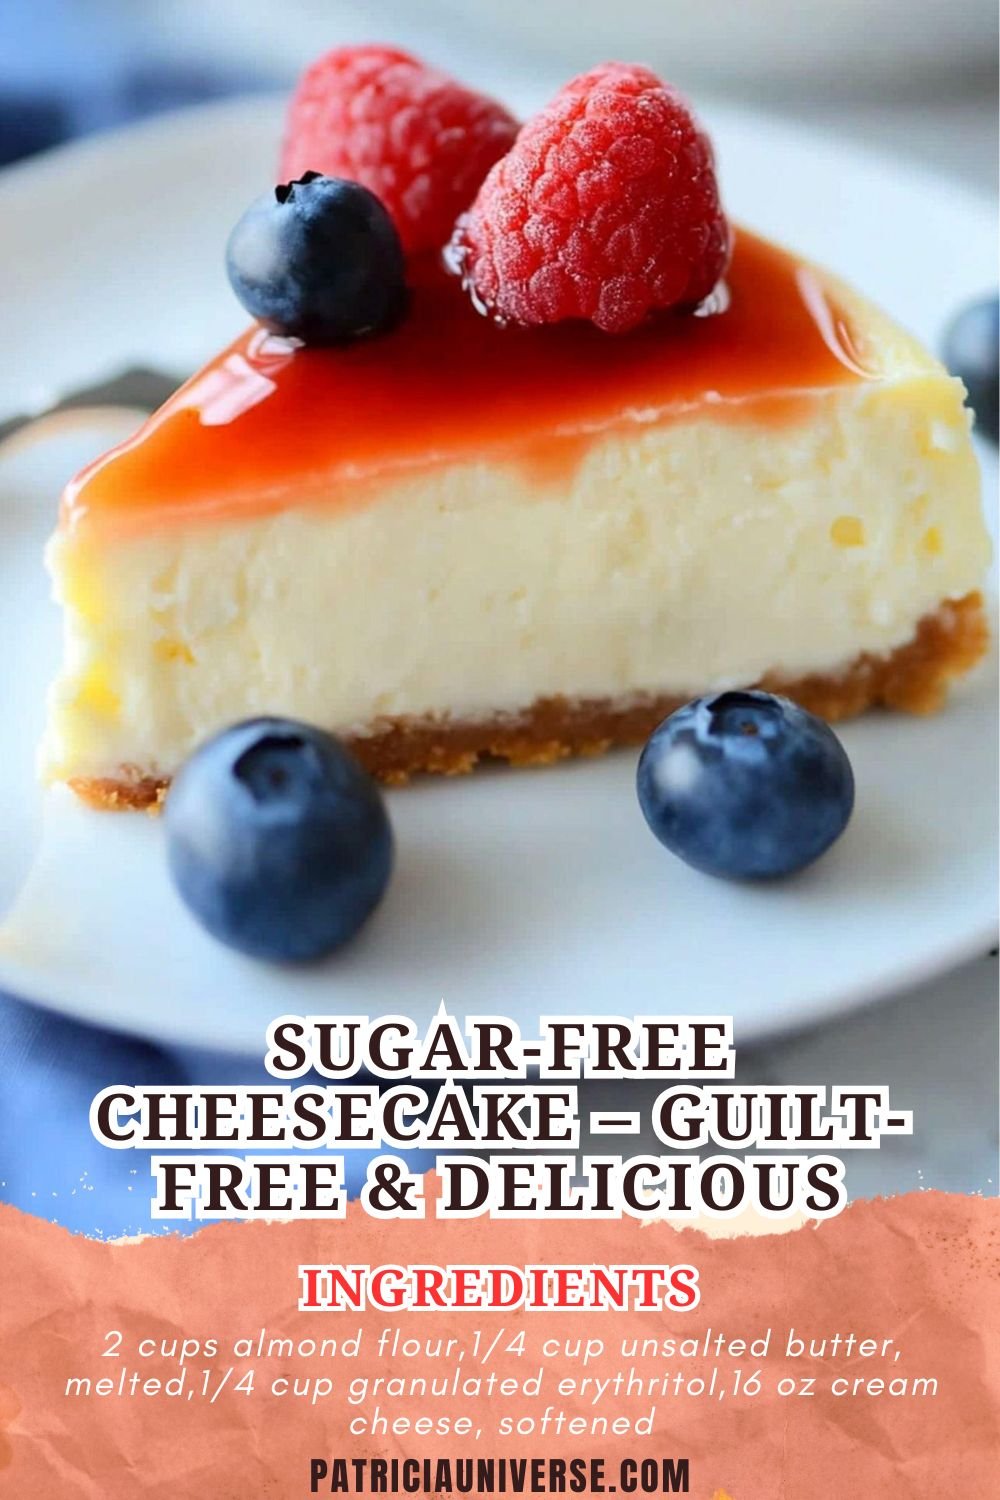

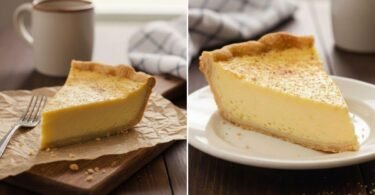
Sugar-Free Cheesecake – A Delicious Guilt-Free Dessert
Ingredients
- 2 cups almond flour
- 1/4 cup unsalted butter, melted
- 1/4 cup granulated erythritol
- 16 oz cream cheese, softened
- 1/2 cup powdered erythritol
- 2 large eggs
- 1 tsp vanilla extract
- 1/2 cup heavy cream
- 1 tbsp lemon juice
Instructions
- Preheat the oven to 325°F (163°C) and line a springform pan with parchment paper.
- In a bowl, mix almond flour, melted butter, and granulated erythritol. Press into the pan to form the crust.
- Bake for 10 minutes, then let cool.
- In a large mixing bowl, beat the cream cheese until smooth.
- Add powdered erythritol, eggs, vanilla extract, heavy cream, and lemon juice. Mix until well combined.
- Pour the filling over the crust and smooth the top.
- Bake for 40-45 minutes, or until the center is set.
- Let the cheesecake cool to room temperature, then refrigerate for at least 4 hours before serving.


Leave a Comment